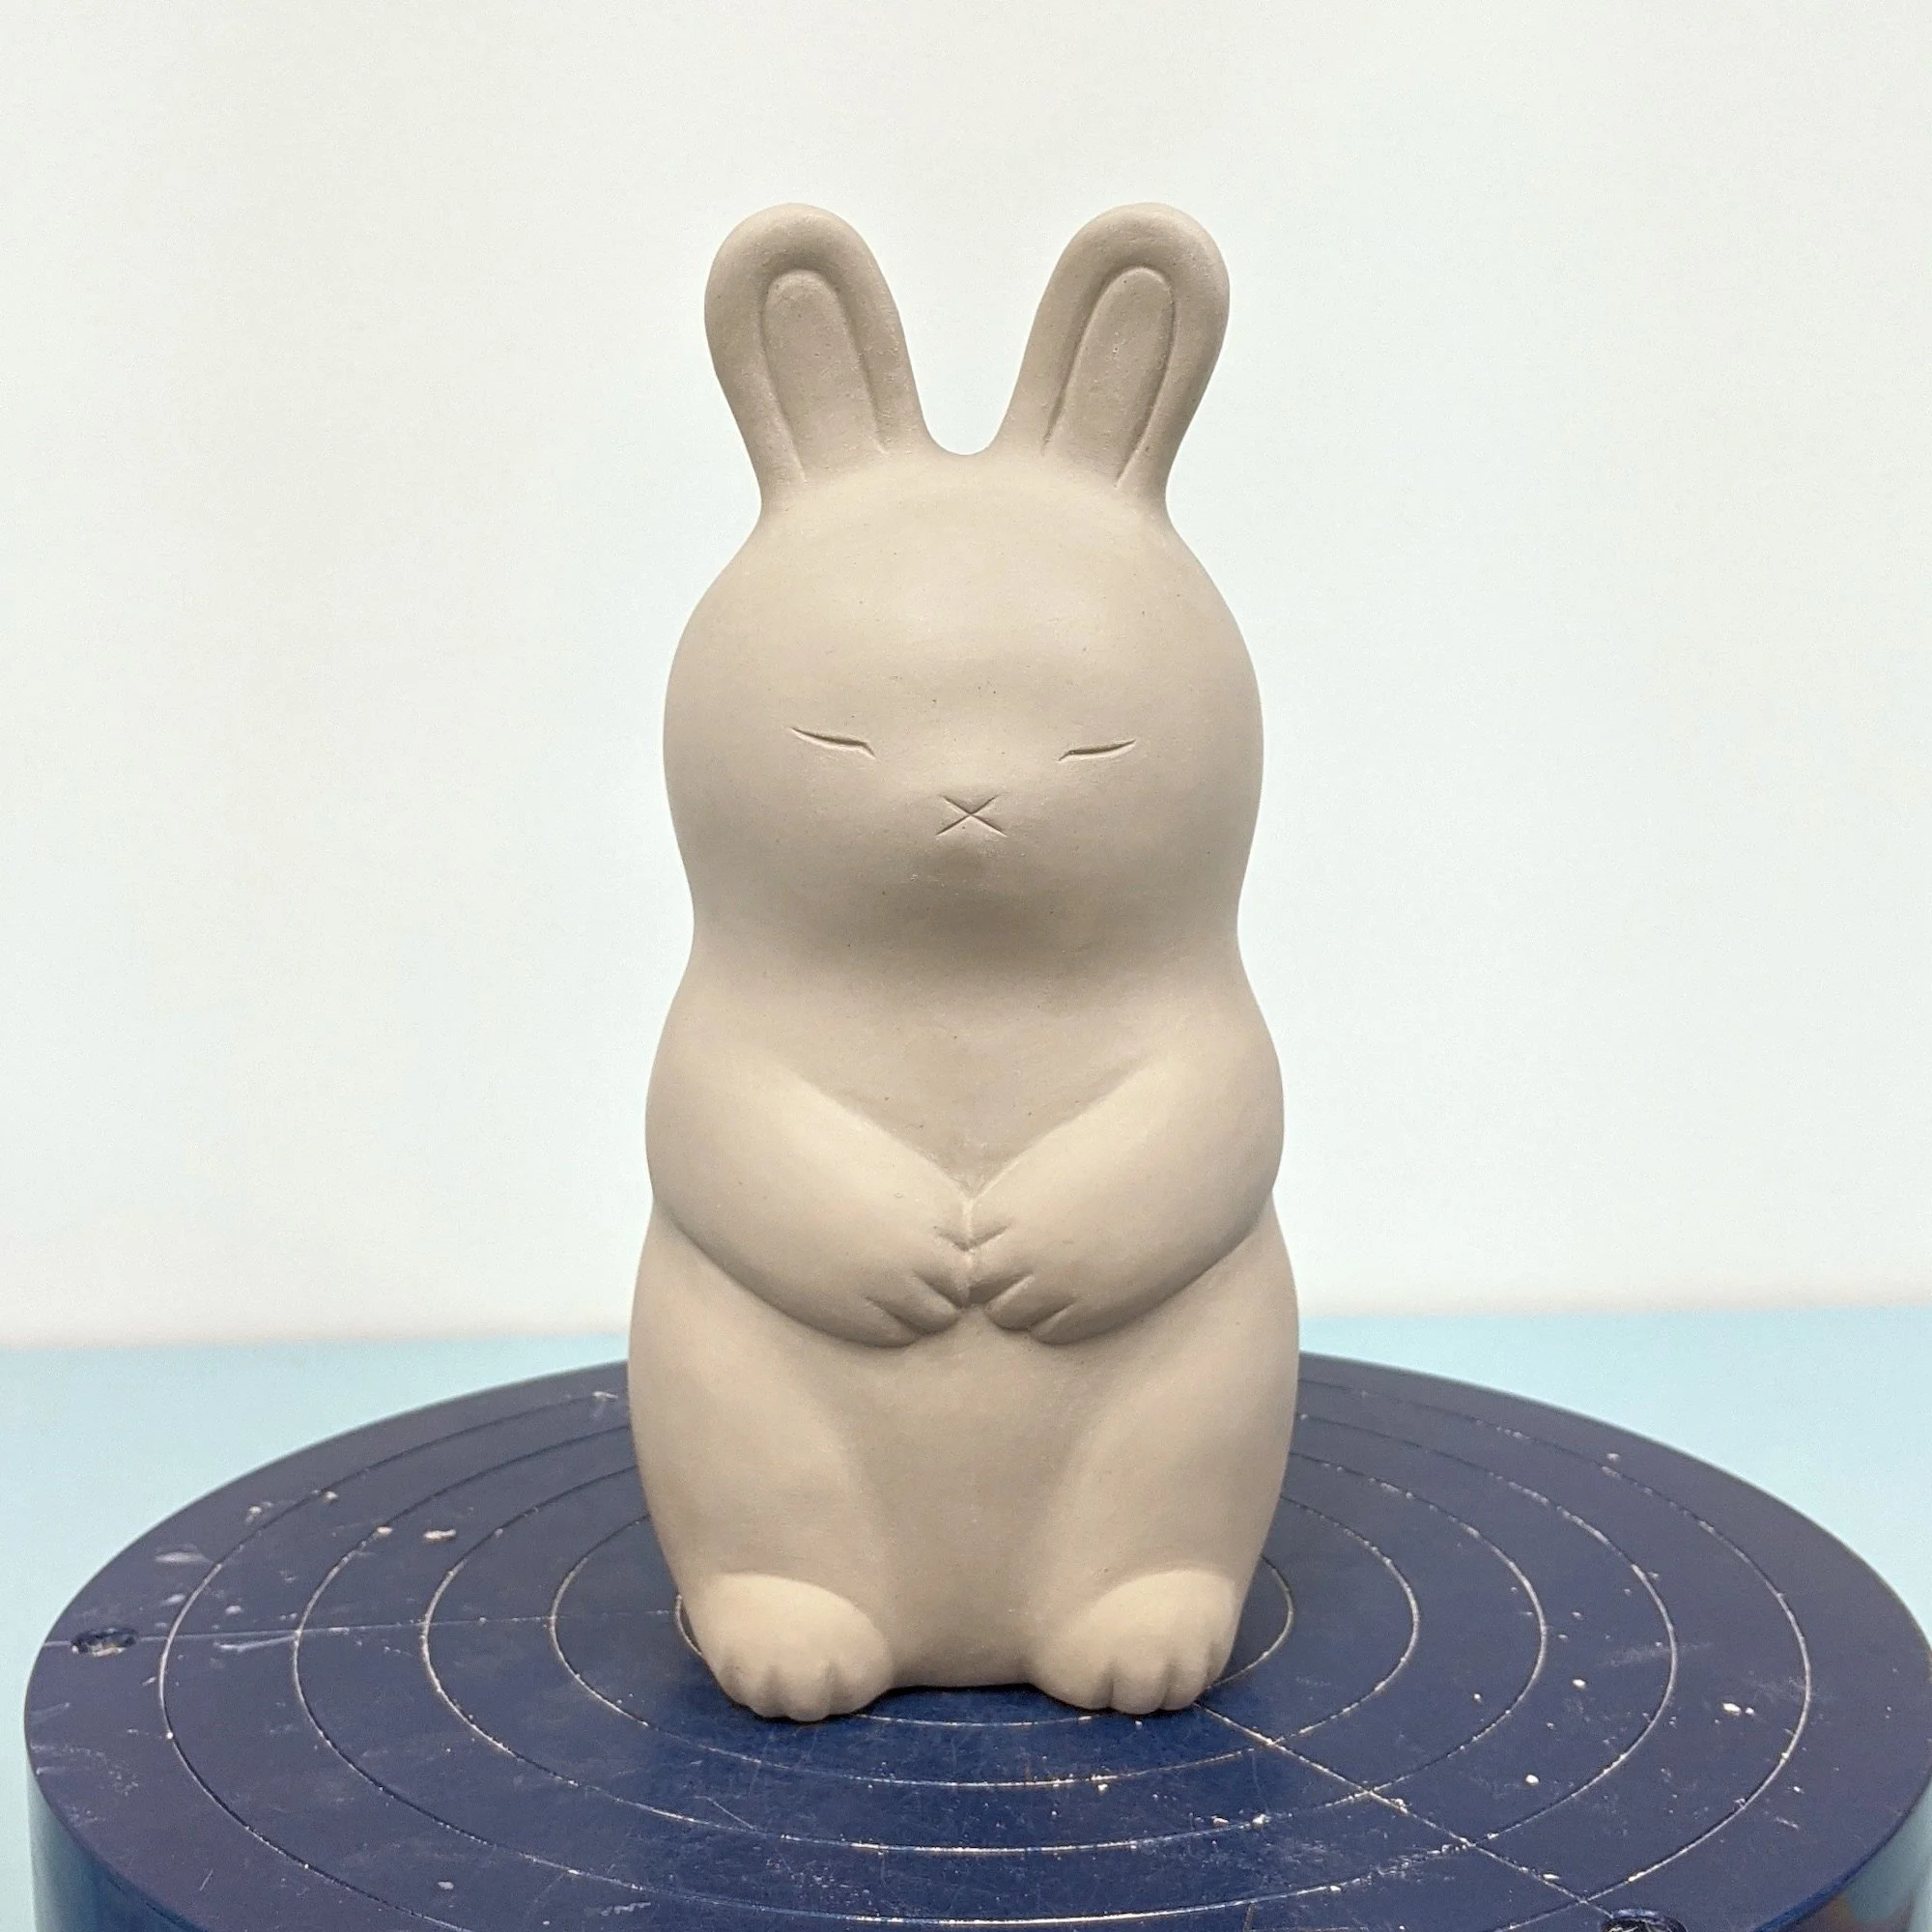
Coiling Moon Bunny
Coiling is a great technique for handbuilding larger hollow sculptures. Combined with pinching and paddling, you will be able to make strong and lightweight forms.
The Moon Rabbit
In East Asia, they see a rabbit with a mortar and pestle on the Moon rather than a man. The story of the Moon Rabbit tells how the rabbit ascended to the Moon and what it’s doing there.
The tale takes place during the harvest season—a time of abundance before winter coats the land. A god descends to earth to test the piety of its subjects. Disguised as a beggar, he asks for food offerings. It’s a time of sharing between all living things, so even the animals seek to prove themselves. A fox demonstrates its hunting abilities and brings the beggar a fish. A monkey uses its agility to gather fruit for the beggar. And then there’s the rabbit who only knows how to gather grass. The rabbit uses the grass to make a fire and jumps in to offer itself to the beggar. The god saves the rabbits’ life and rewards its self sacrifice by immortalizing the rabbit on the Moon. There the rabbit makes mochi (rice cakes) for the gods.
The original tale is of Buddhist origin demonstrating piety, self sacrifice, and ascension (nirvana). It has classic themes and archetypes, but the rabbits’ “reward” seems odd to me. It was taken from its home to land with no grass and given eternal life to work forever for the gods. I wanted to rewrite the story to reflect my perspective as someone of Asian descent without devout Buddhist faith. I create Moon Bunnies which present an alternate character in a story where the bunny ascends to the Moon and is granted agency in exchange for being the Moon’s guardian deity. The Moon Bunny is essentially a bodhisattva—a being who purposefully doesn’t ascend to nirvana in order to help guide others. The Moon Bunny lives peacefully on the Moon. It makes mochi for the gods, but also itself, and other who need it. When the full moon waxes in the night, and you see the Moon Bunny making mochi, it’s a reminder that you don’t always have to sacrifice yourself.
Let’s Make a Moon Bunny!
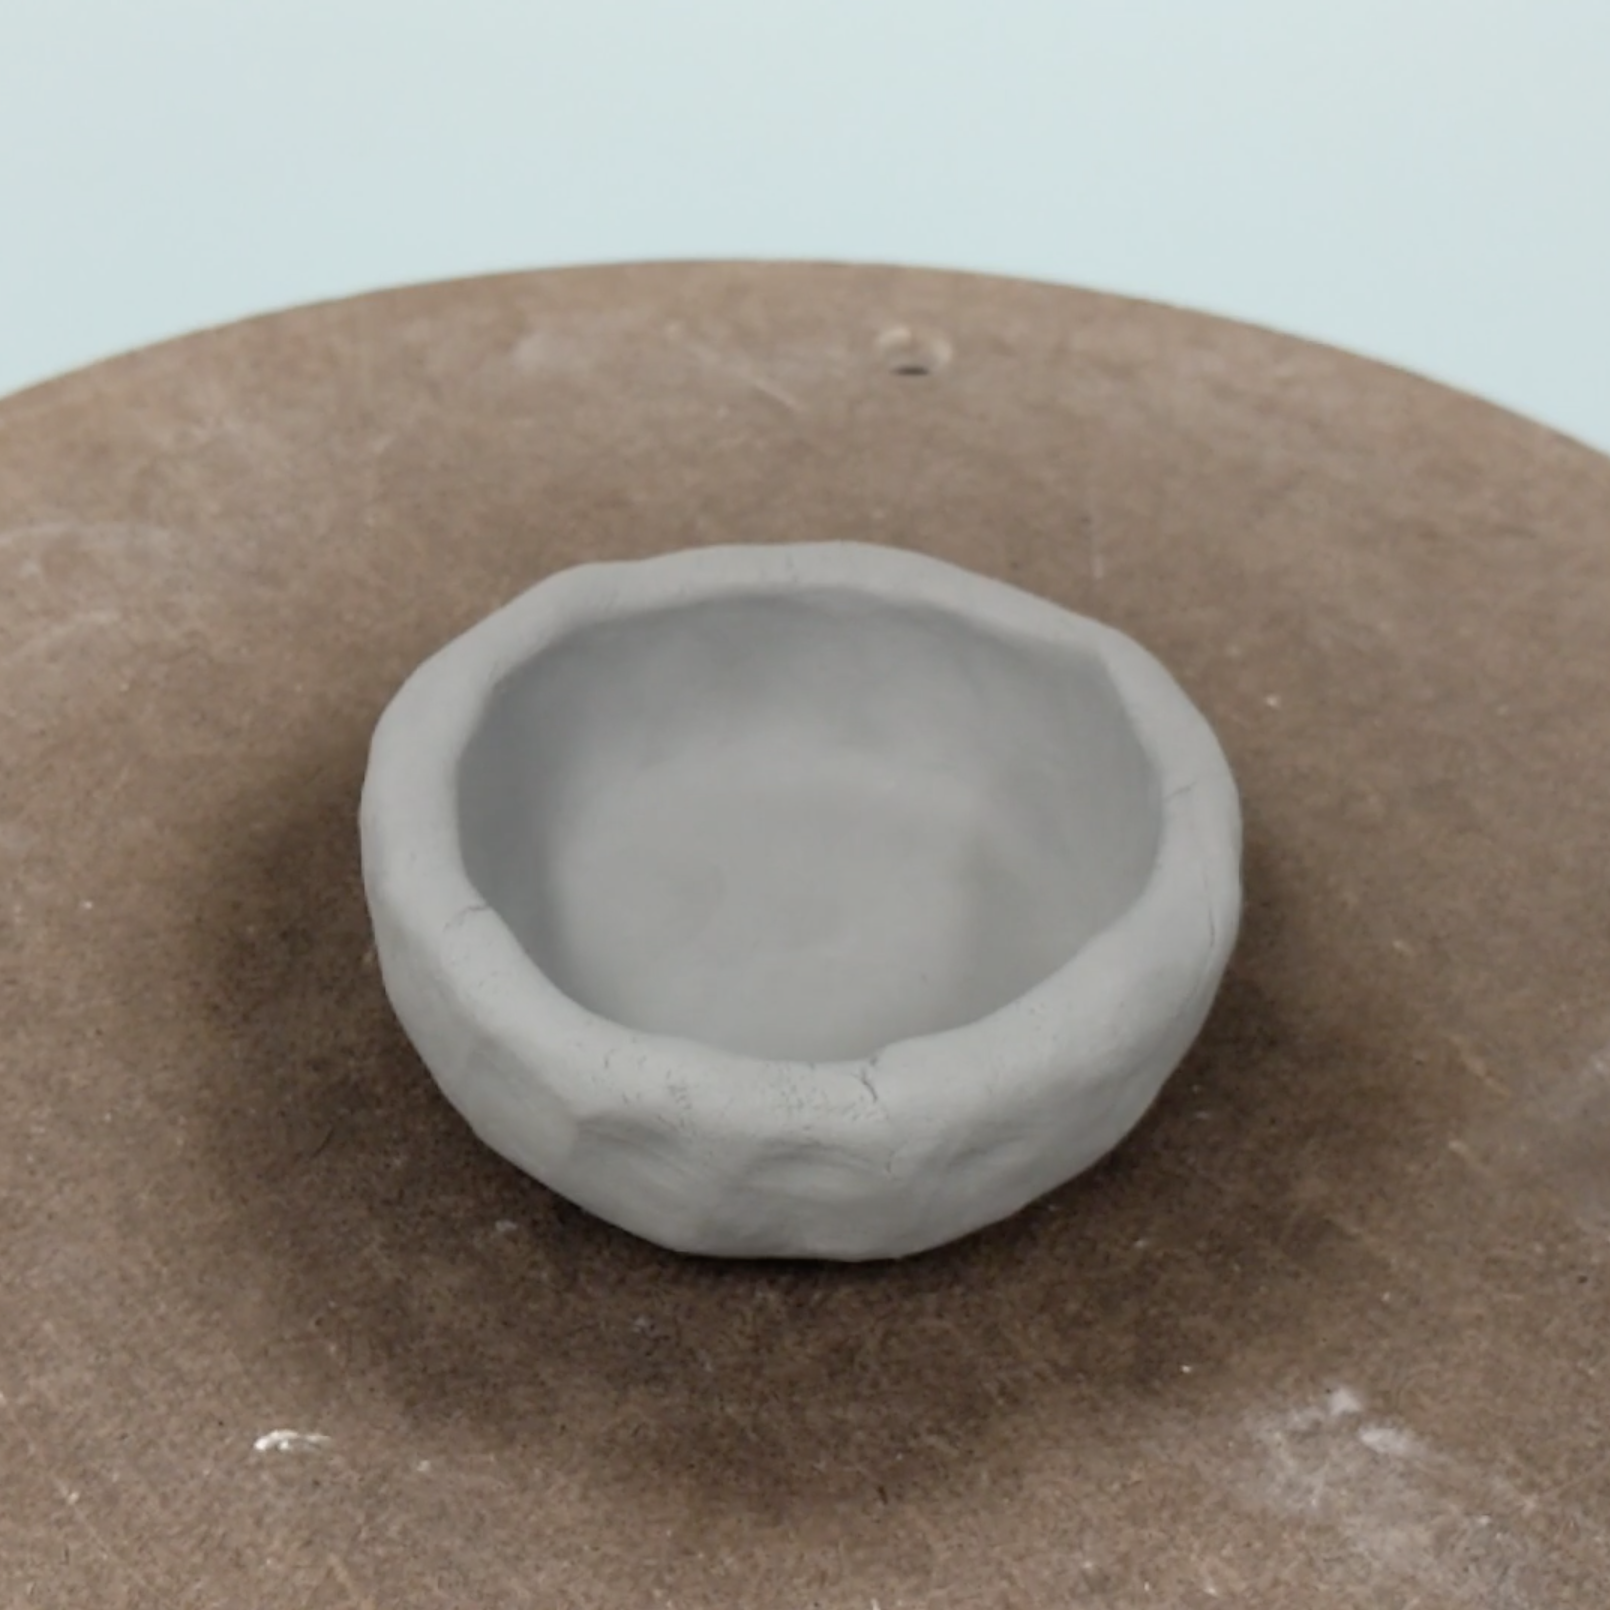
A circular pinch pot with a flat bottom.
Control the shape with intentional pinching.
Start with a pinch pot for the base of your sculpture. Alternatively you can make a slab and cut it to the shape of your base.
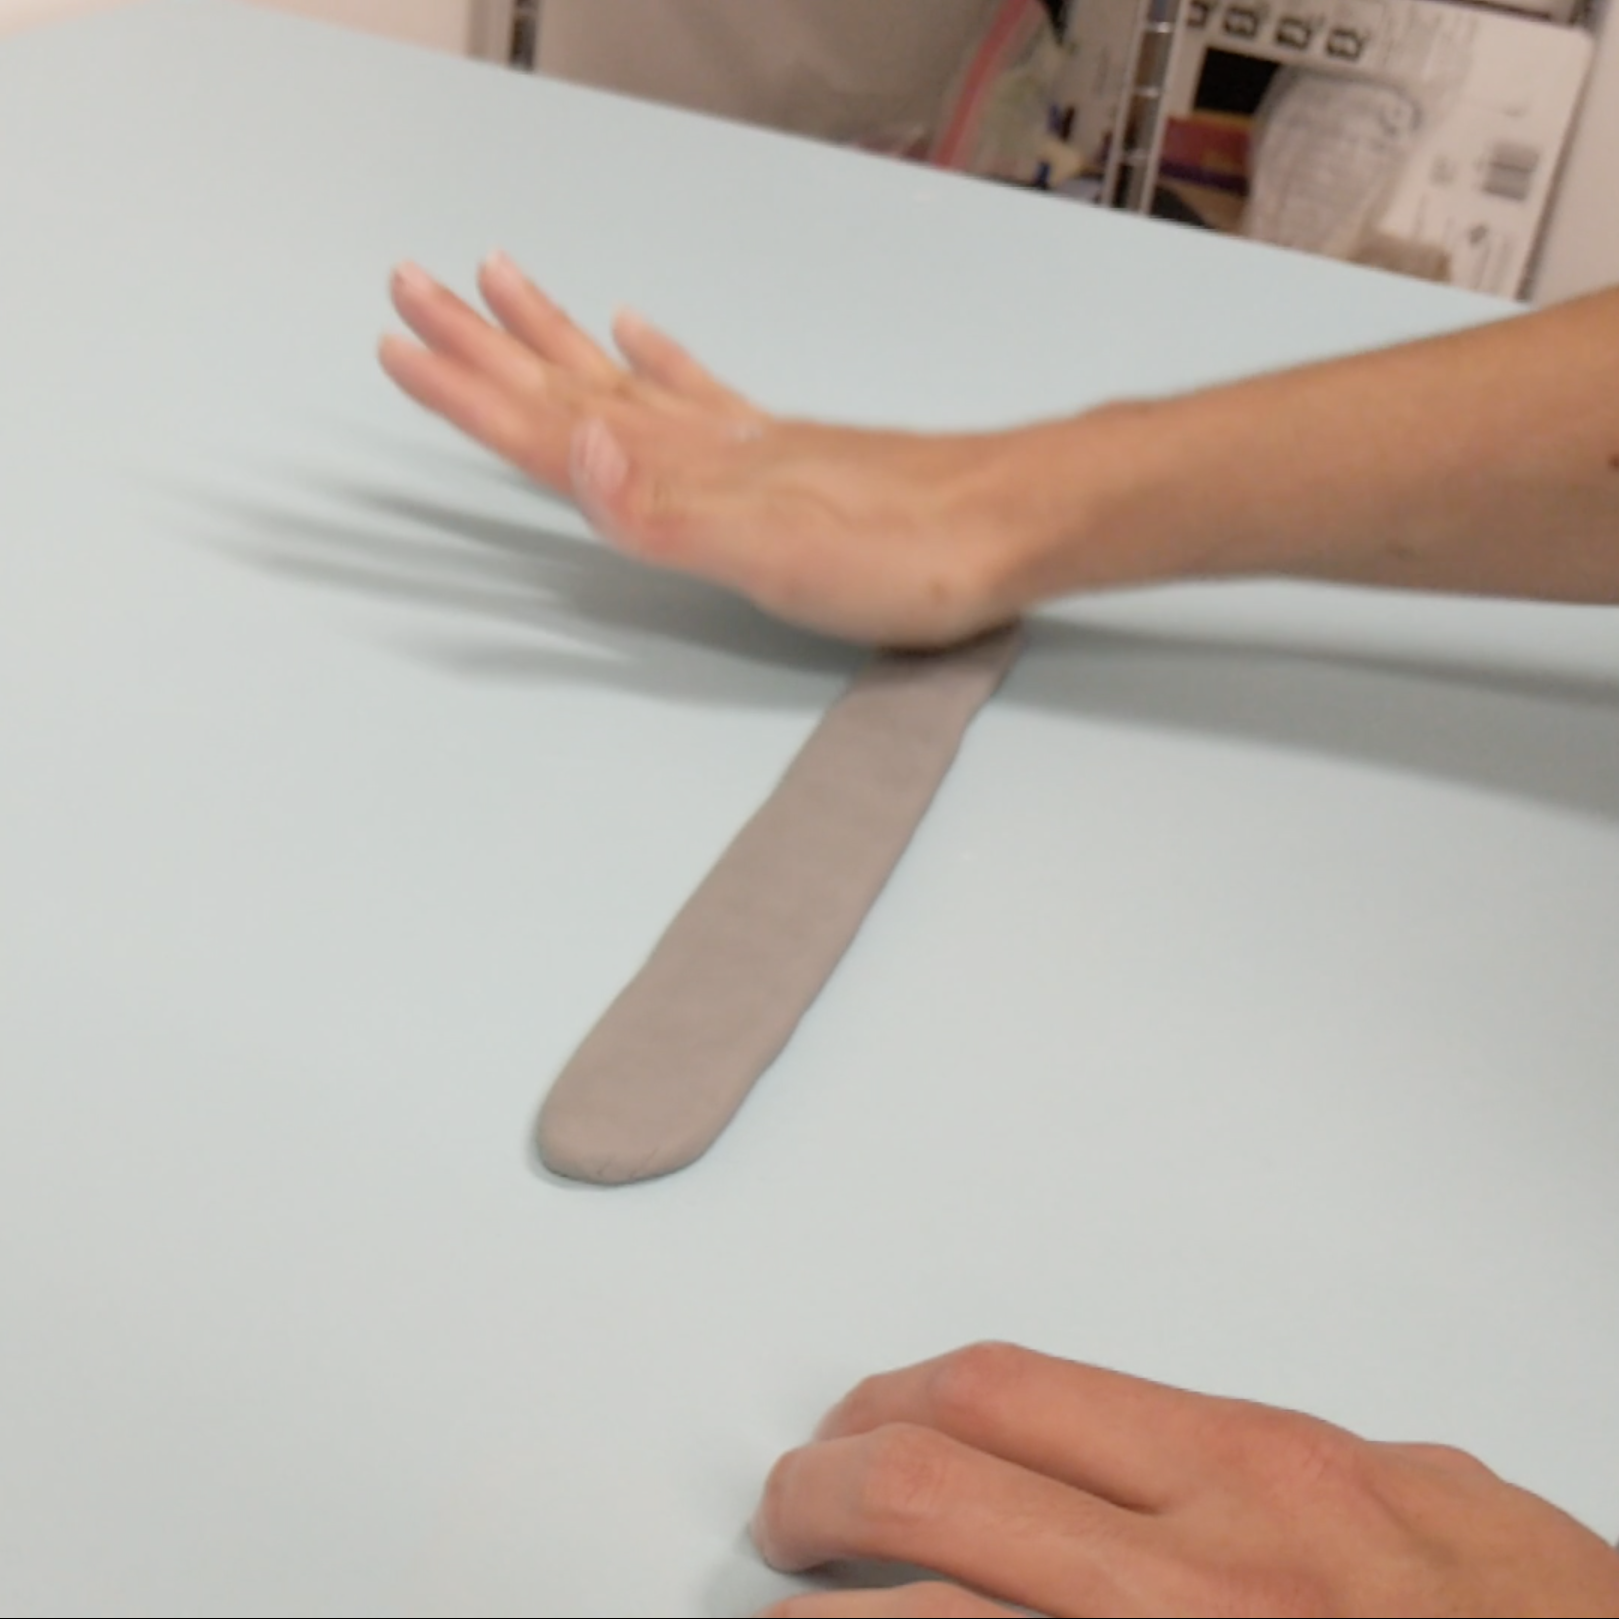
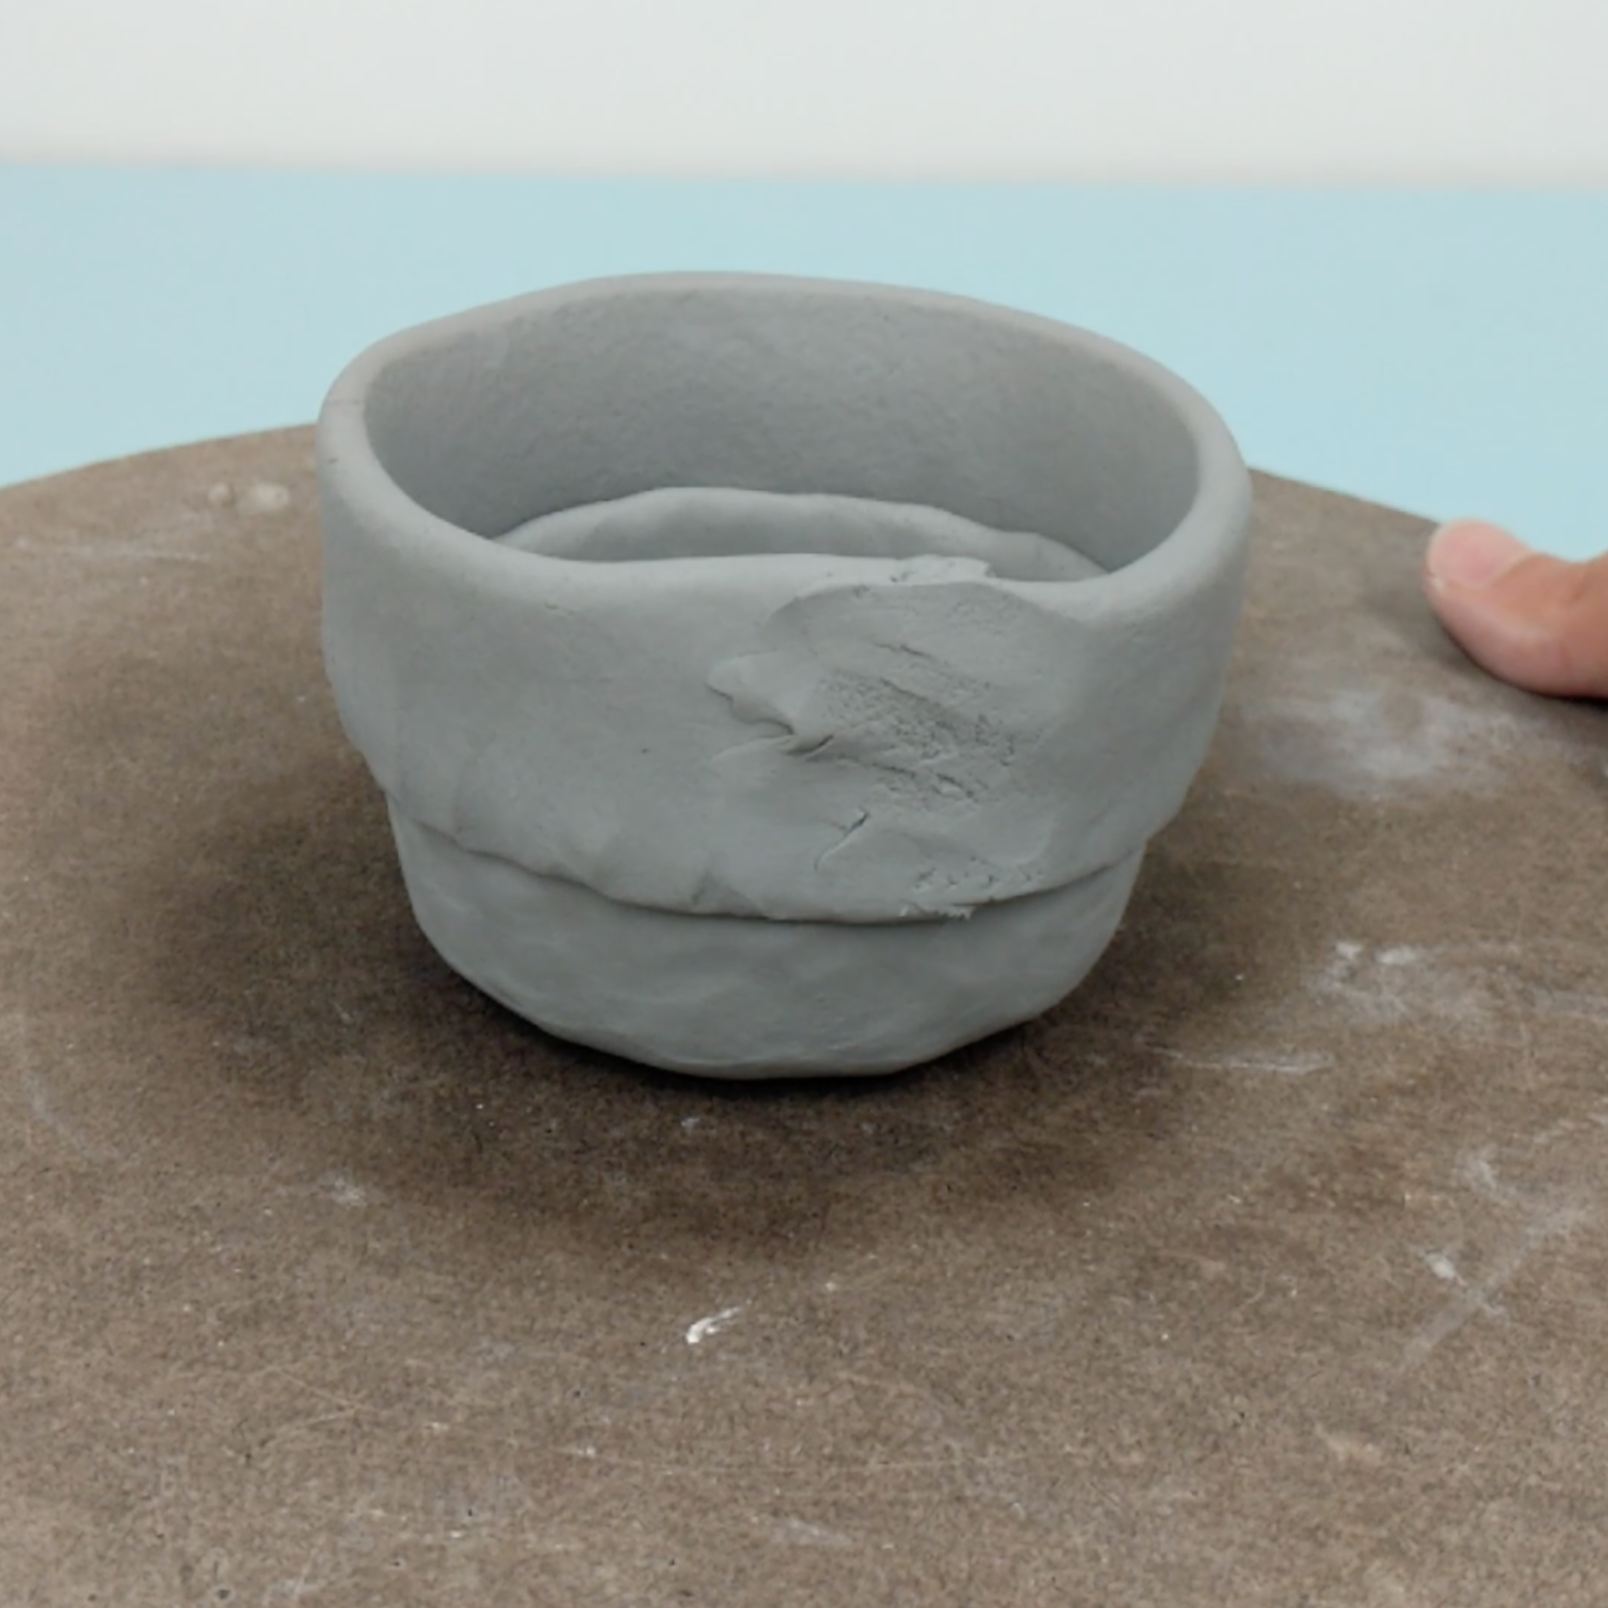
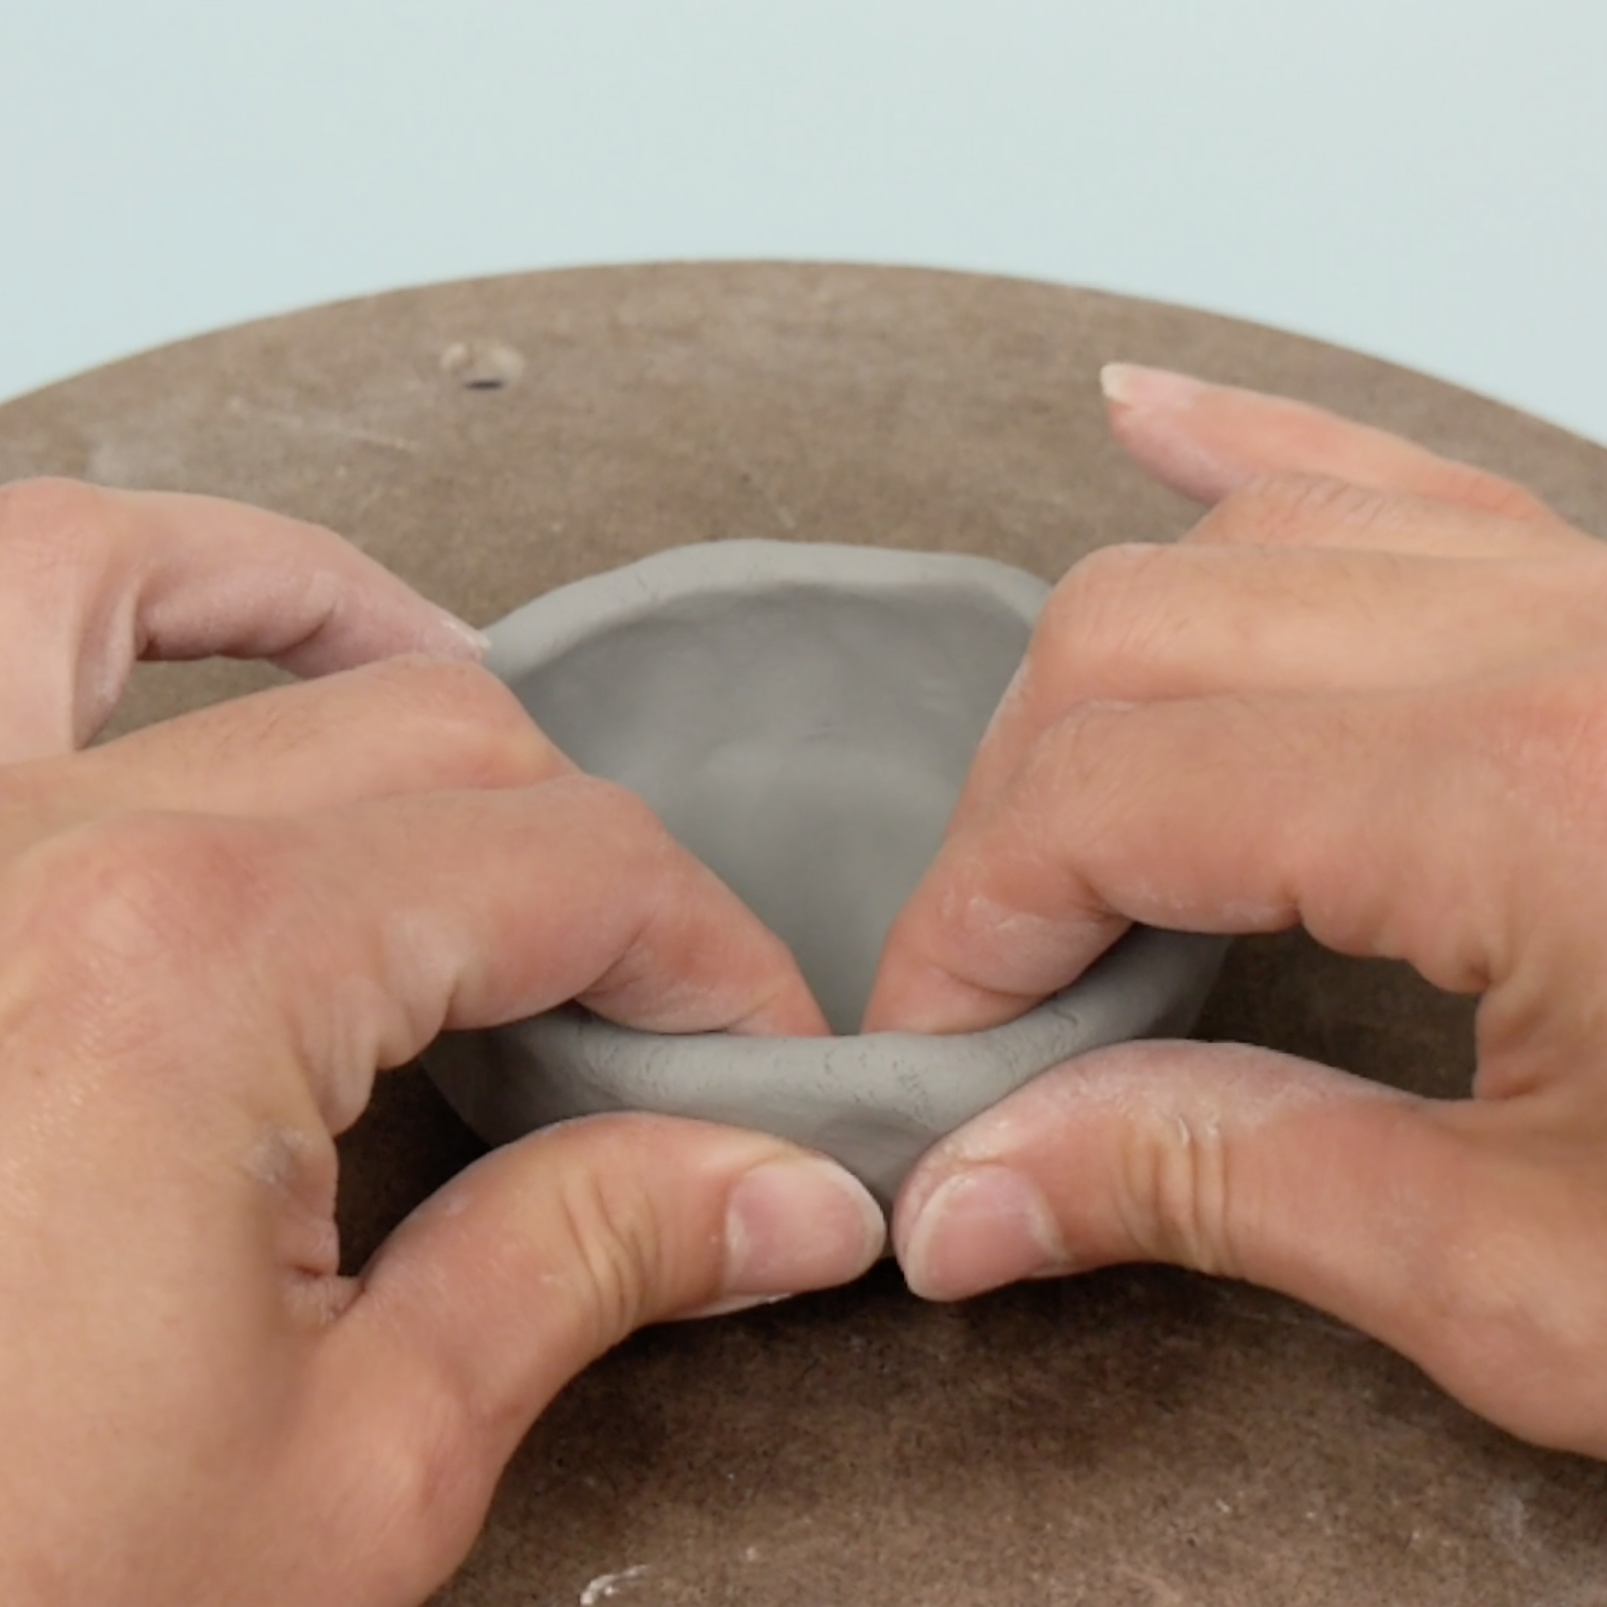
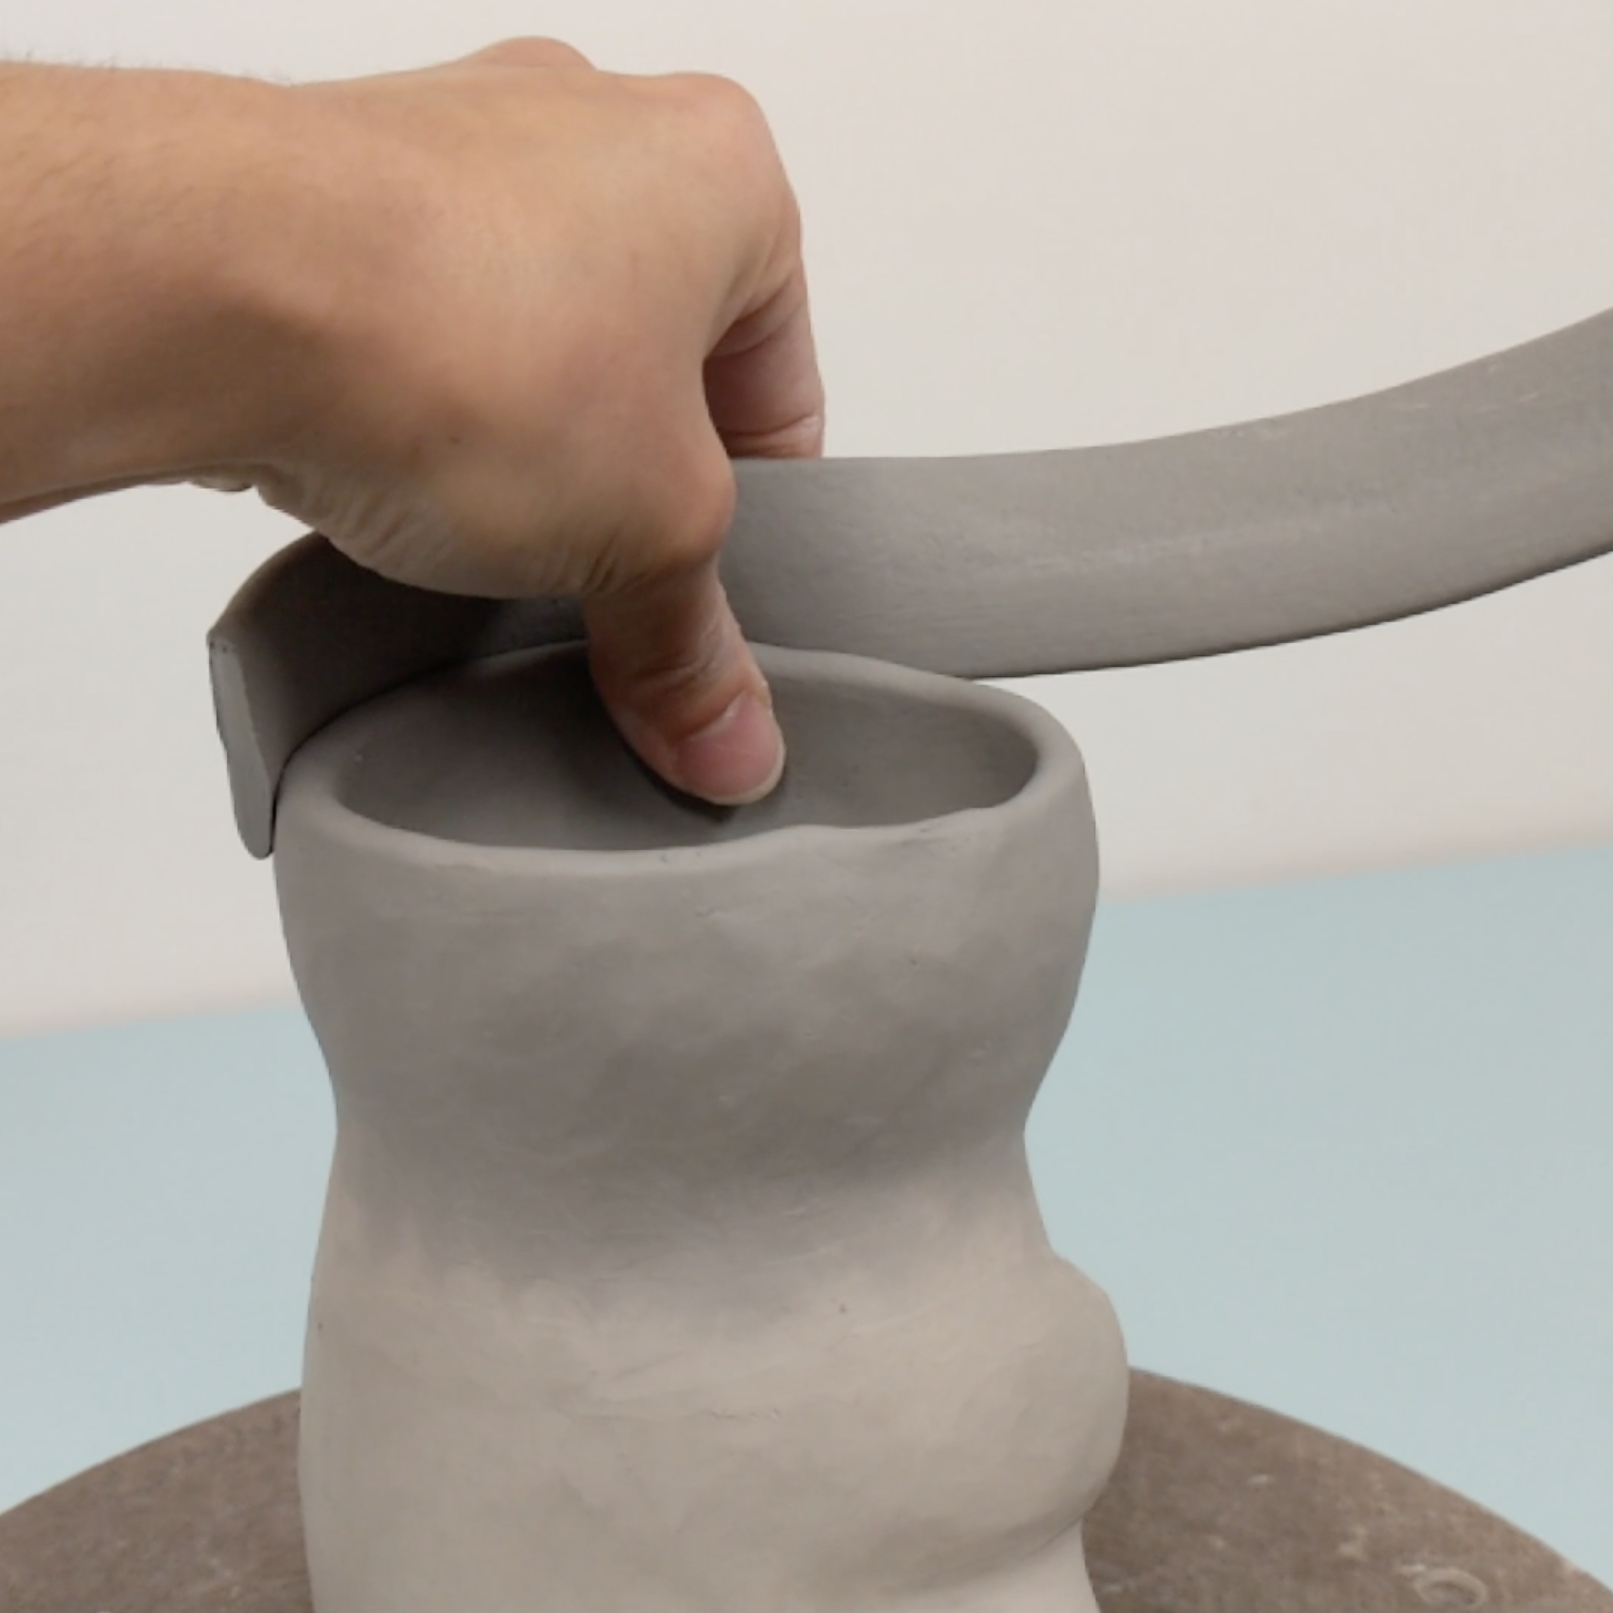
I like to roll out coils and then flatten them with the base of my palm. This creates a strip of clay that will give you more height and a thinner wall than traditional coiling. Overlap the coil onto the edge of your pinch pot evenly then seal the ends by smearing them together.
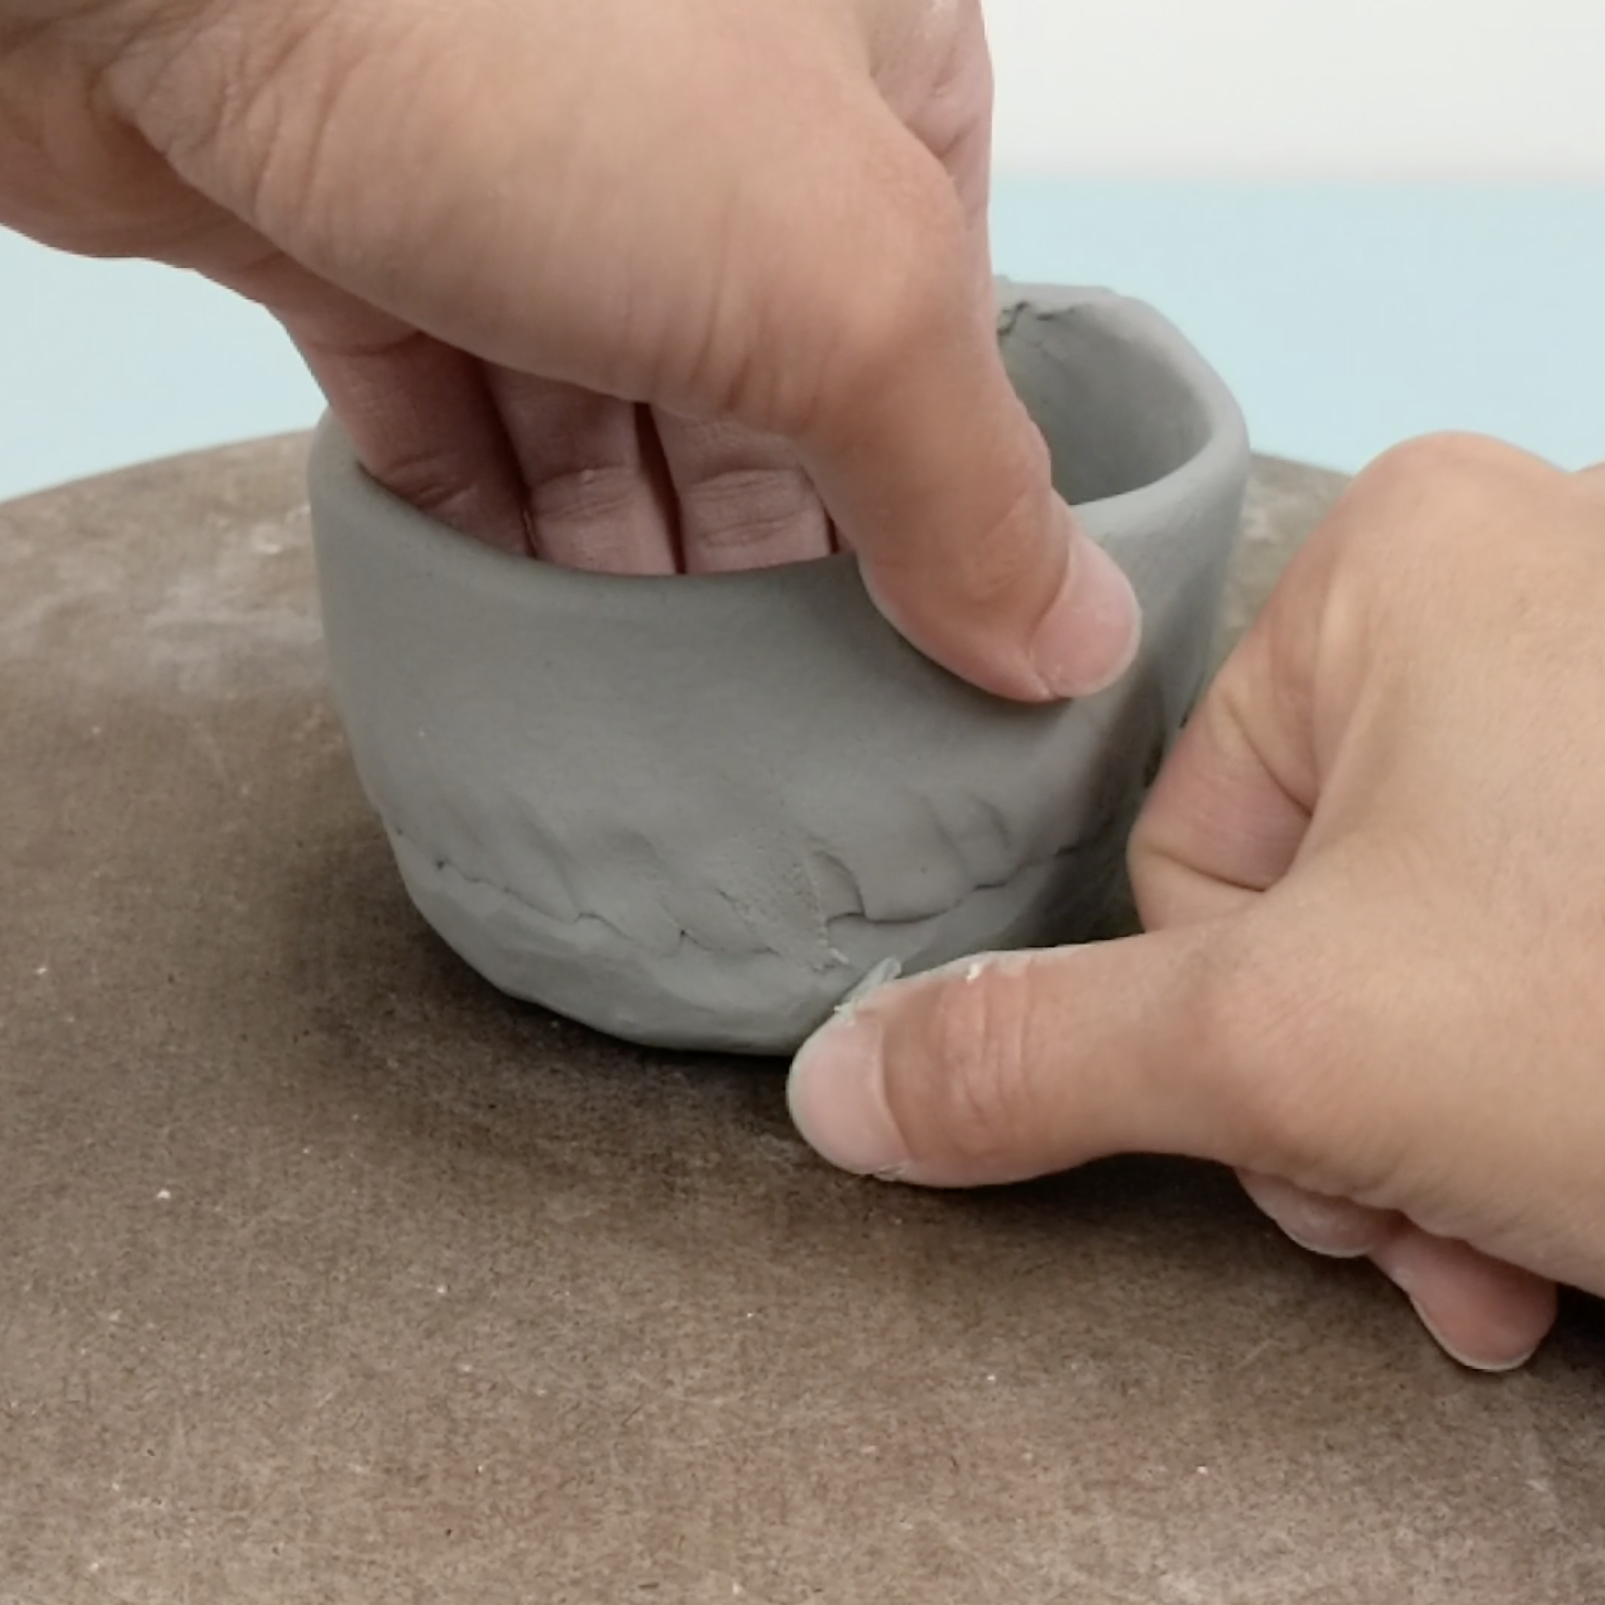
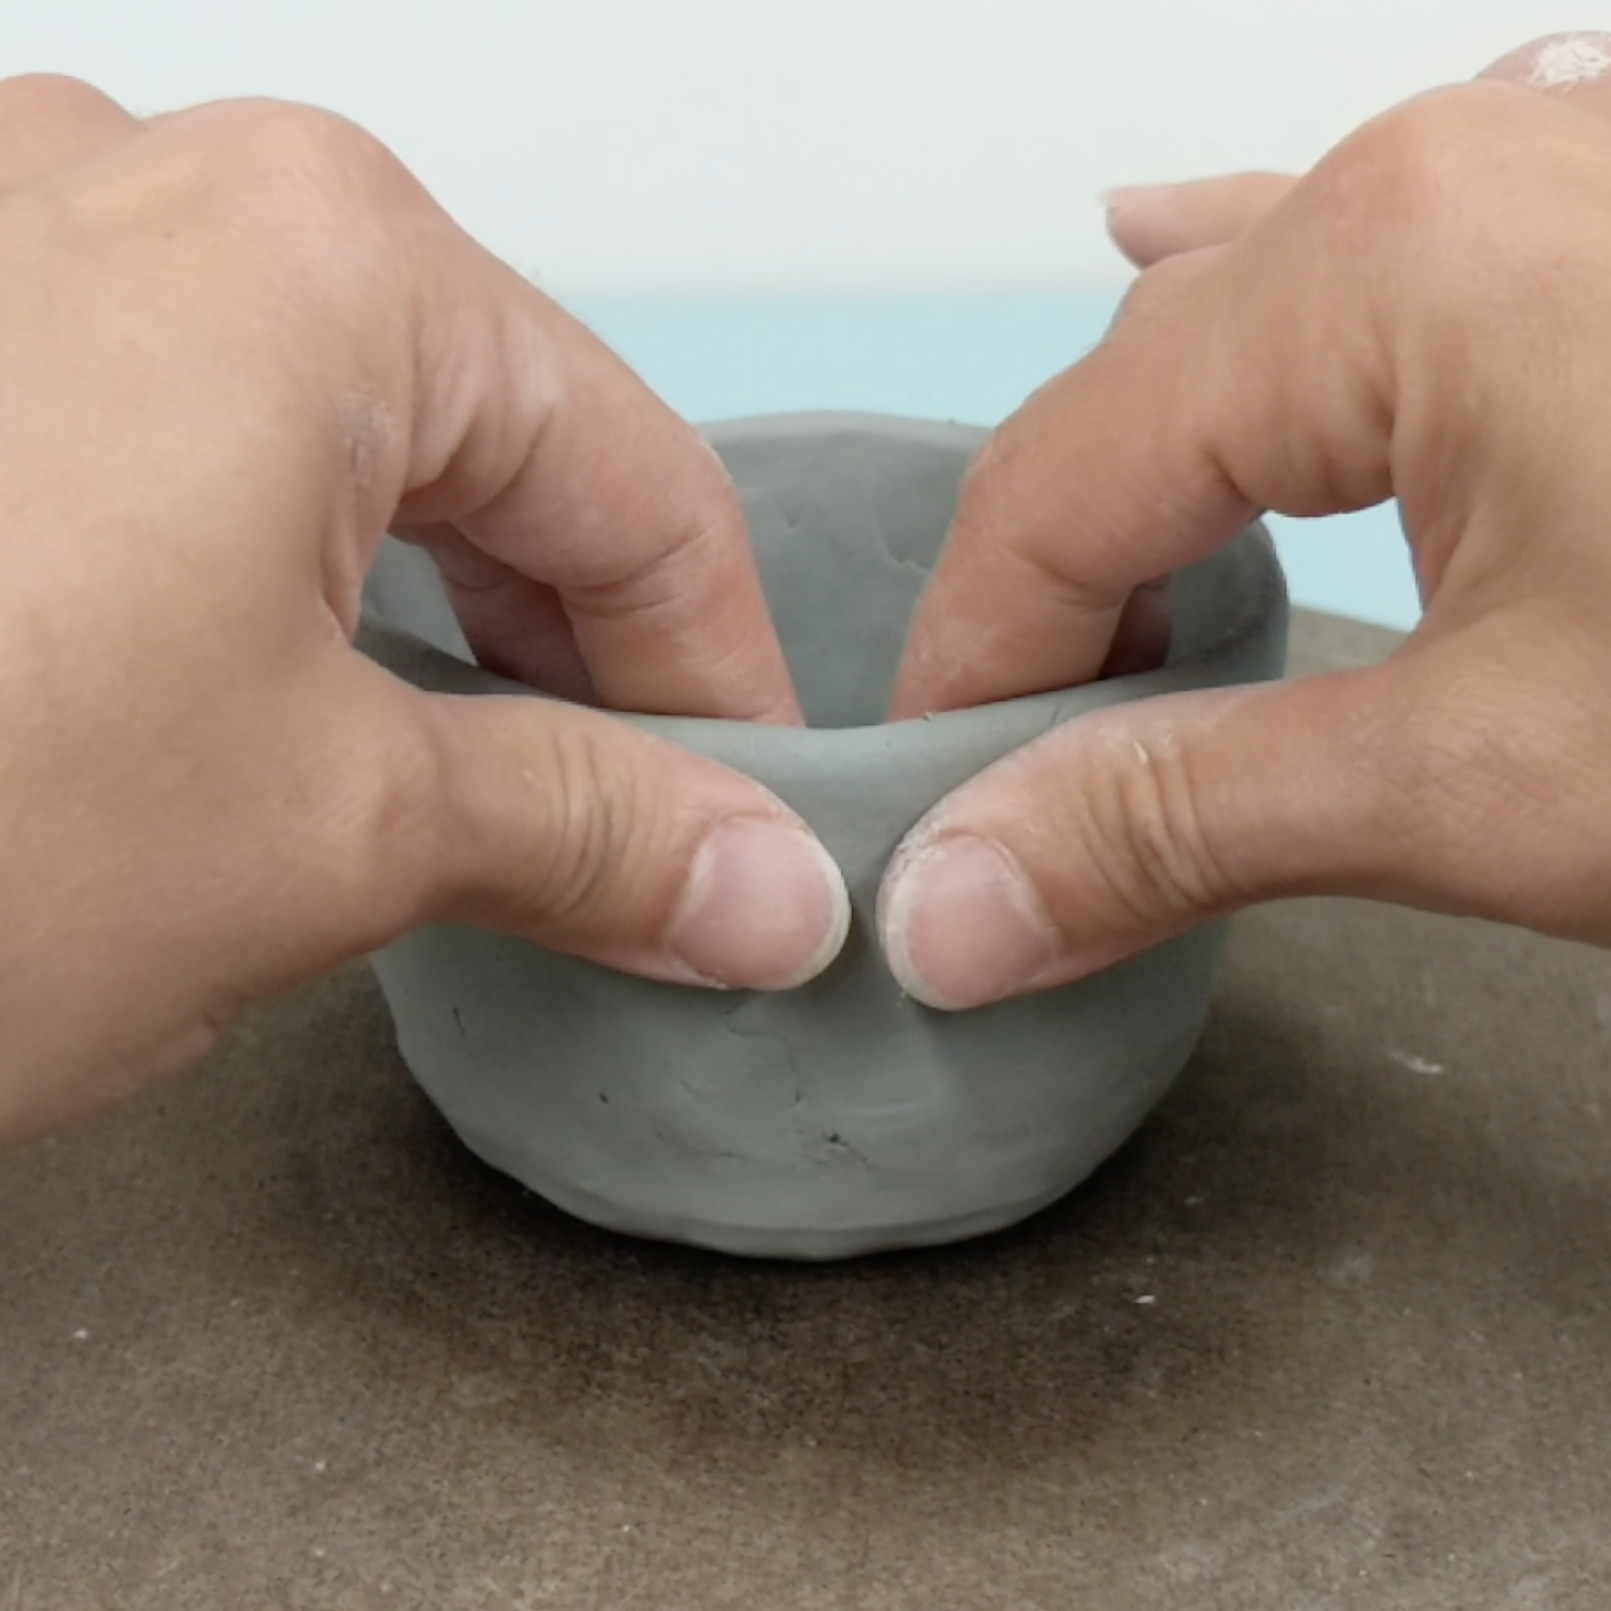
In the picture above, I am smearing the outside coil downwards, and the inside edge of the pinch pot upwards. If you place your coil on the inside rather than outside, just reverse the directions (smear the inside coil downward, and outside pinch pot edge upward). I will pinch the walls to guide the shape and to thin the walls a bit. I’m aiming for about 1/4 inch thickness.
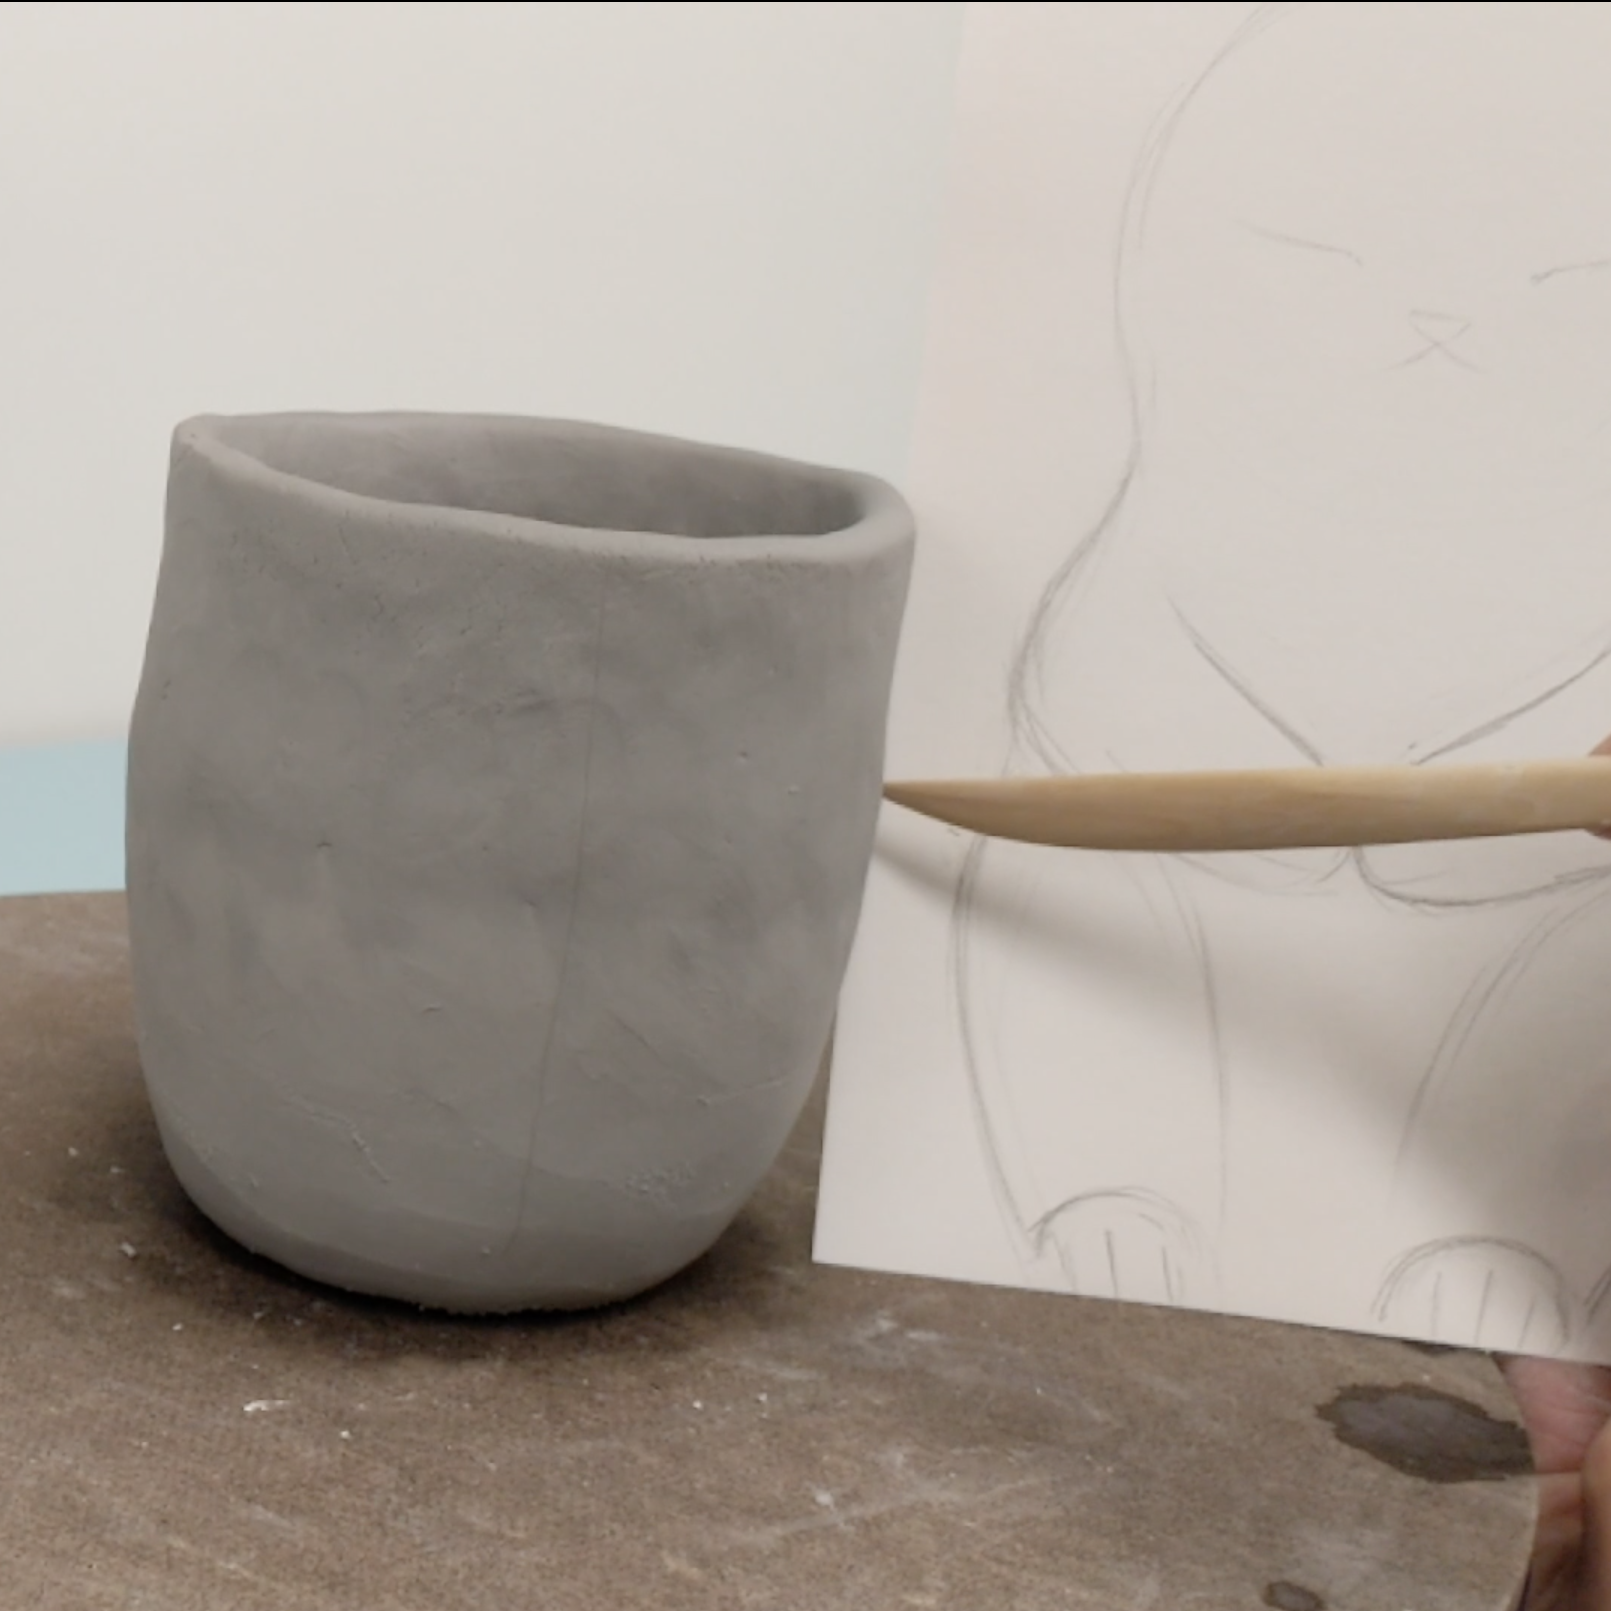
I have a scale drawing to use as a guide for the proportions. After adding enough coils and pinching to the height of the neck, I mark where the top of the legs will be along with a center line to help with symmetry.
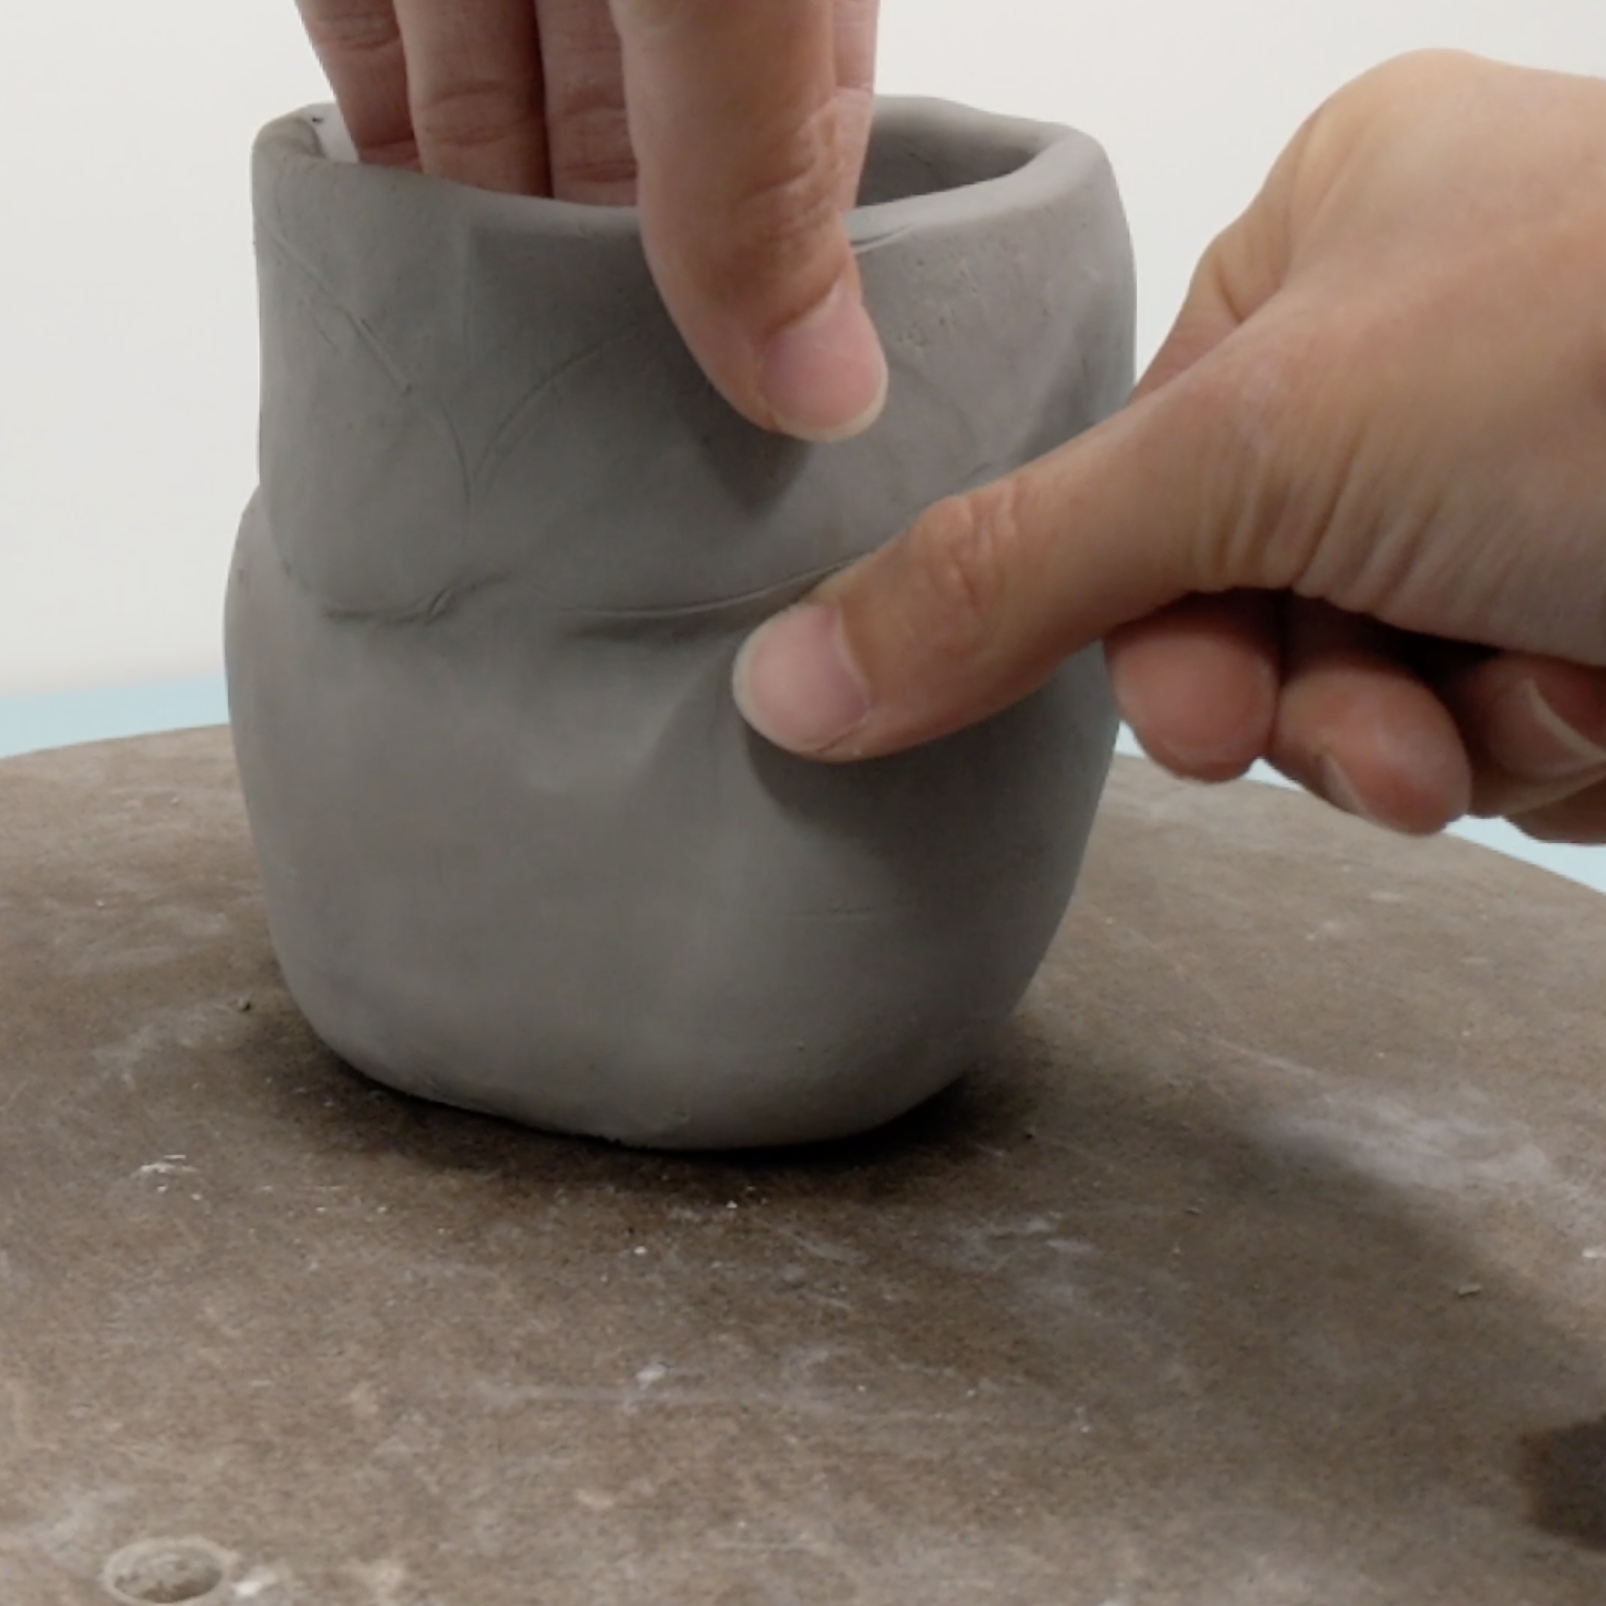
Now to define the limbs of the bunny. Push in from the outside around the edge of the arms and legs to create indents. Push out in gentle gliding motions from the inside to bubble out an create volume in the limbs.
I do many small adjustments to avoid thinning the walls too much and accidentally breaking through or cracking the clay.
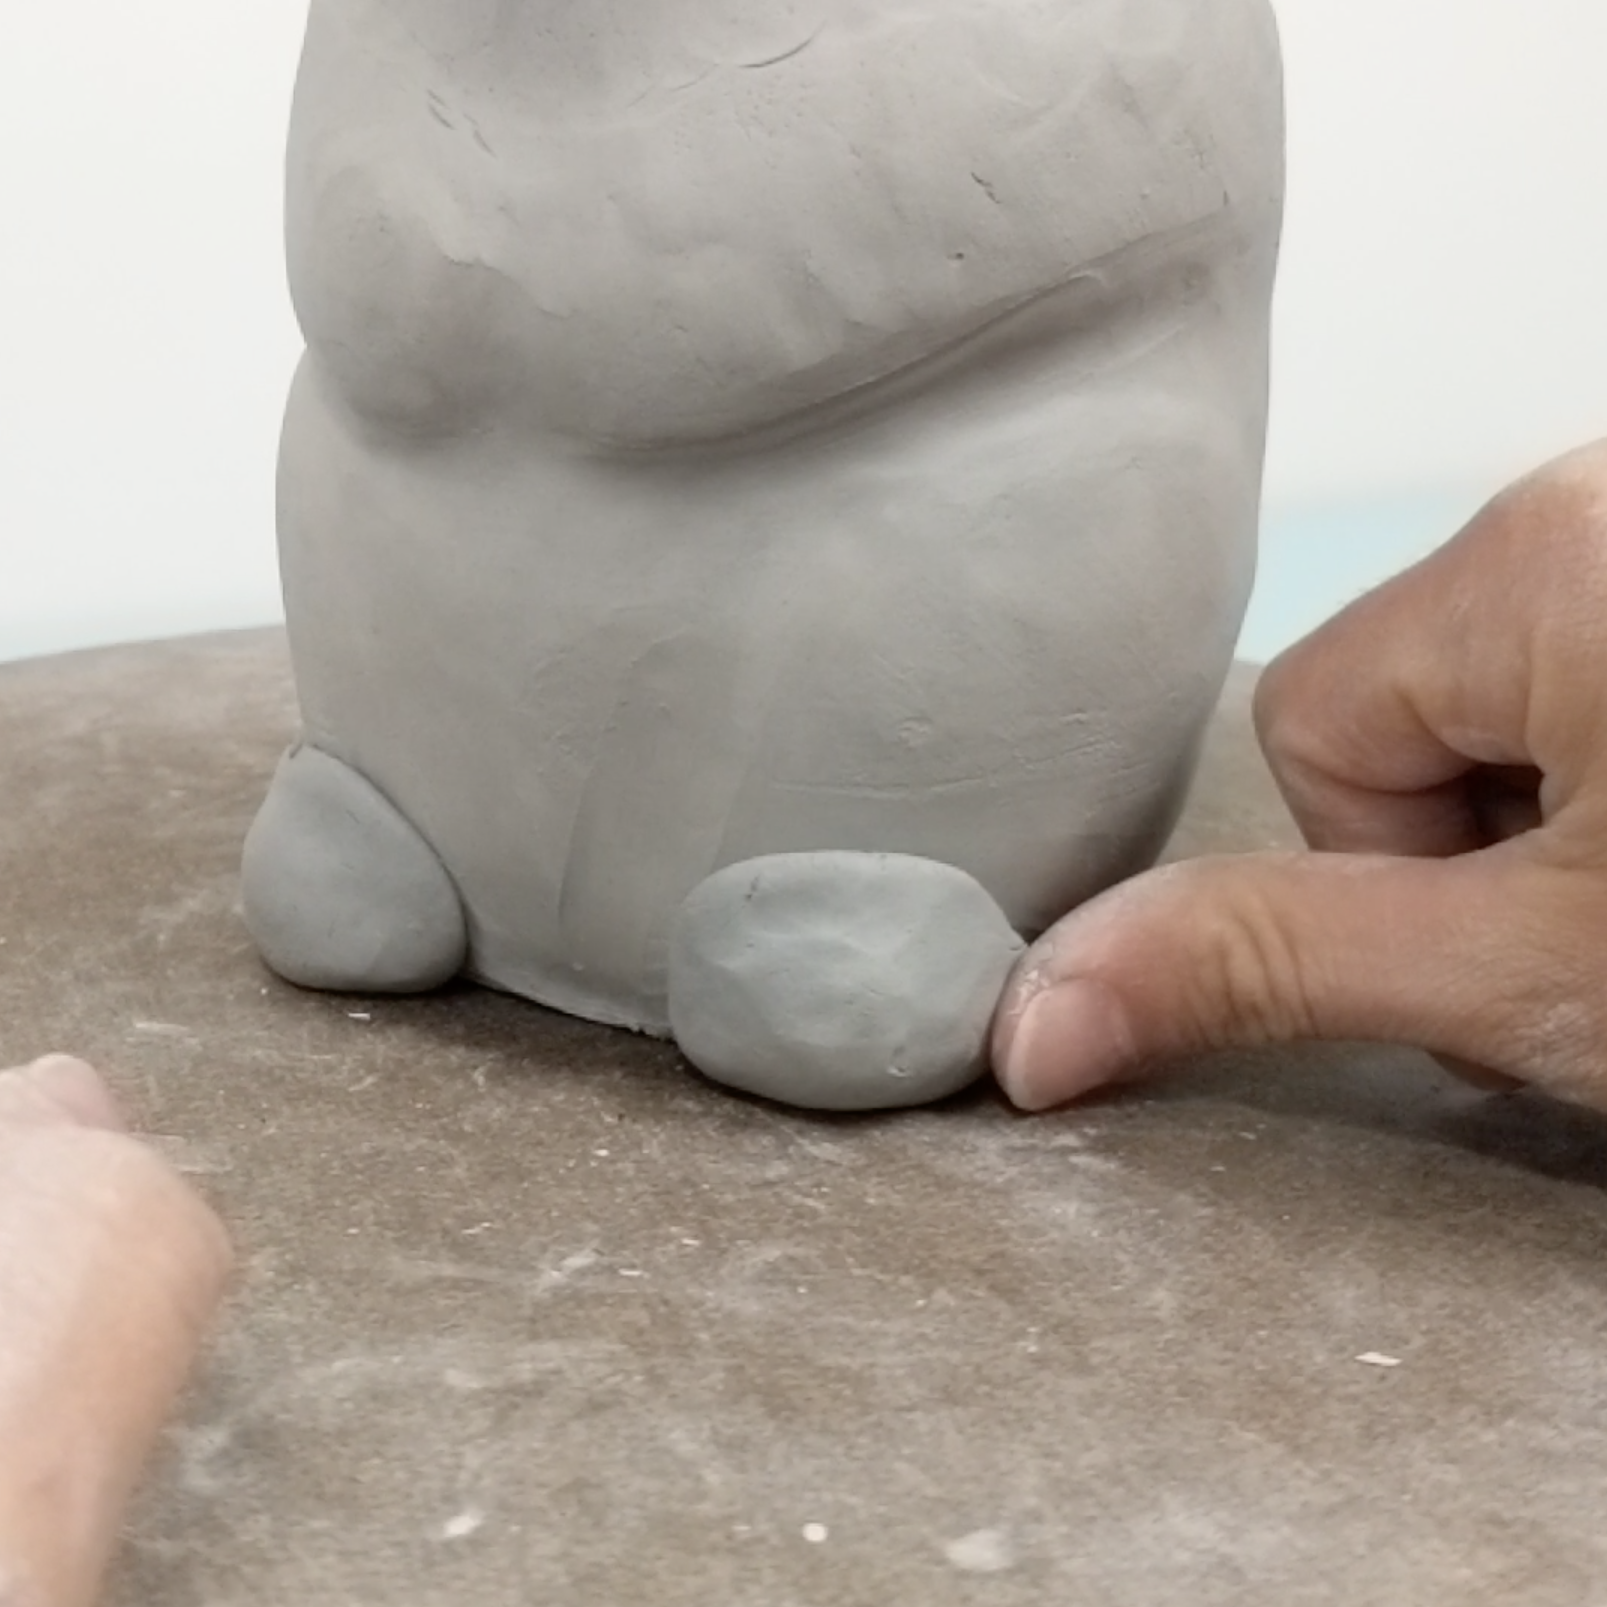
Temporarily place parts to check how they fit.
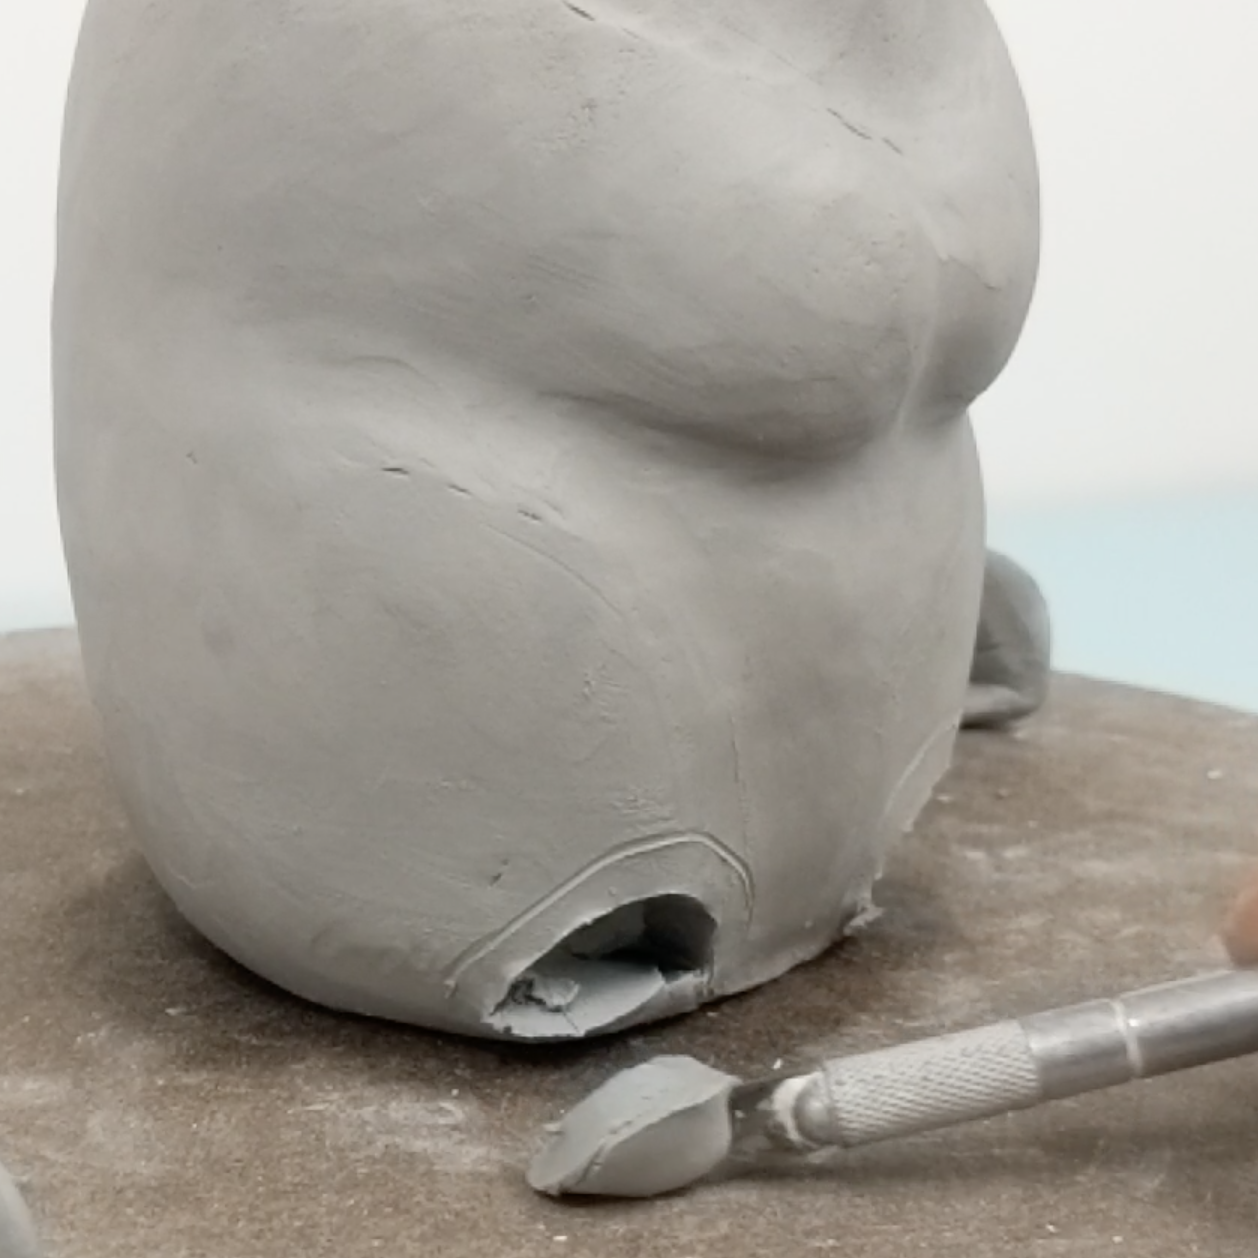
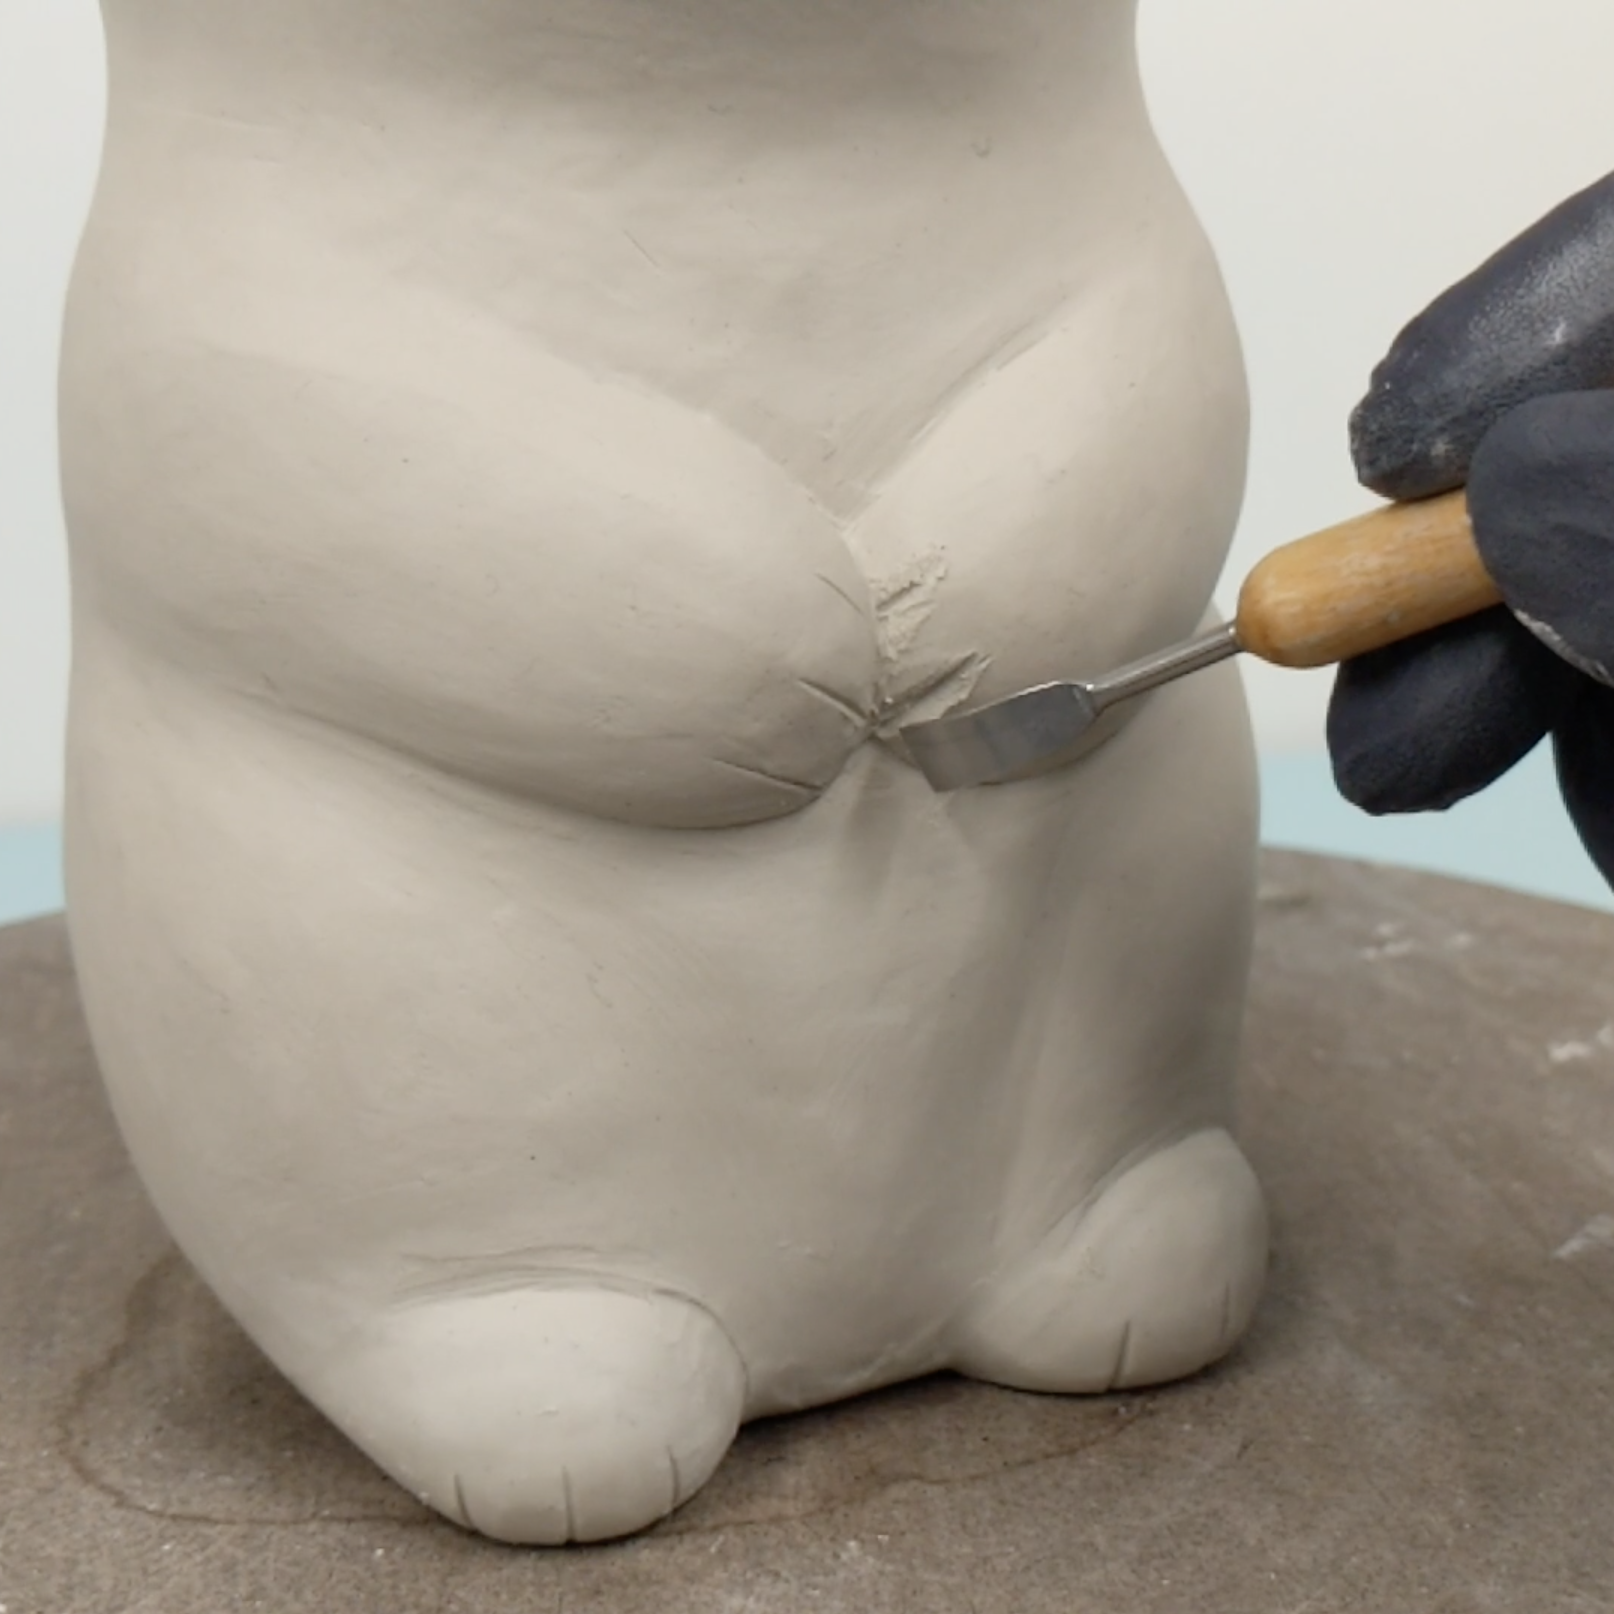
Mark the edge of the attachment and shadow cut inside.
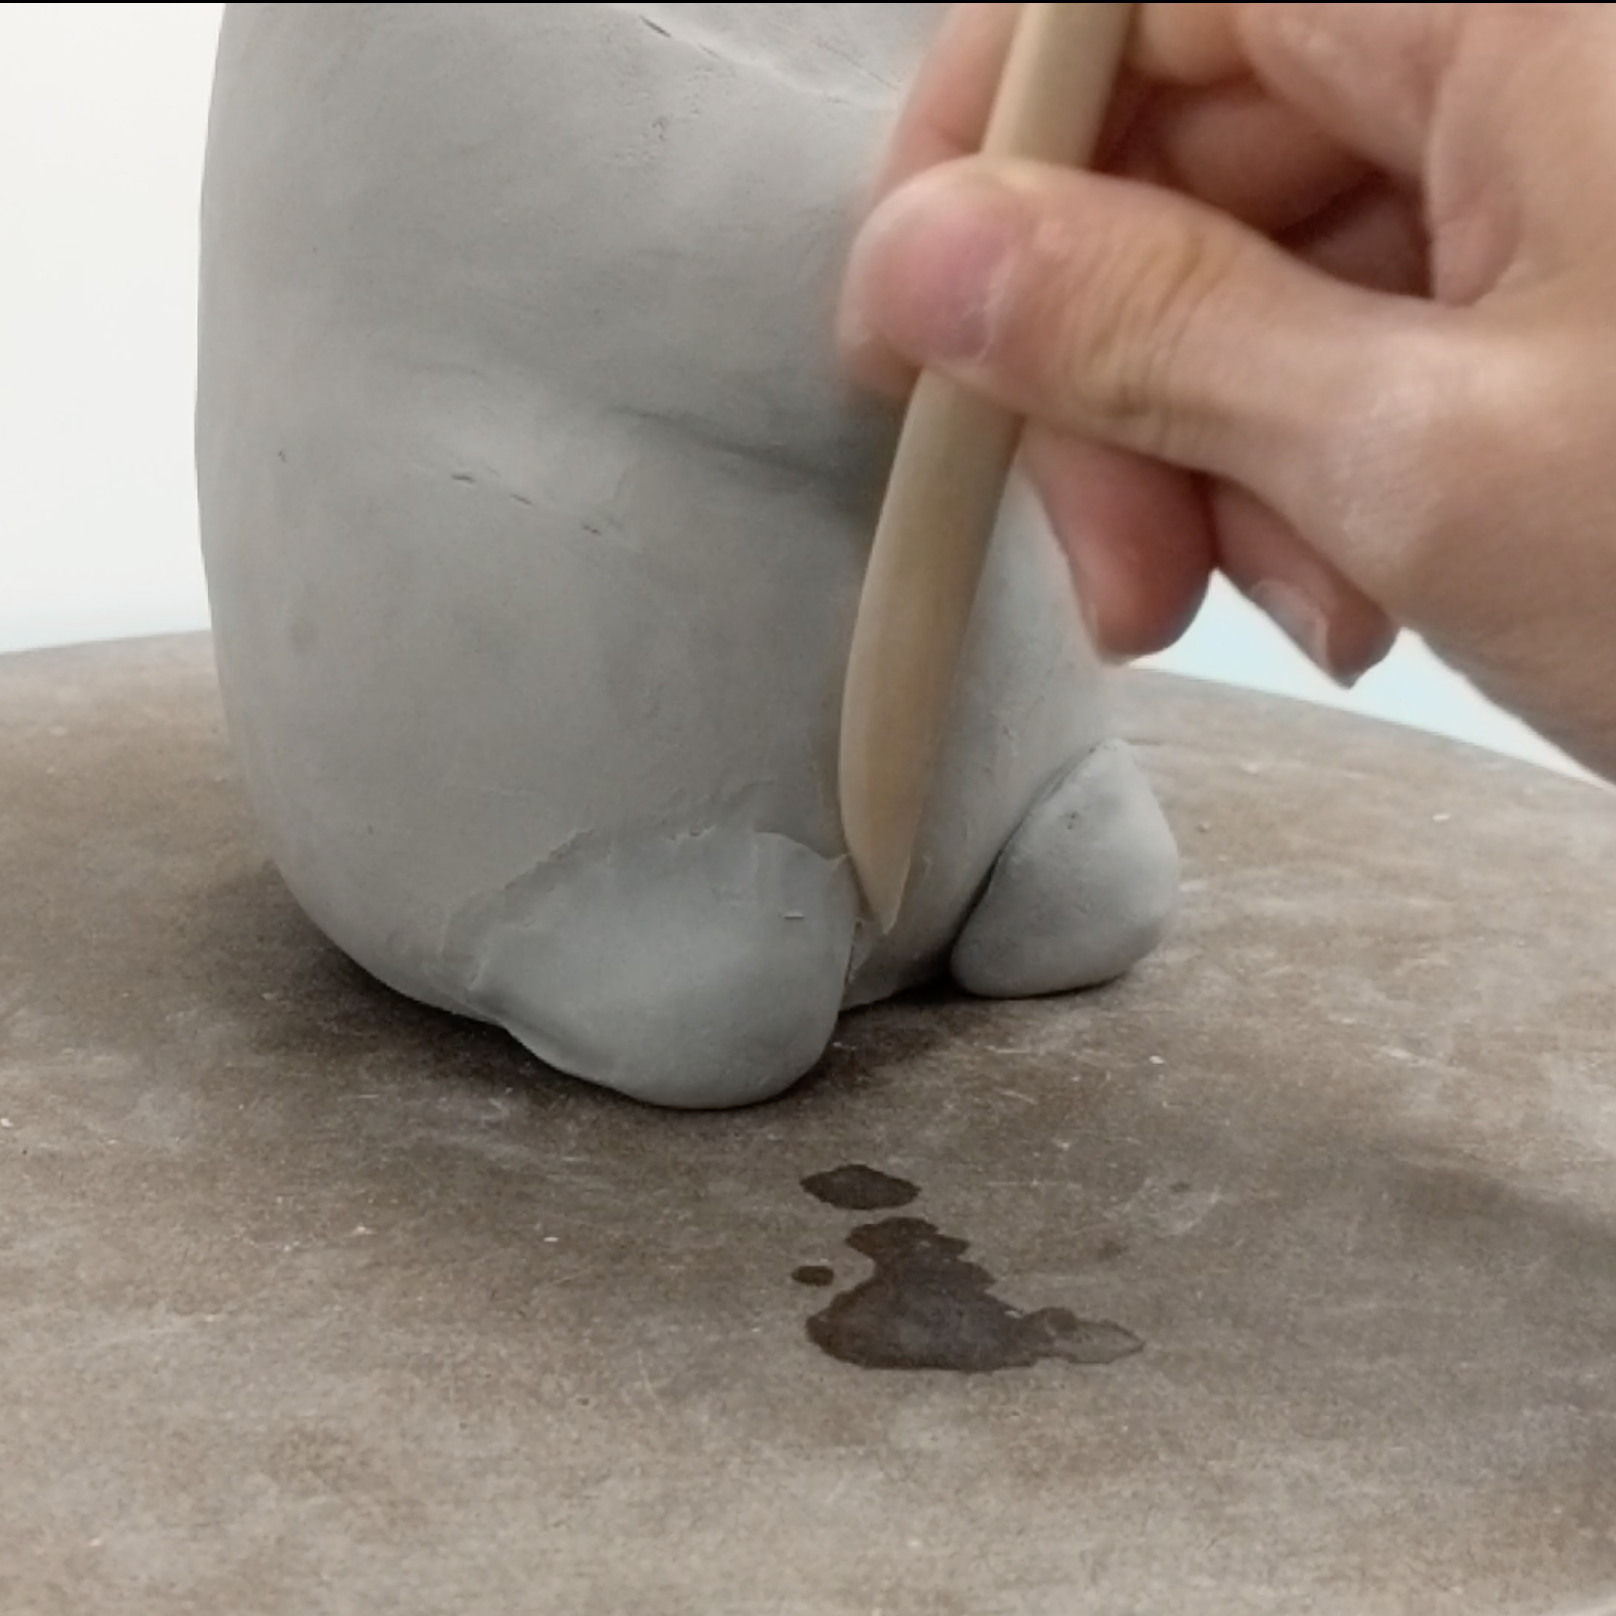
Blend into the body.
For parts that may protrude beyond what the clay can stretch to, you can add as pinched parts. For the feet, I shape these as tear drop pinch pots, marking where they will be placed, and then cutting out the wall just inside those markings to attach. I will also do this for the tail, but with a round pinch pot.
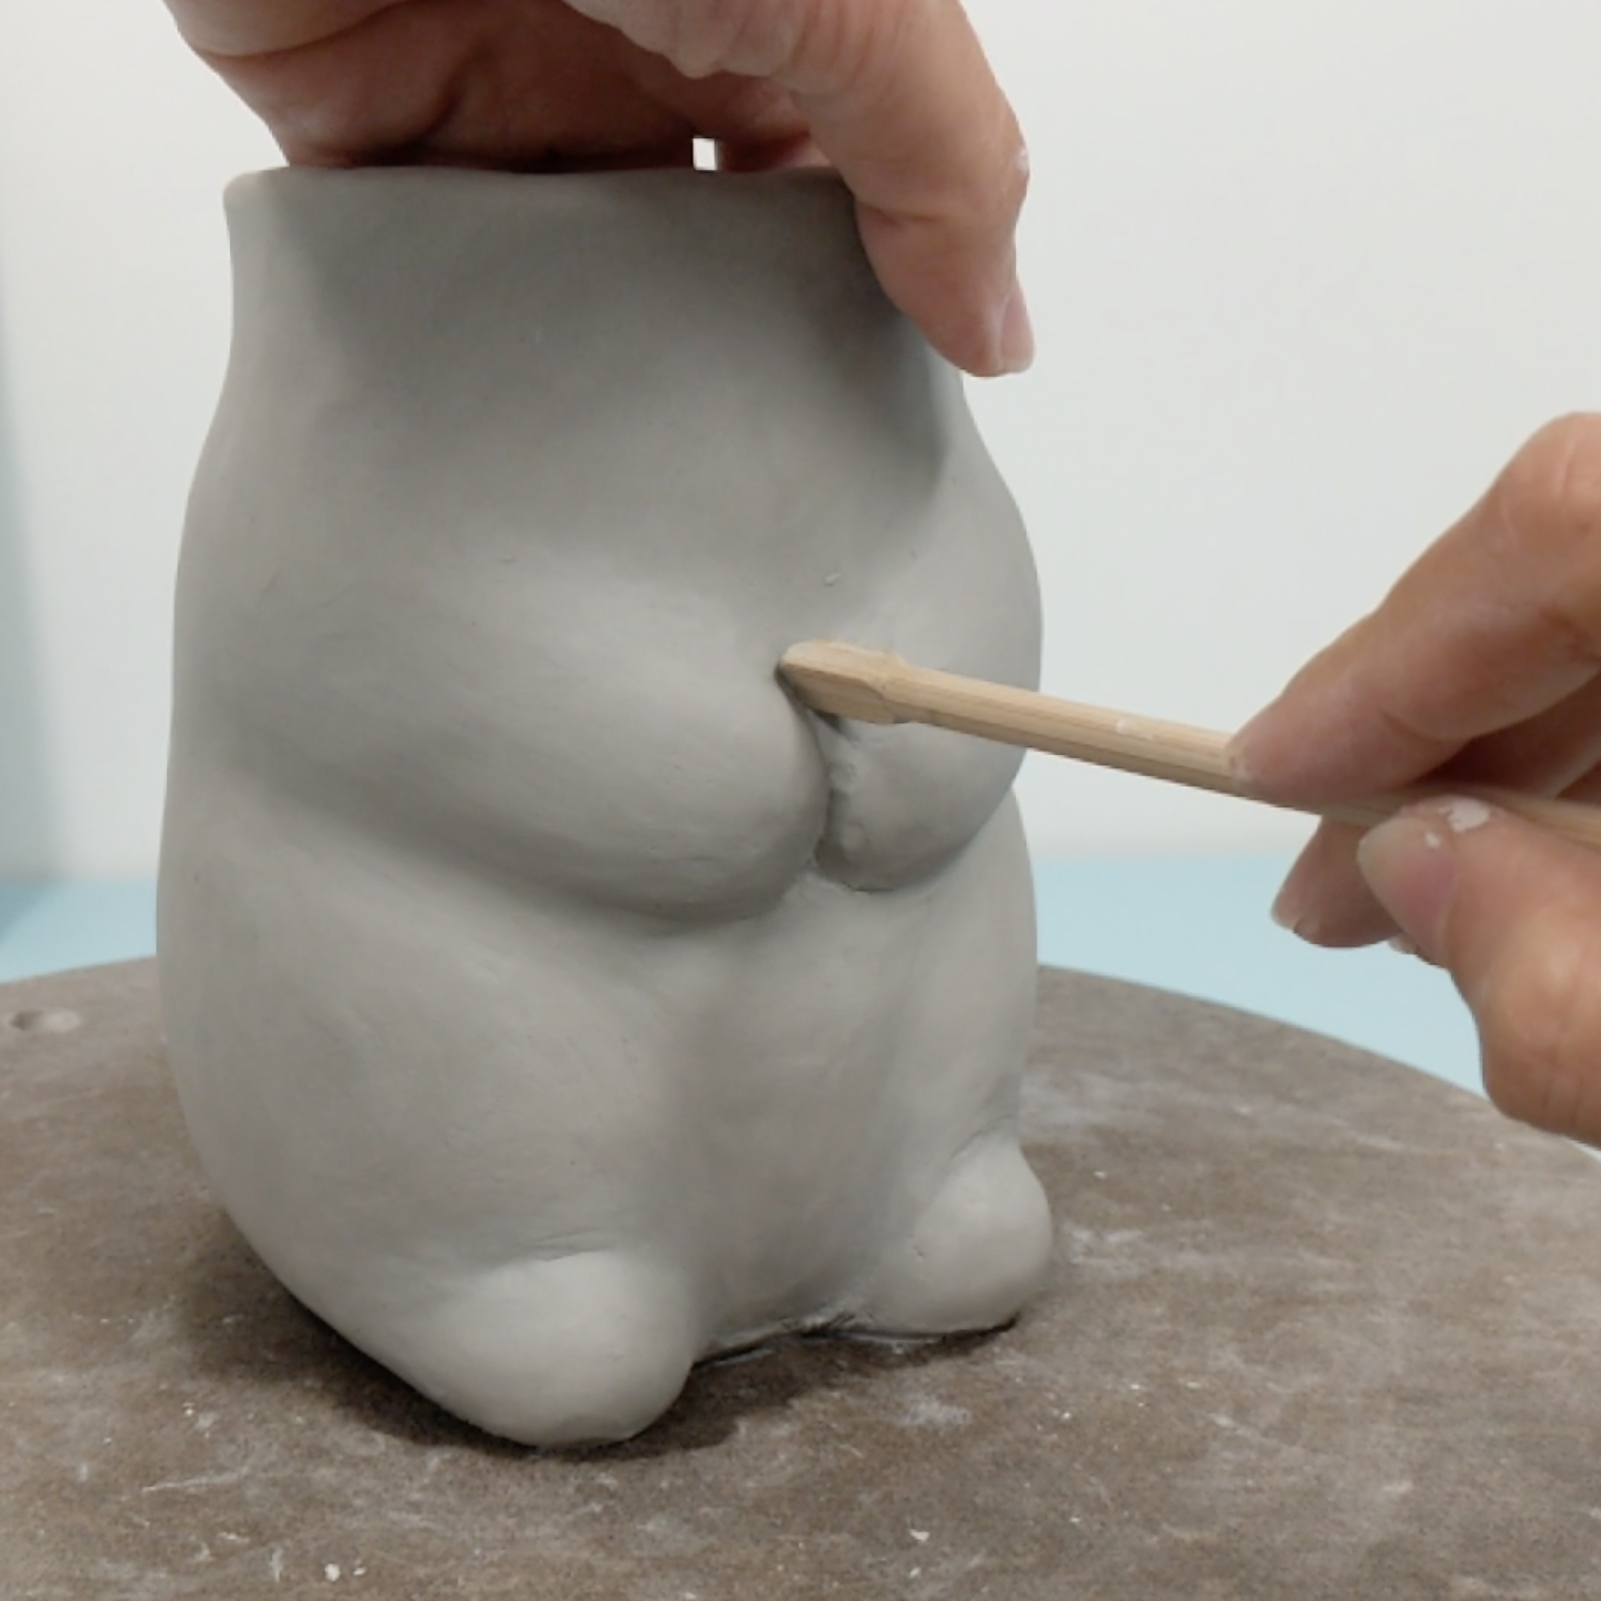
I will use various tools to help define parts, such as the square end of the back of a chopstick to create a sharp V where the paws meet.
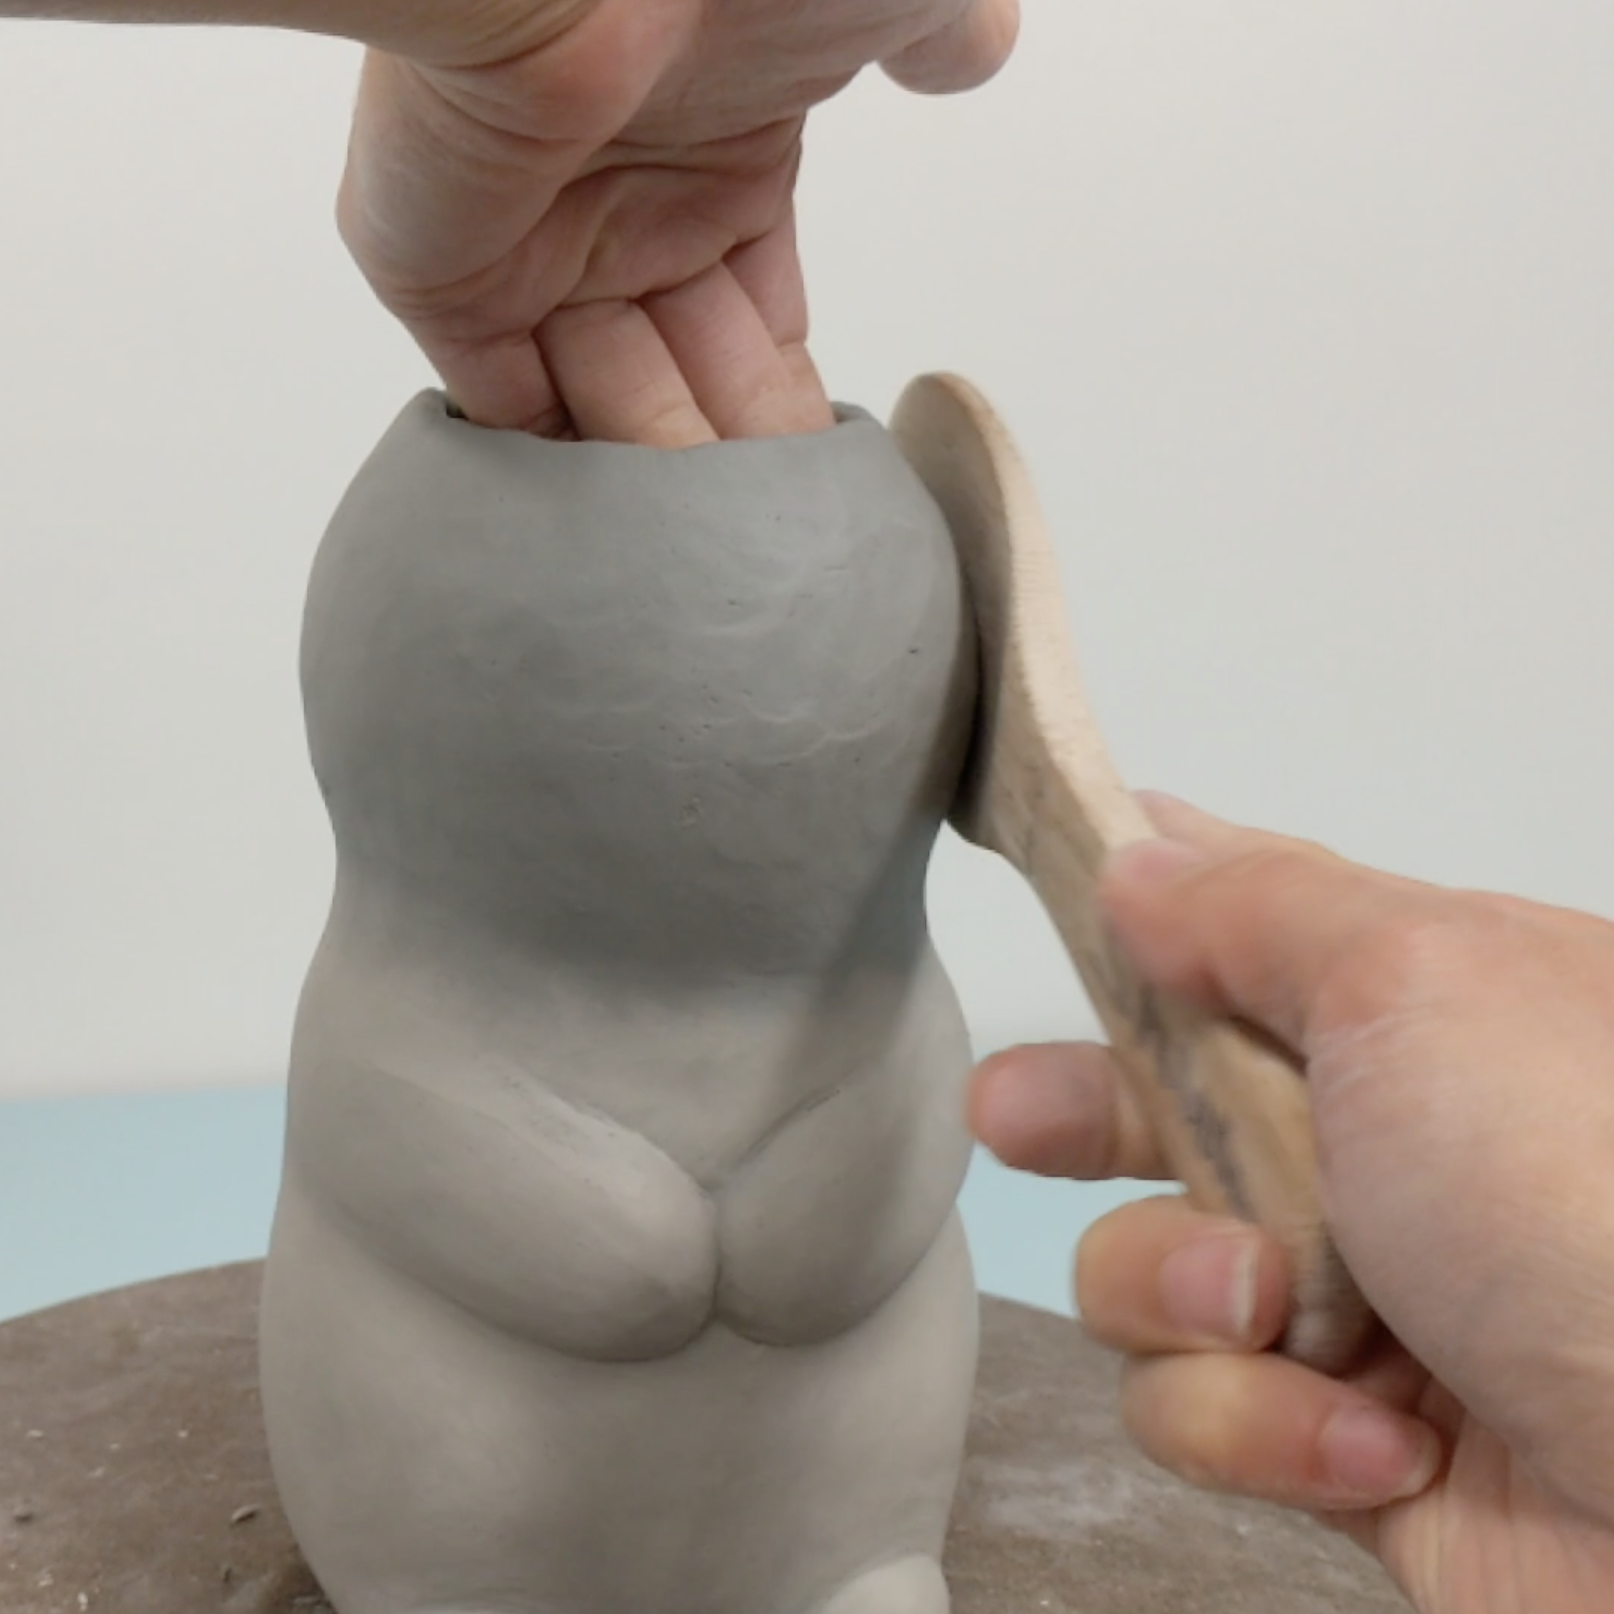
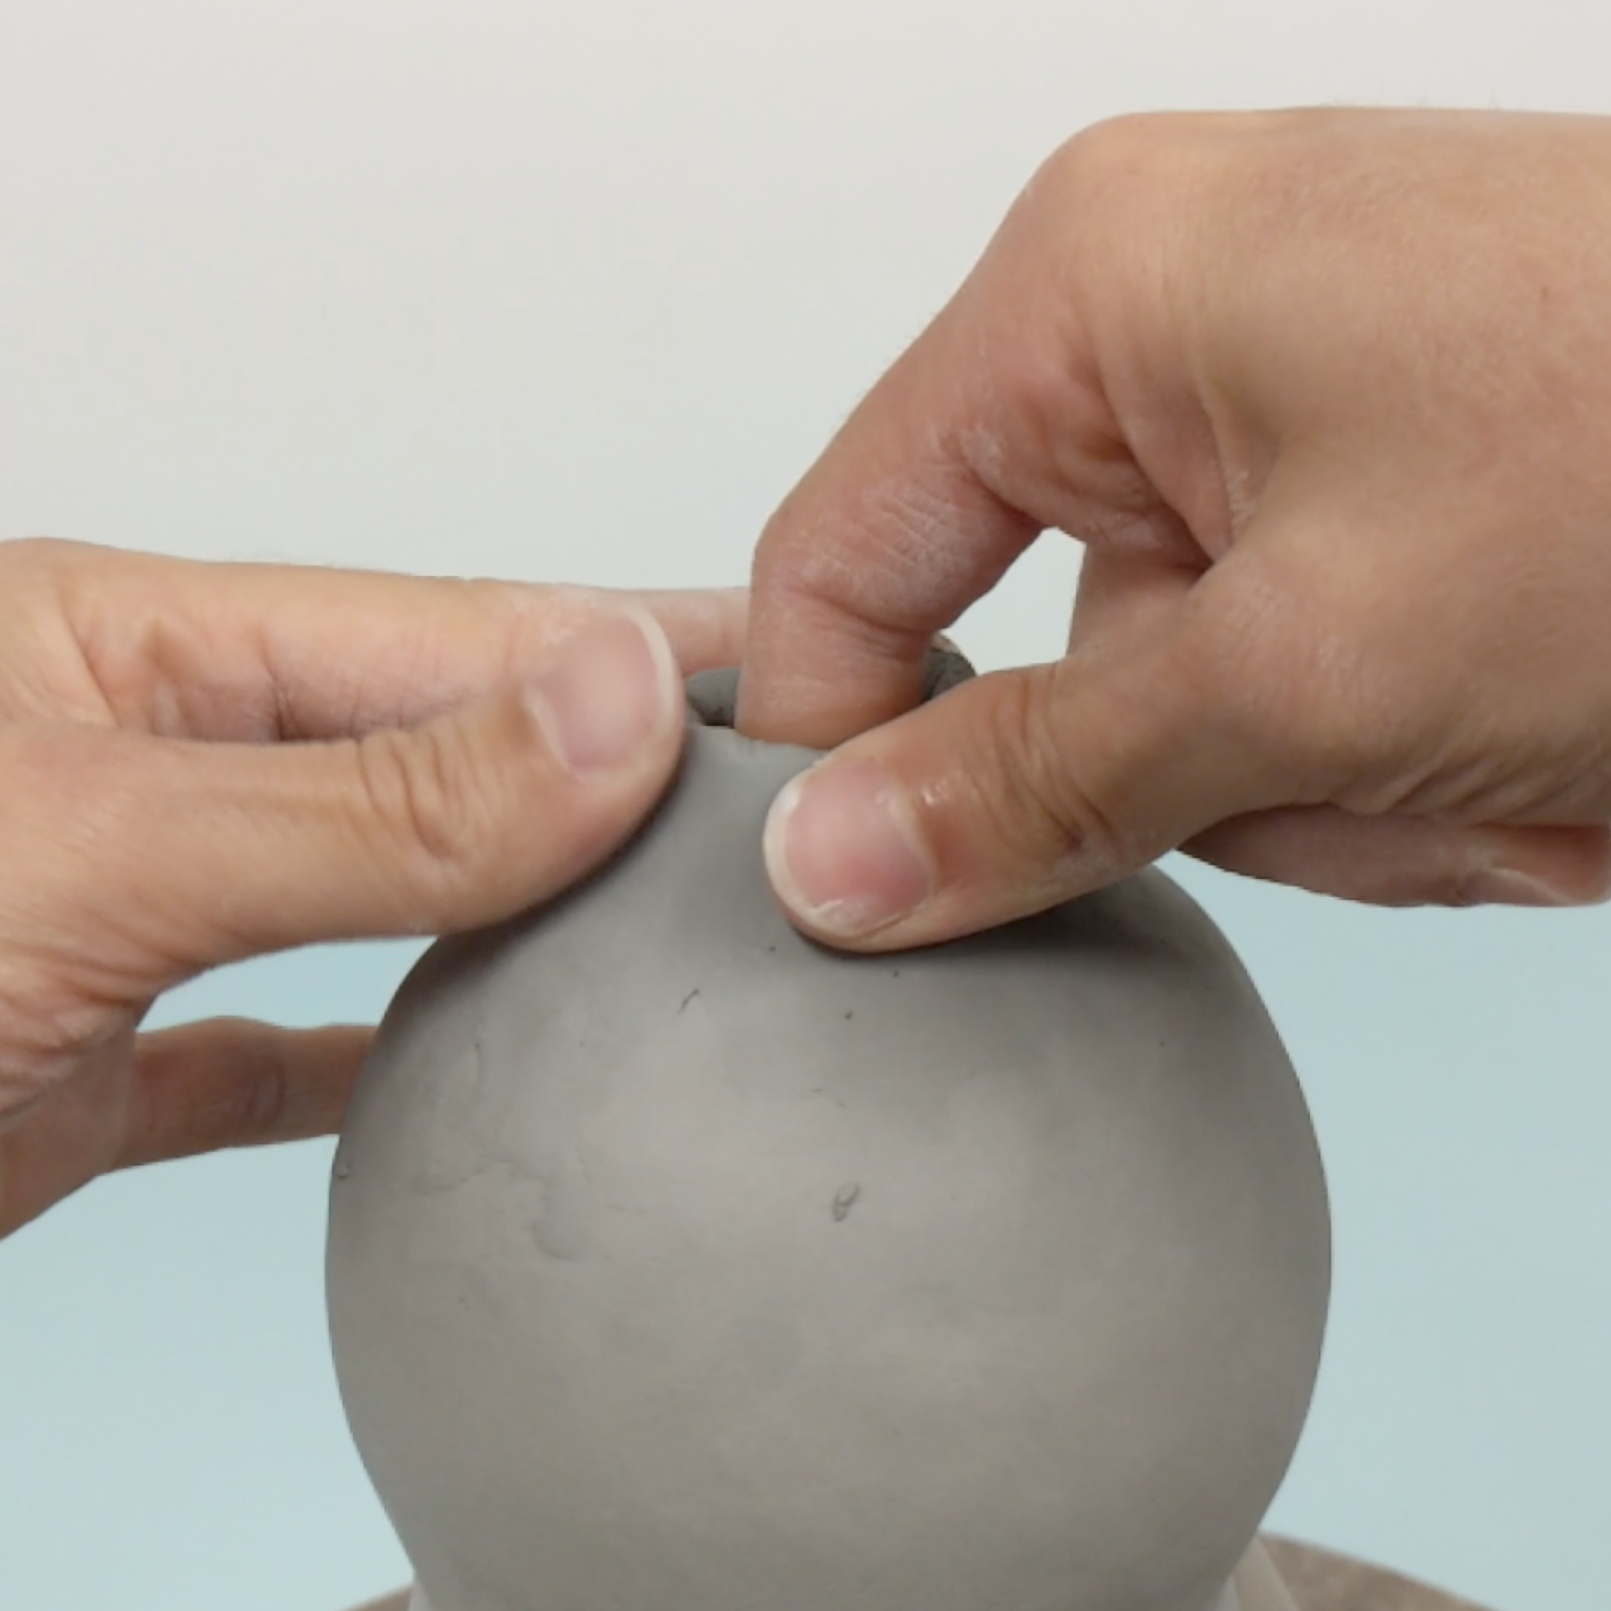
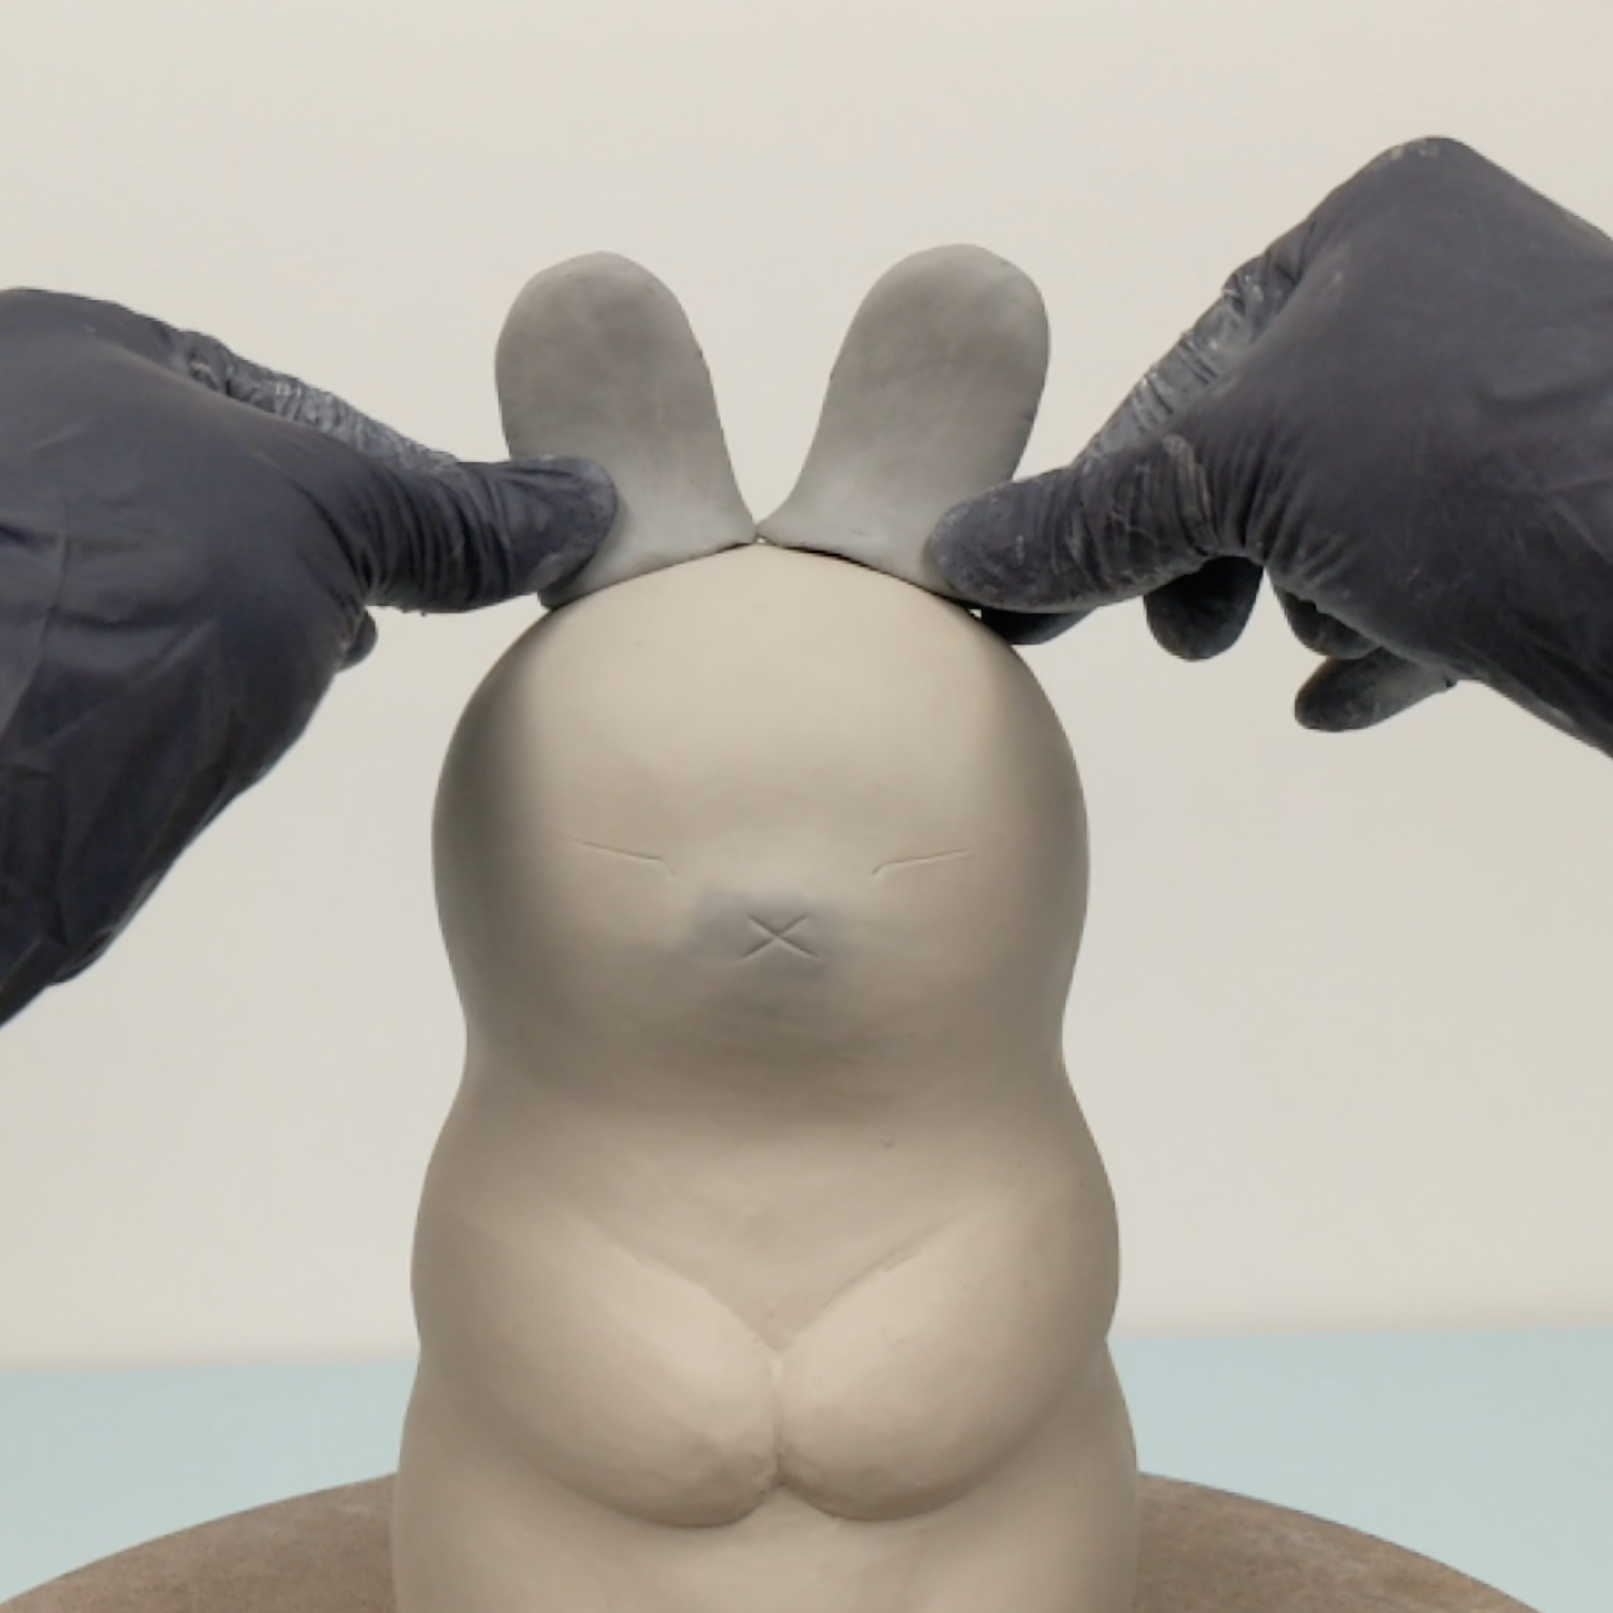
Add more coils, controlling the shape inward so that the bunny has a clear neck that then expands outward for the roundness of the head. I will support the clay from the inside with my left hand and tap the outside with a rice paddle to shape and smooth the surface.
You could add a pinched ball for the head too. I prefer coiling so that I can still adjust the shape from the inside.
Small cylinder rather than another coil.
After smearing, pinch inward and upward
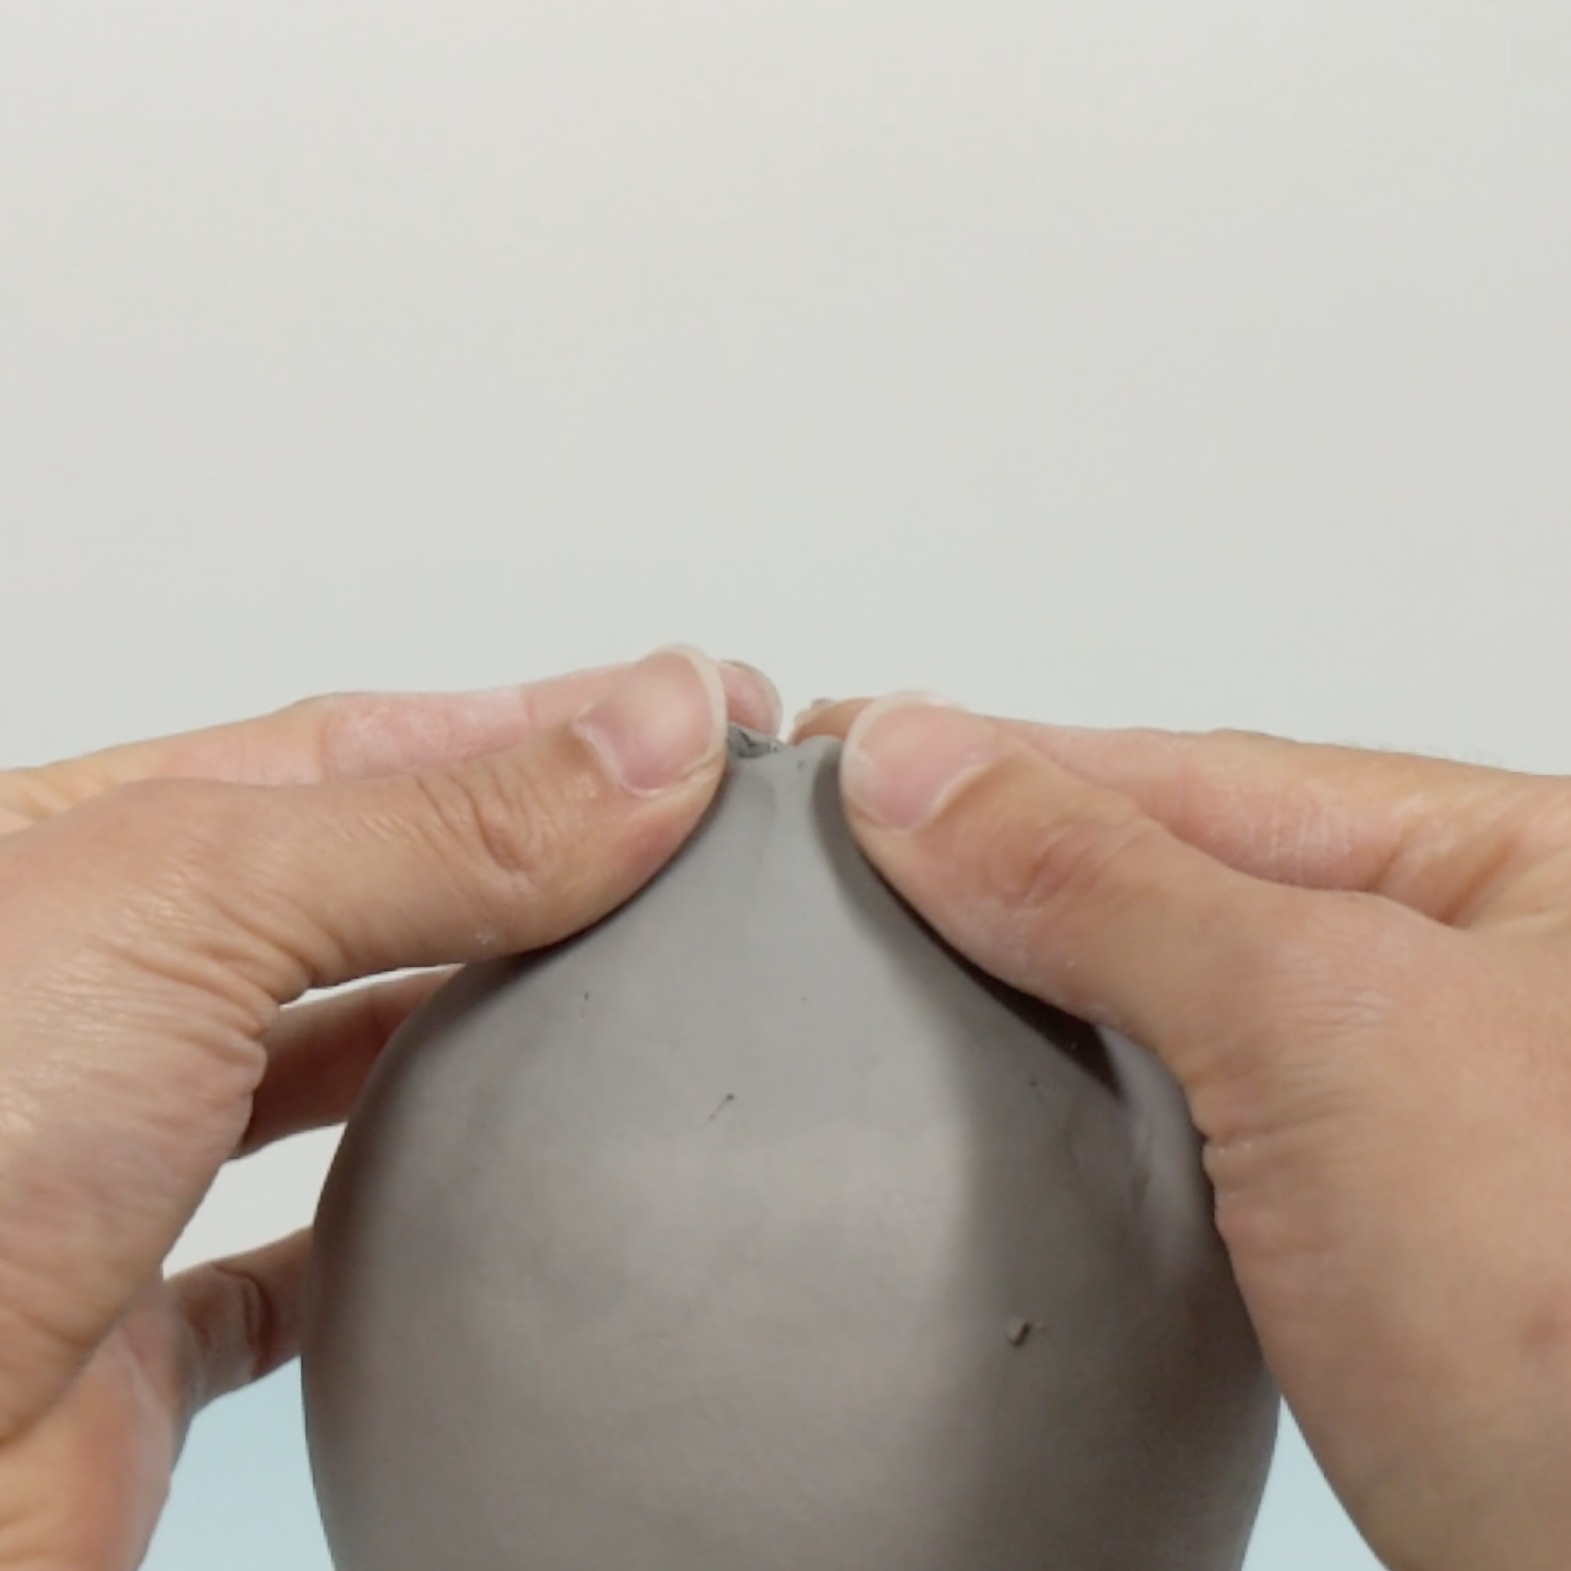
Seal by pinching inward just from the outside.
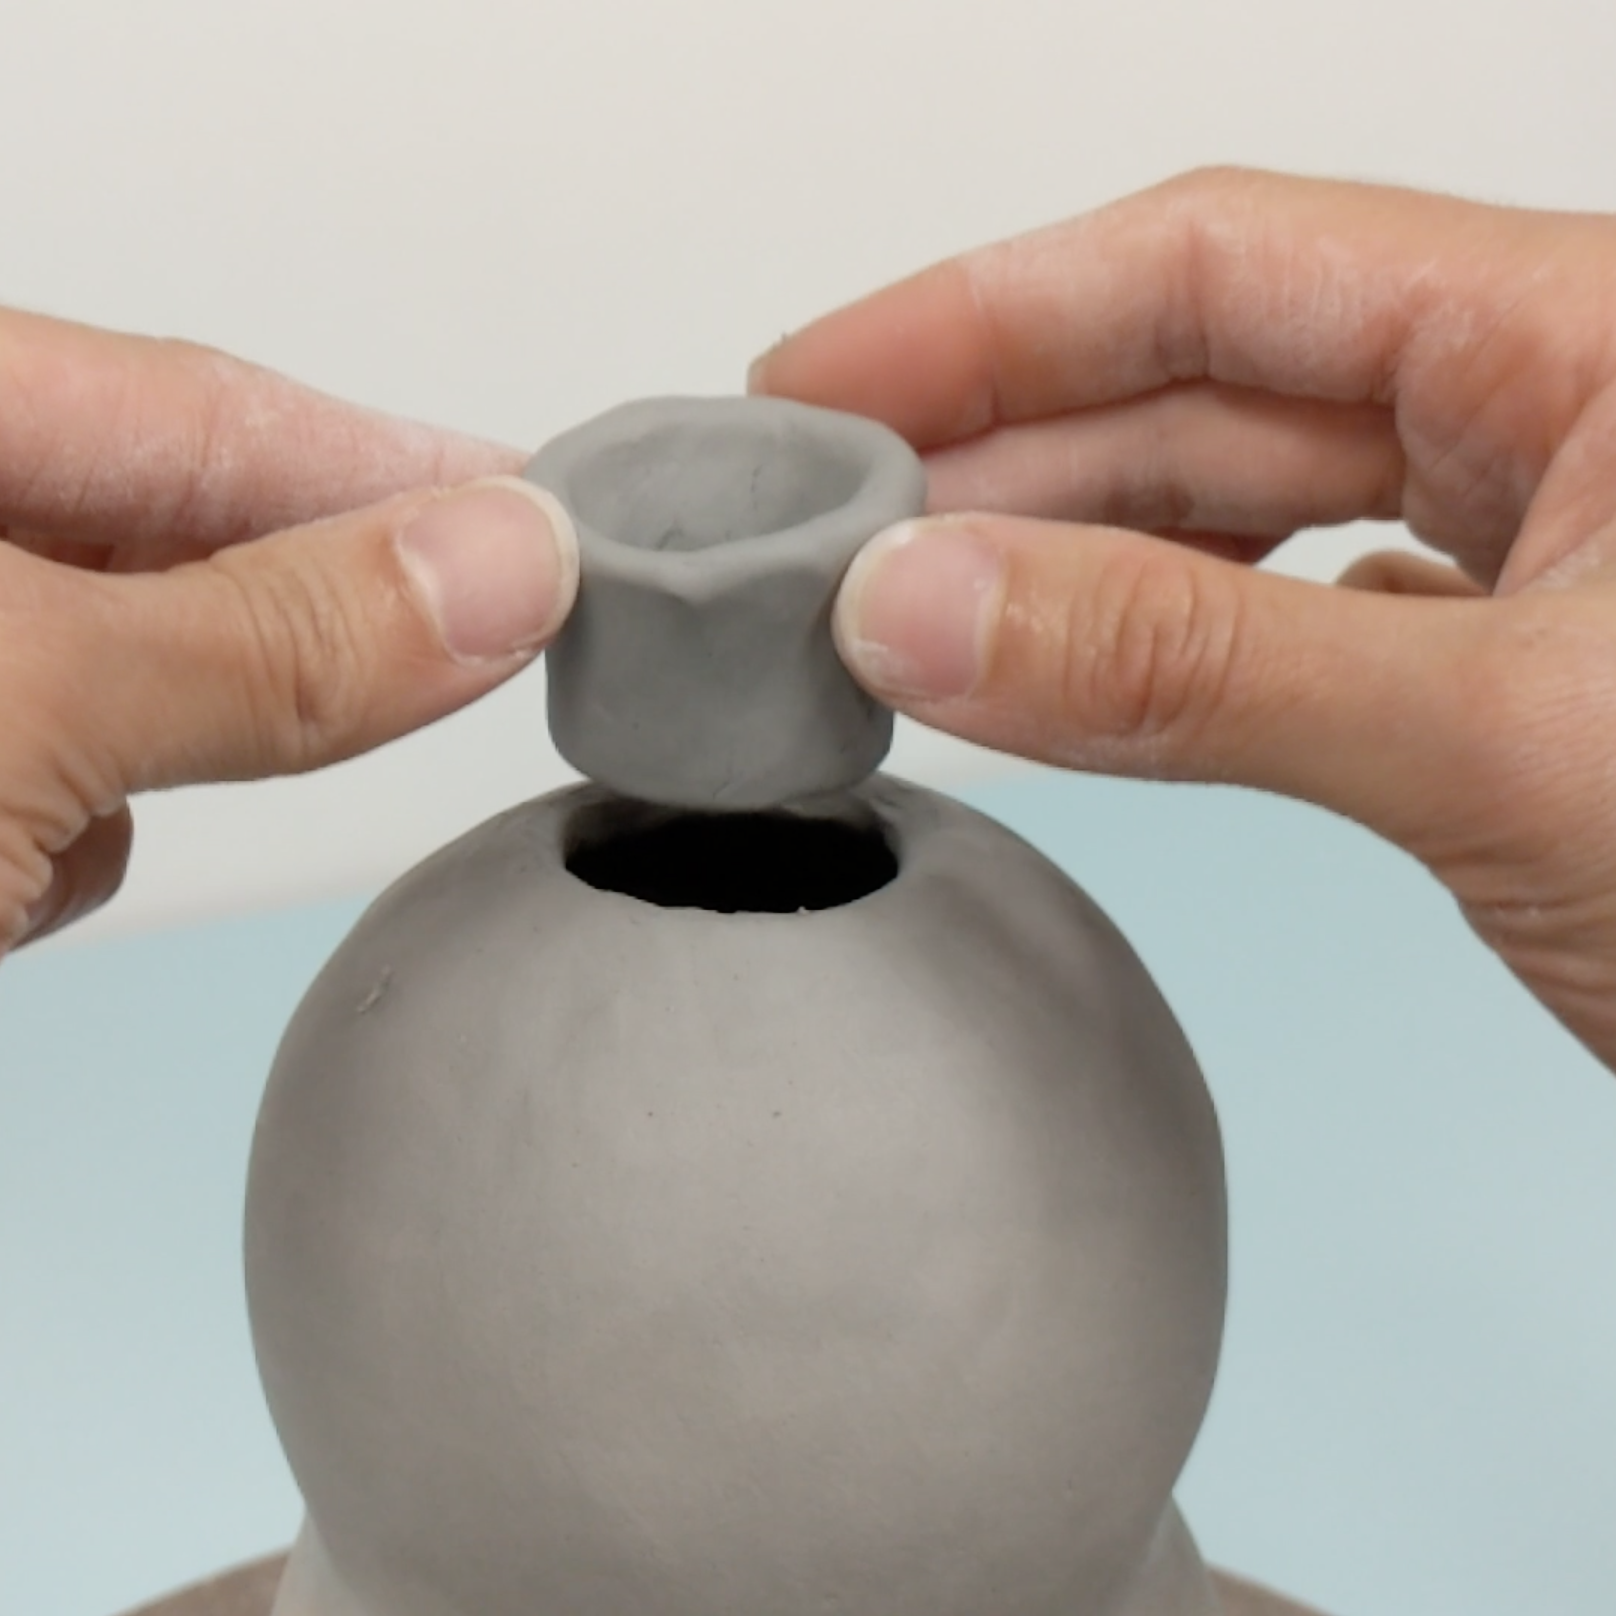
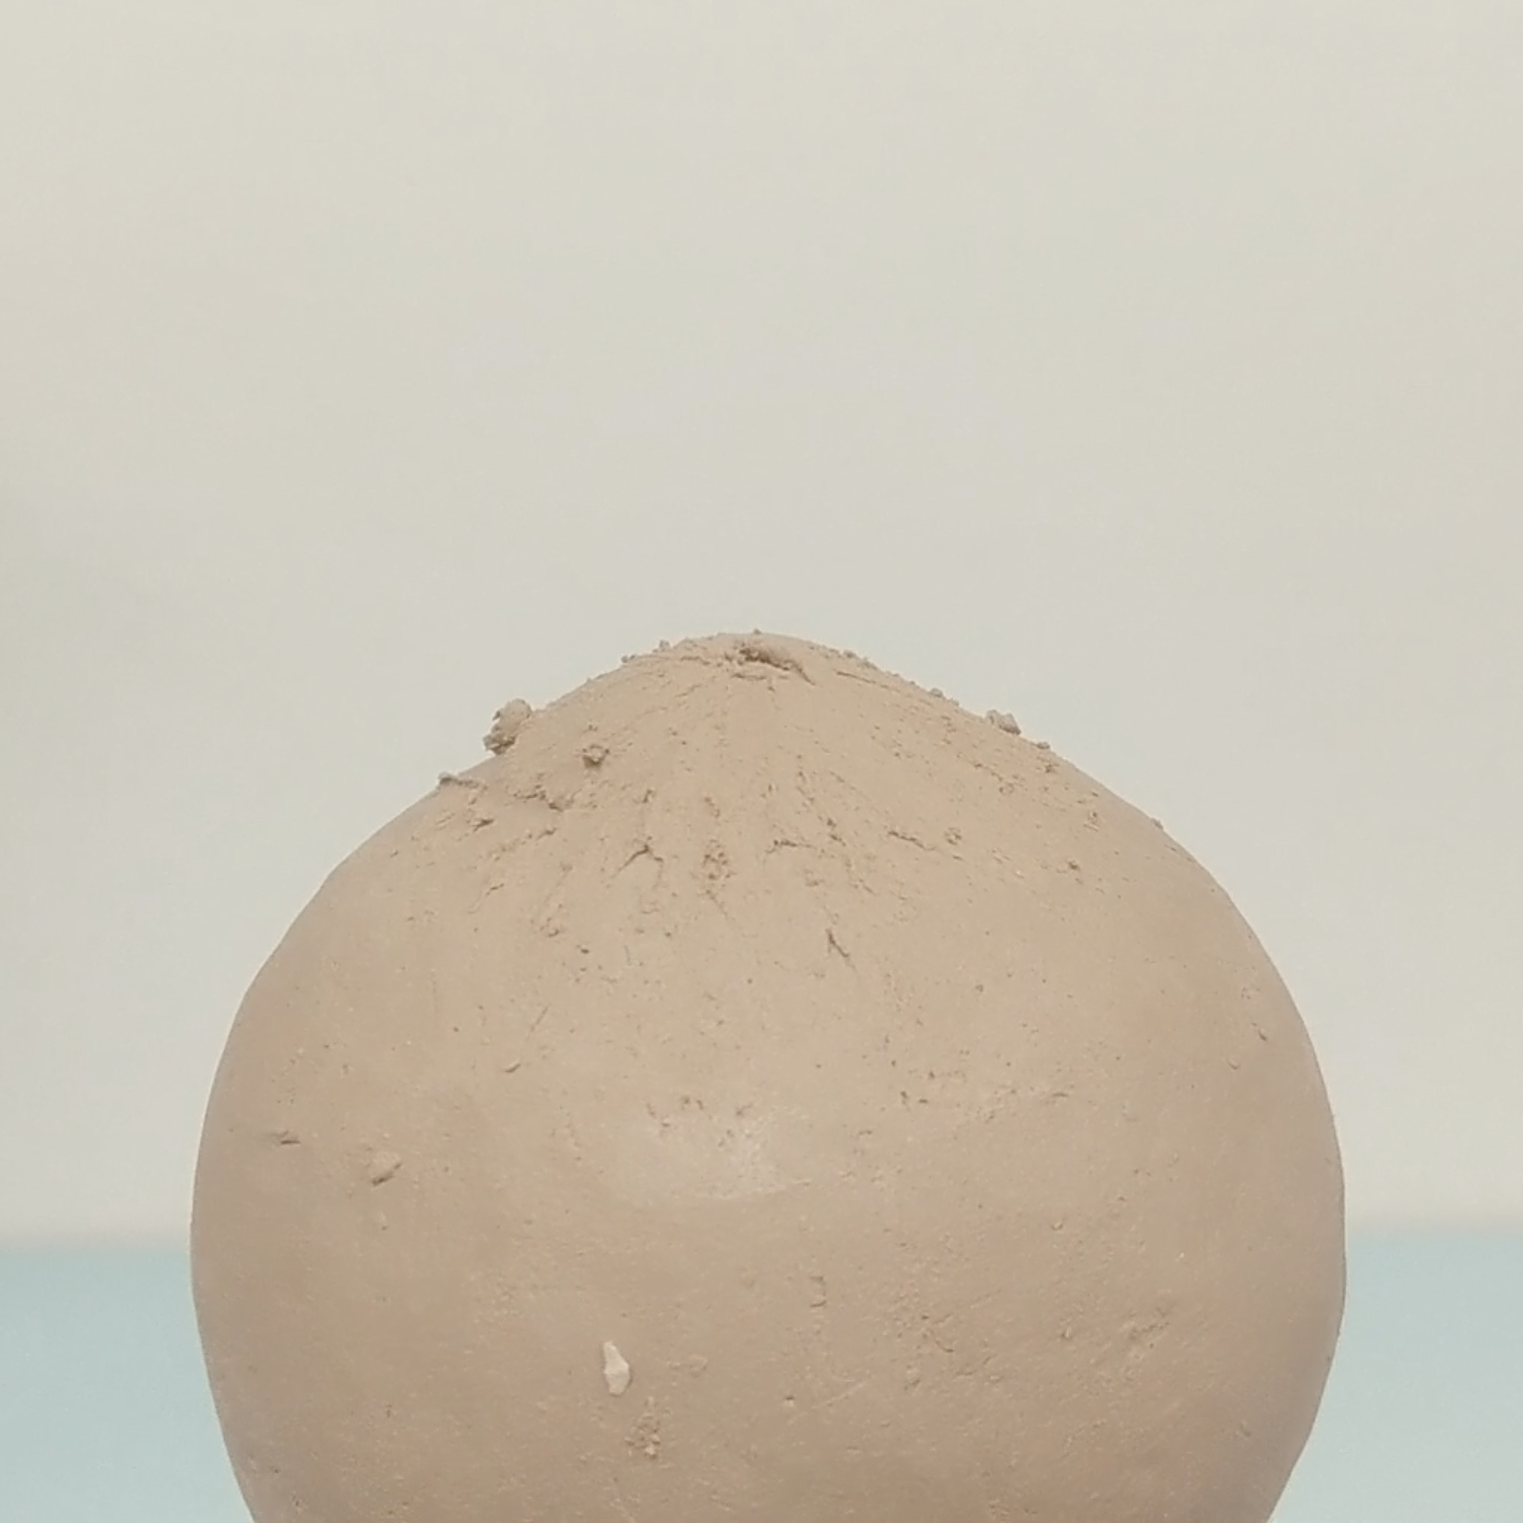
To finish off the head, trim the top edge of the opening into a neat circle. This makes the shape easier to work with, removes any crimps, and exposes the fresher clay inside. Form a small cylinder of clay by piercing a round paddy into a donut shape then pinching the walls thinner and taller. It should sit into the opening of the head without falling in.
Fold the cylinder over the edge of the opening, so that it encases it on the outside and inside. Blend on the outside and as best you can on the inside. This will give you extra clay to work with to close the top.
Pinch the newly added clay upward and inward until you can only fit one finger in. You will have a small volcano shape. Pinch it inward just from the outside to close up the hole. I will often pinch of a small bit of extra clay to make the peak as small as I can while ensuring the top is securely closed off.
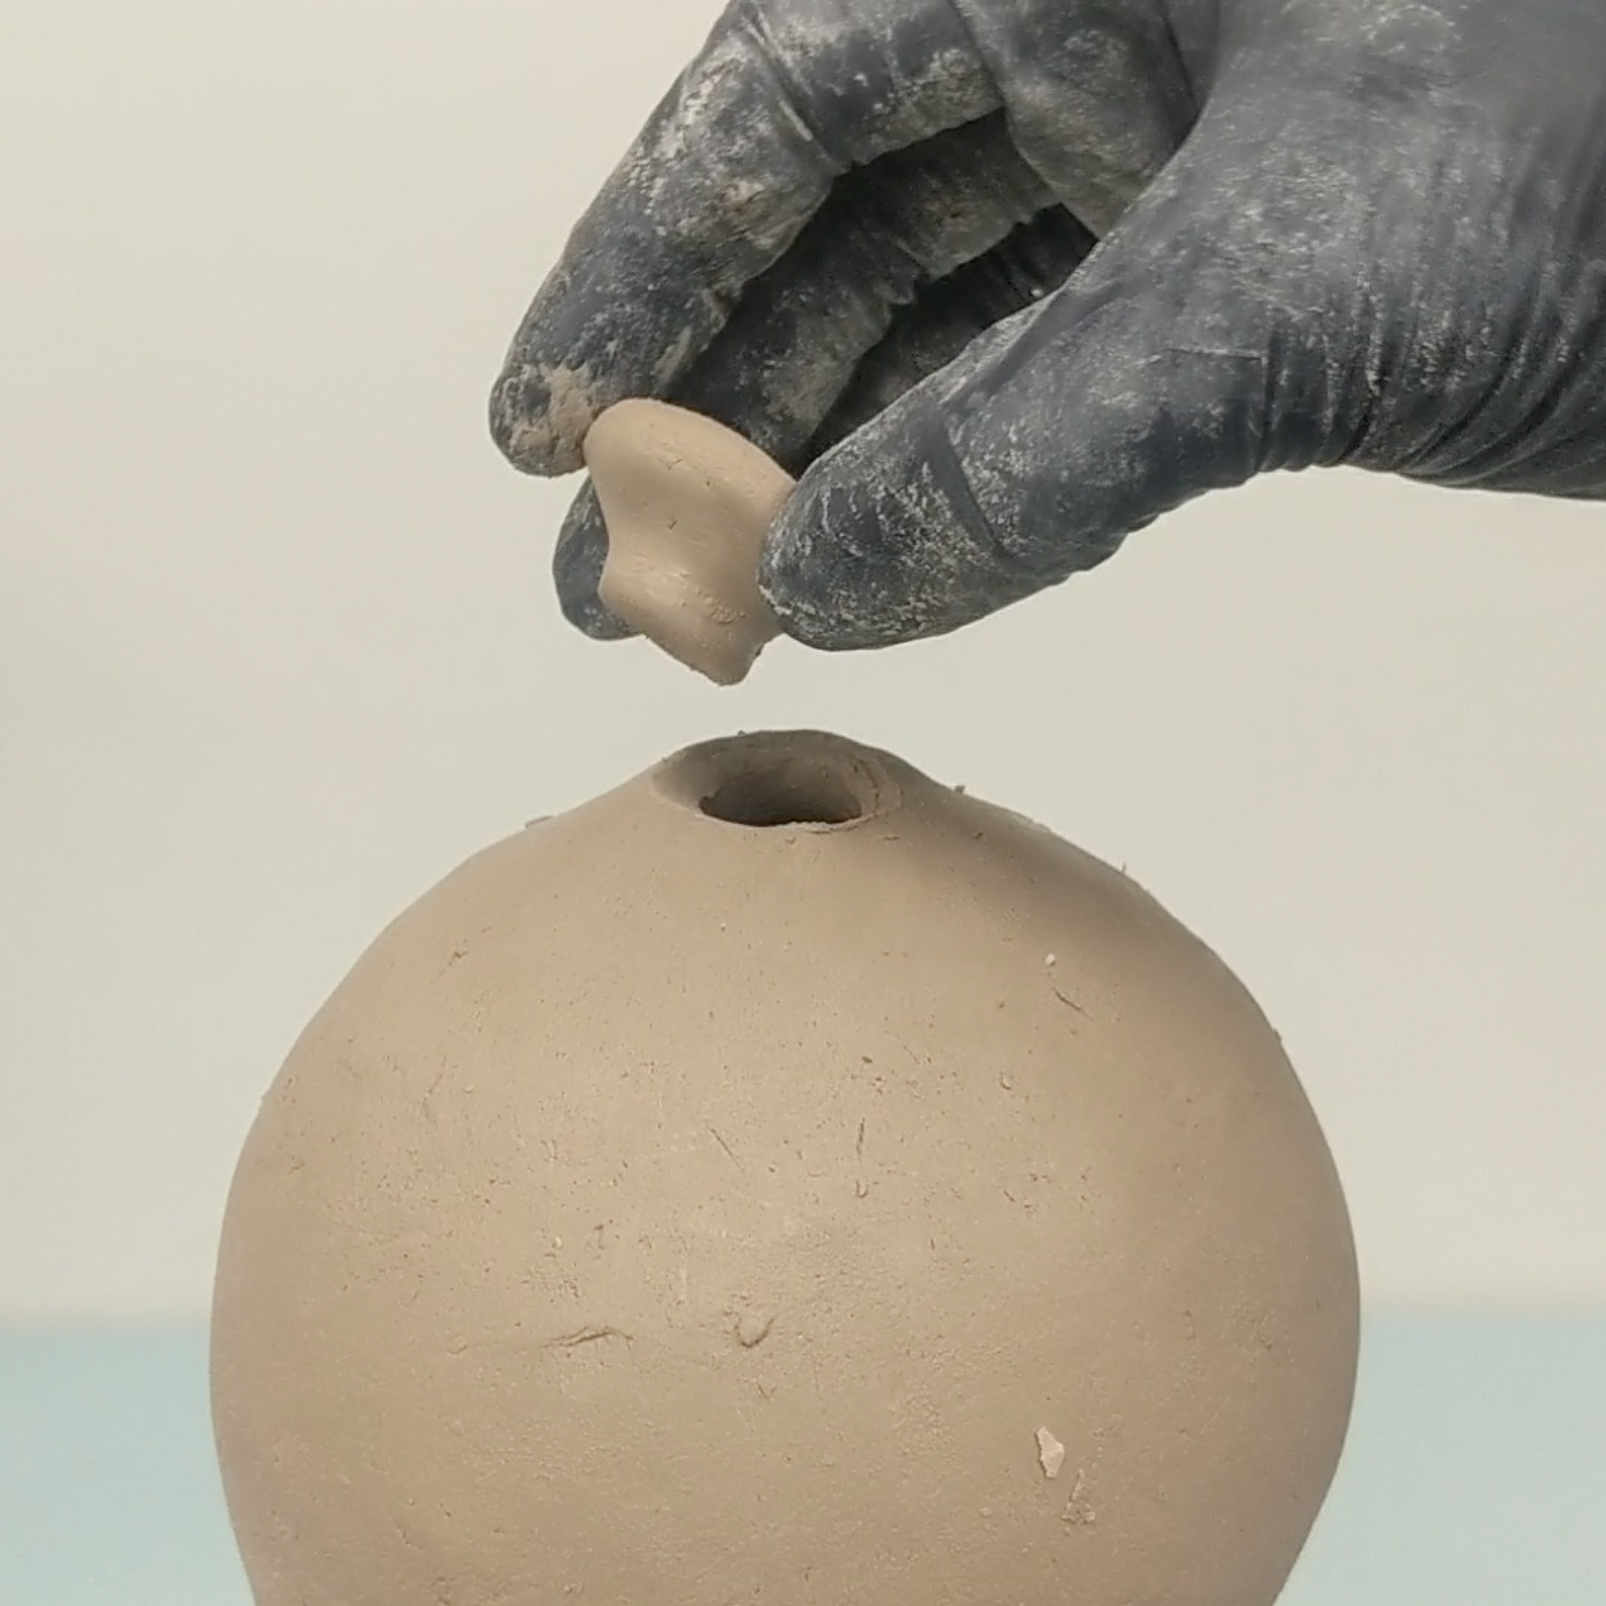
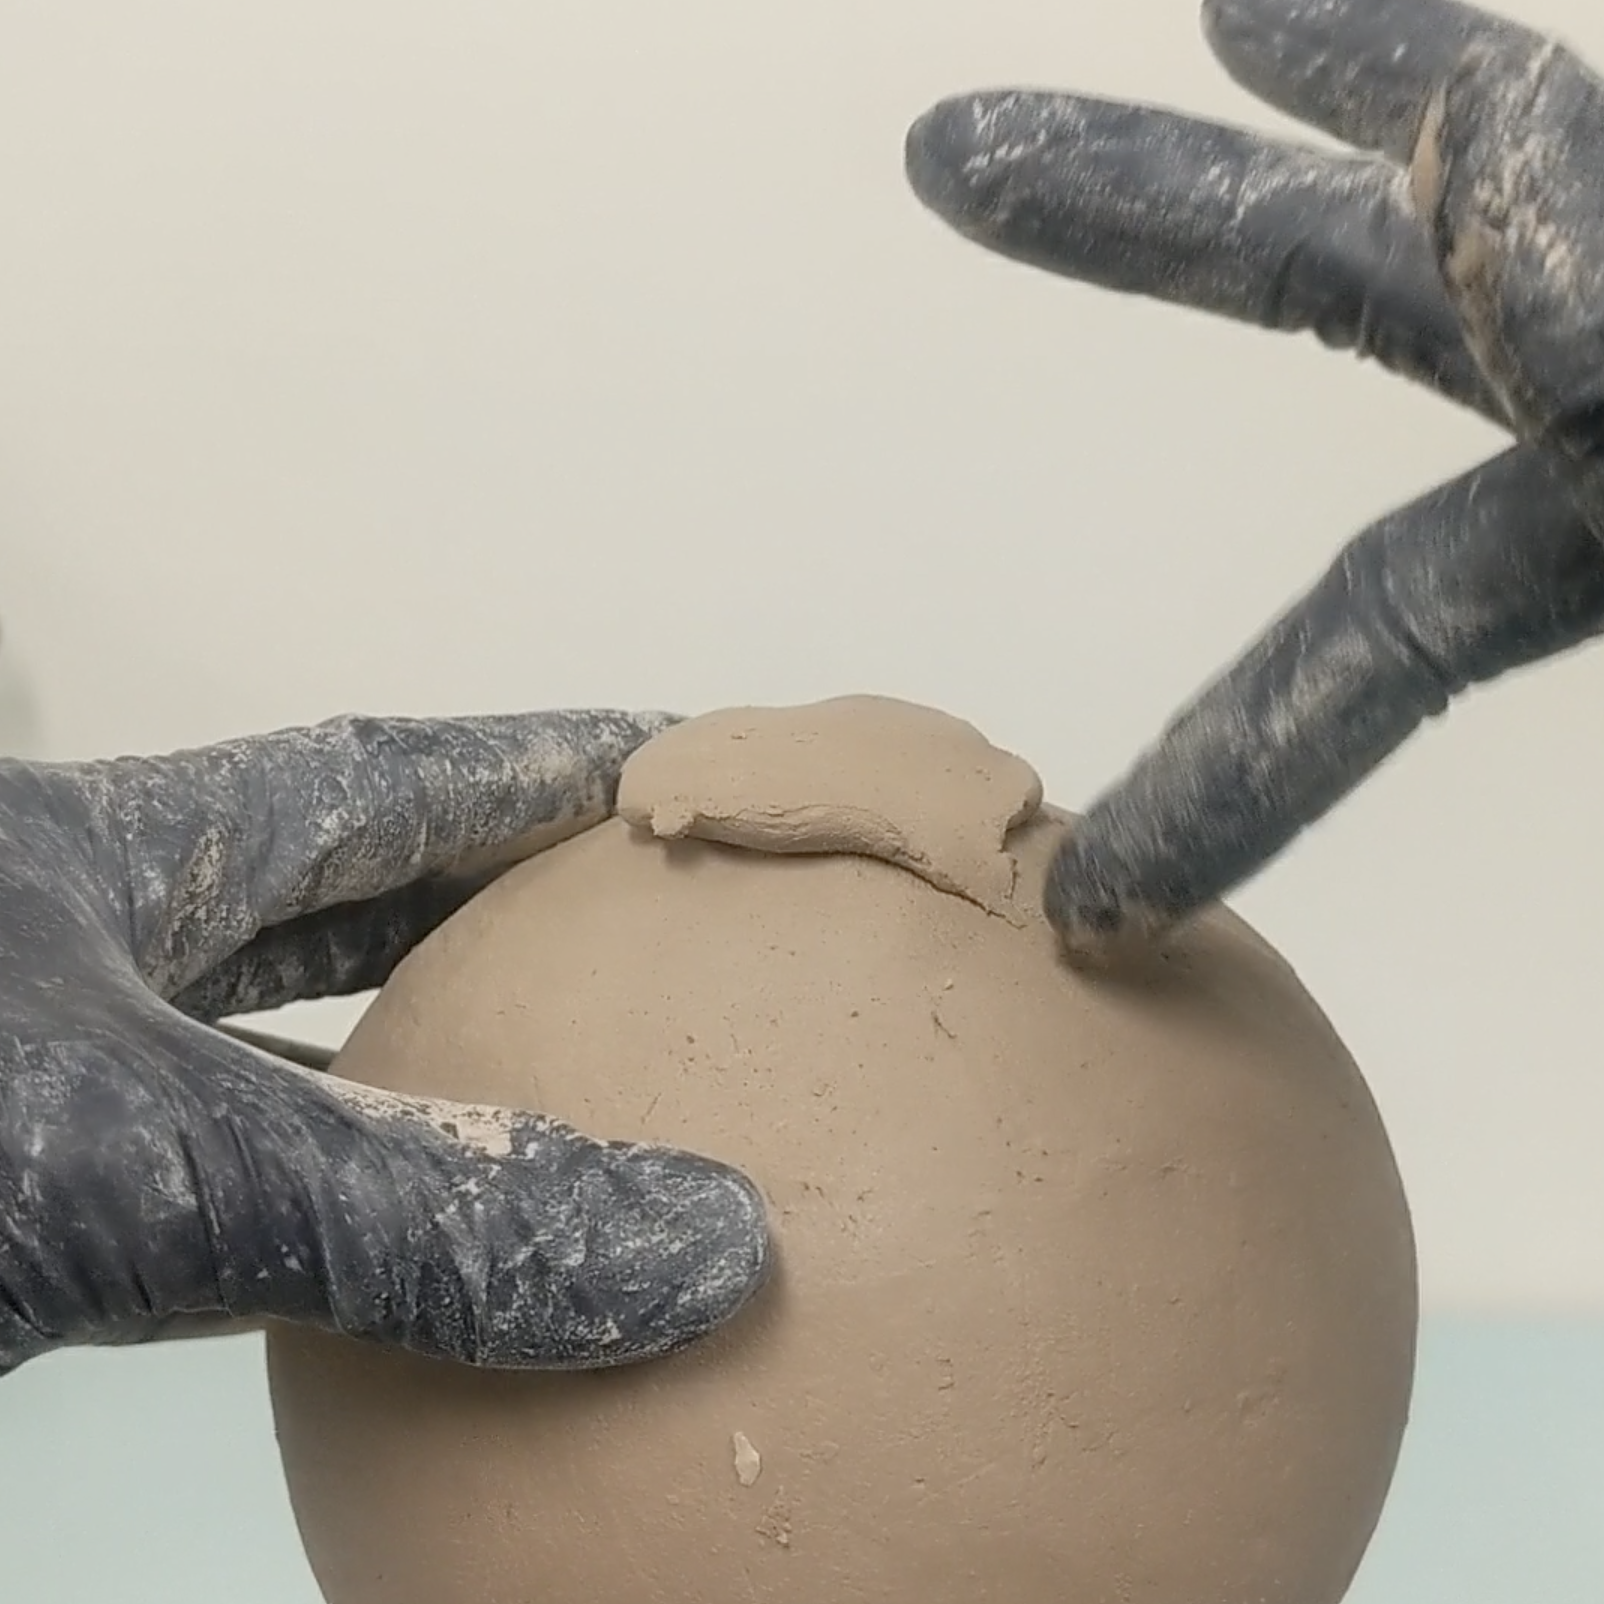
Alternatively, if you have a finger-sized hole to close up on the head, you can shape a bit of clay into a mushroom-shaped plug. The “stem” of the mushroom should fit snugly into the hole. I add a a tiny amount of water to make the surfaces sticky, then plug the hole. You can then smear the mushroom “cap” outward to blend it into the head.
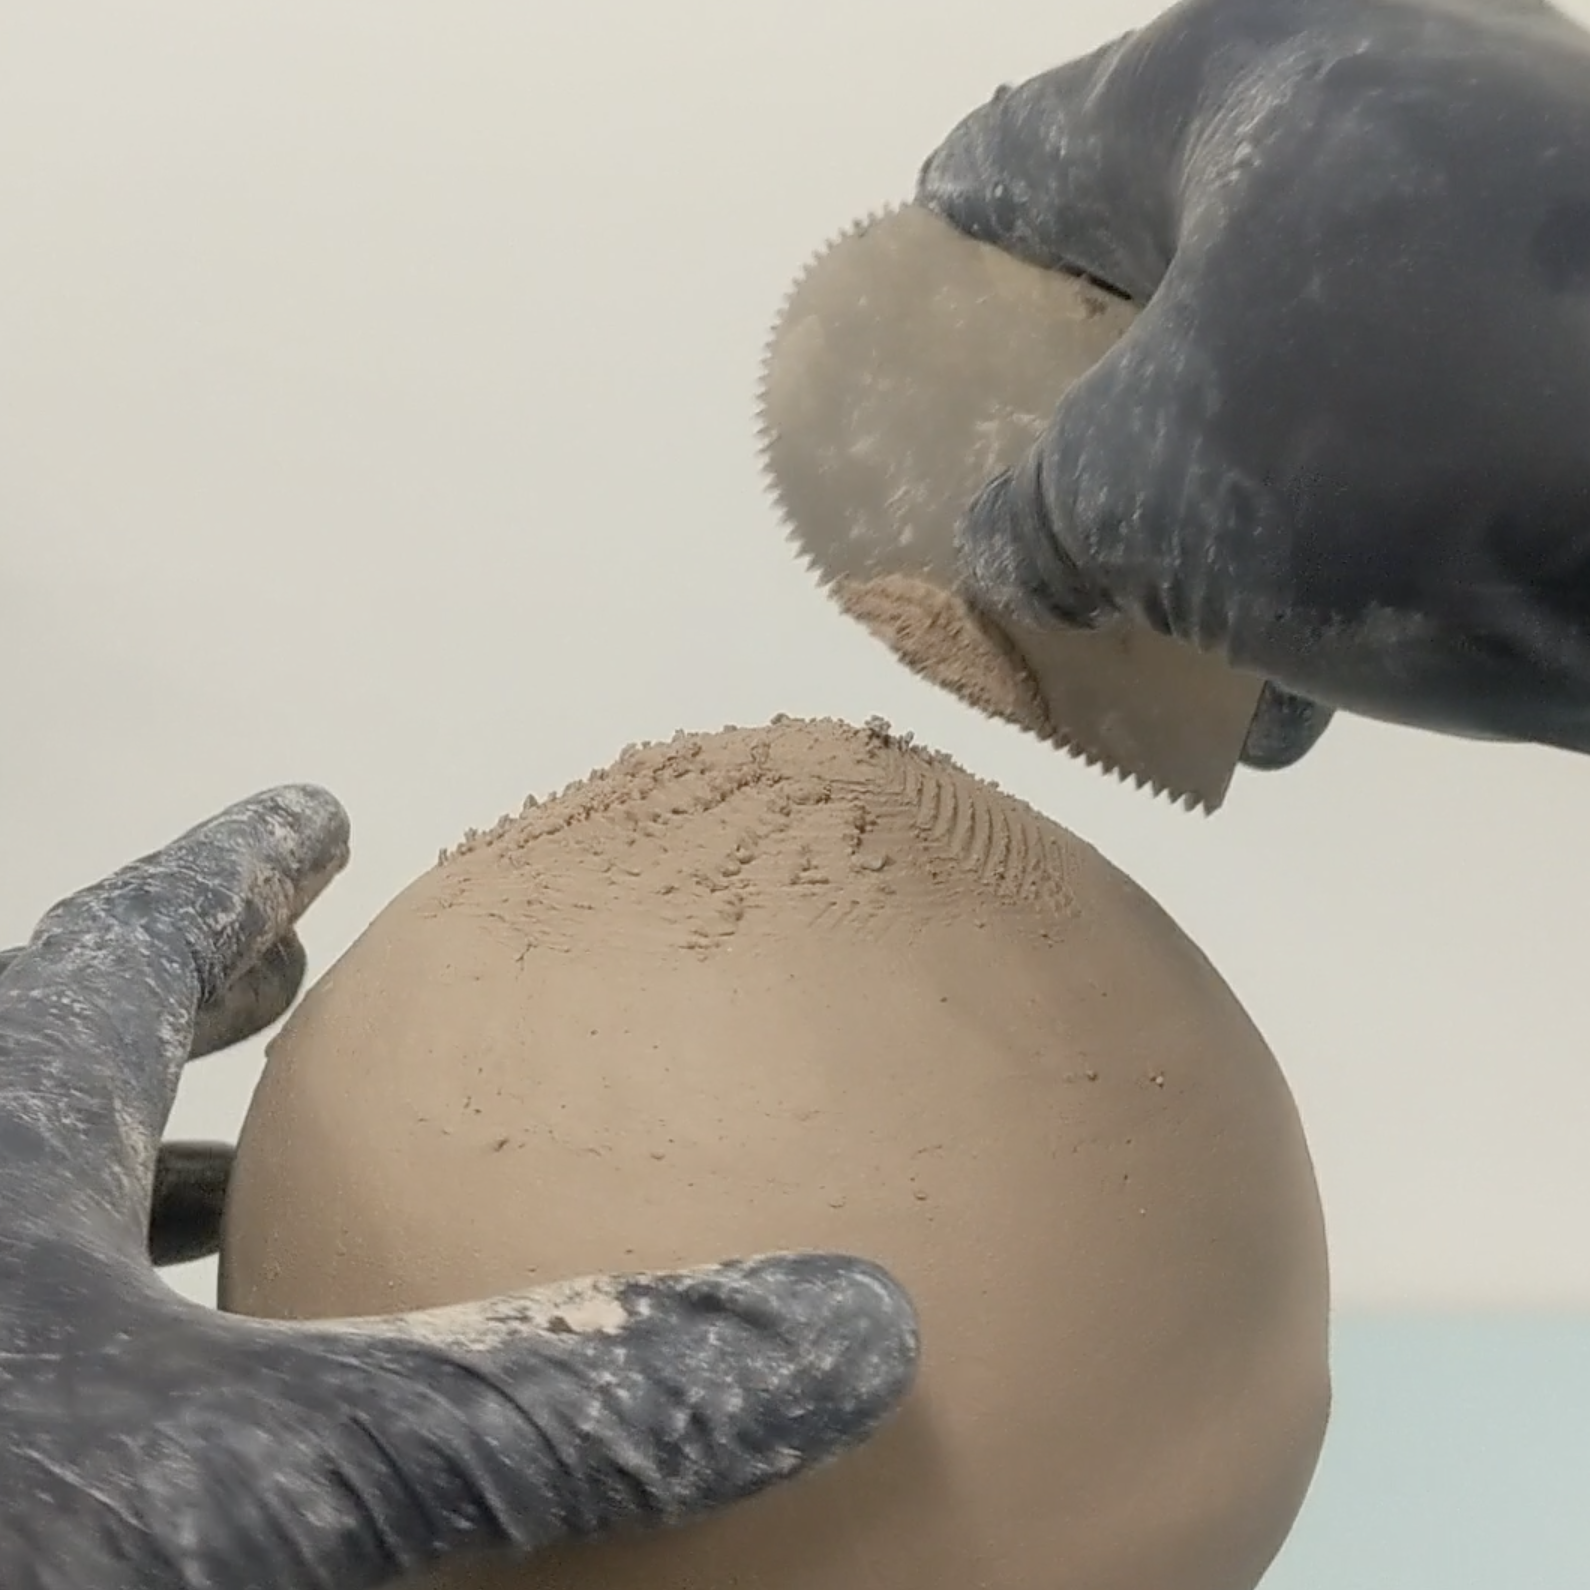
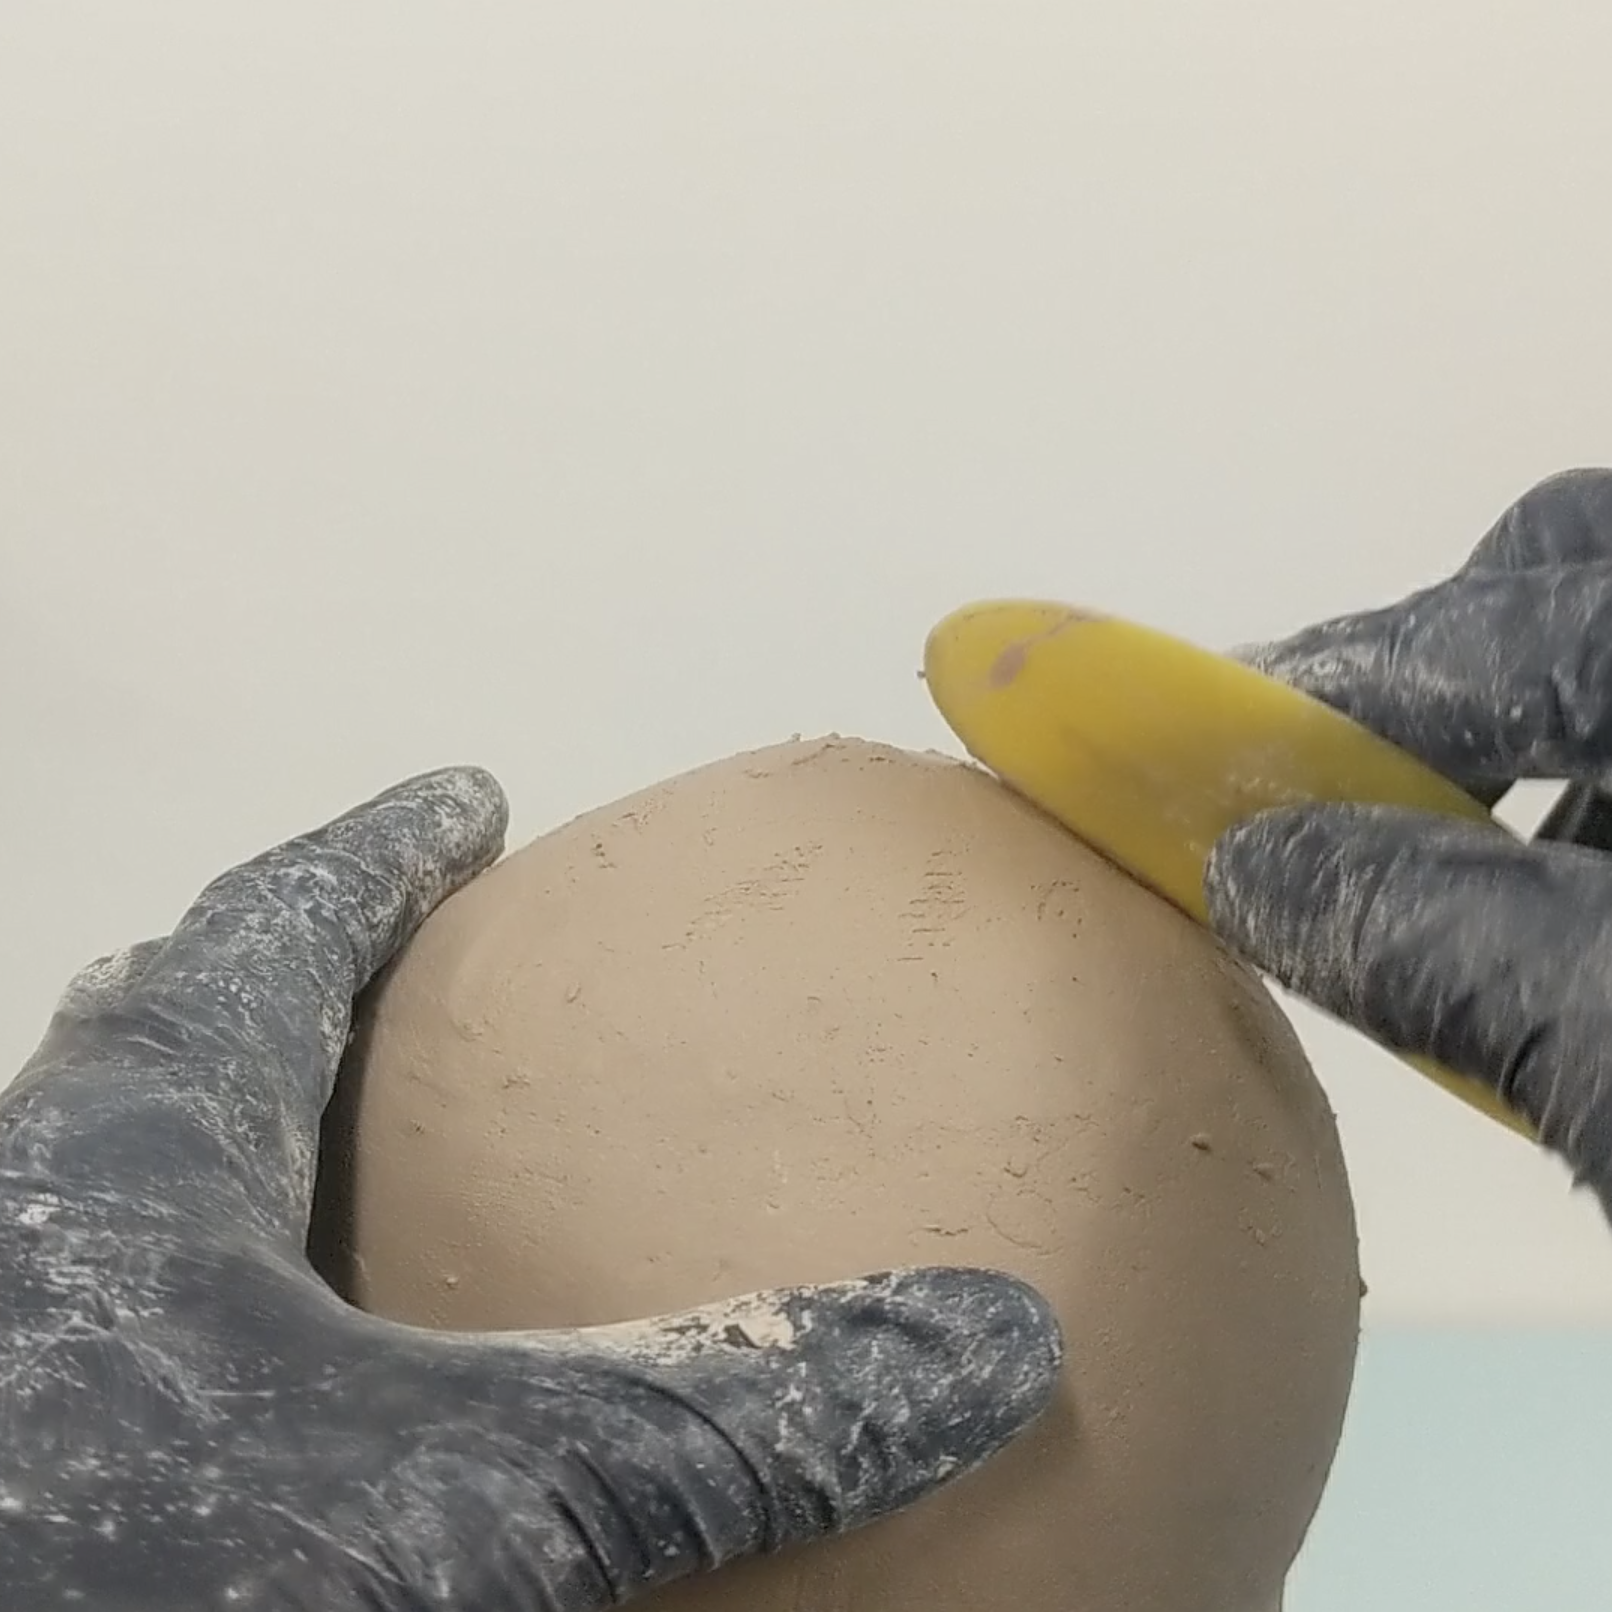
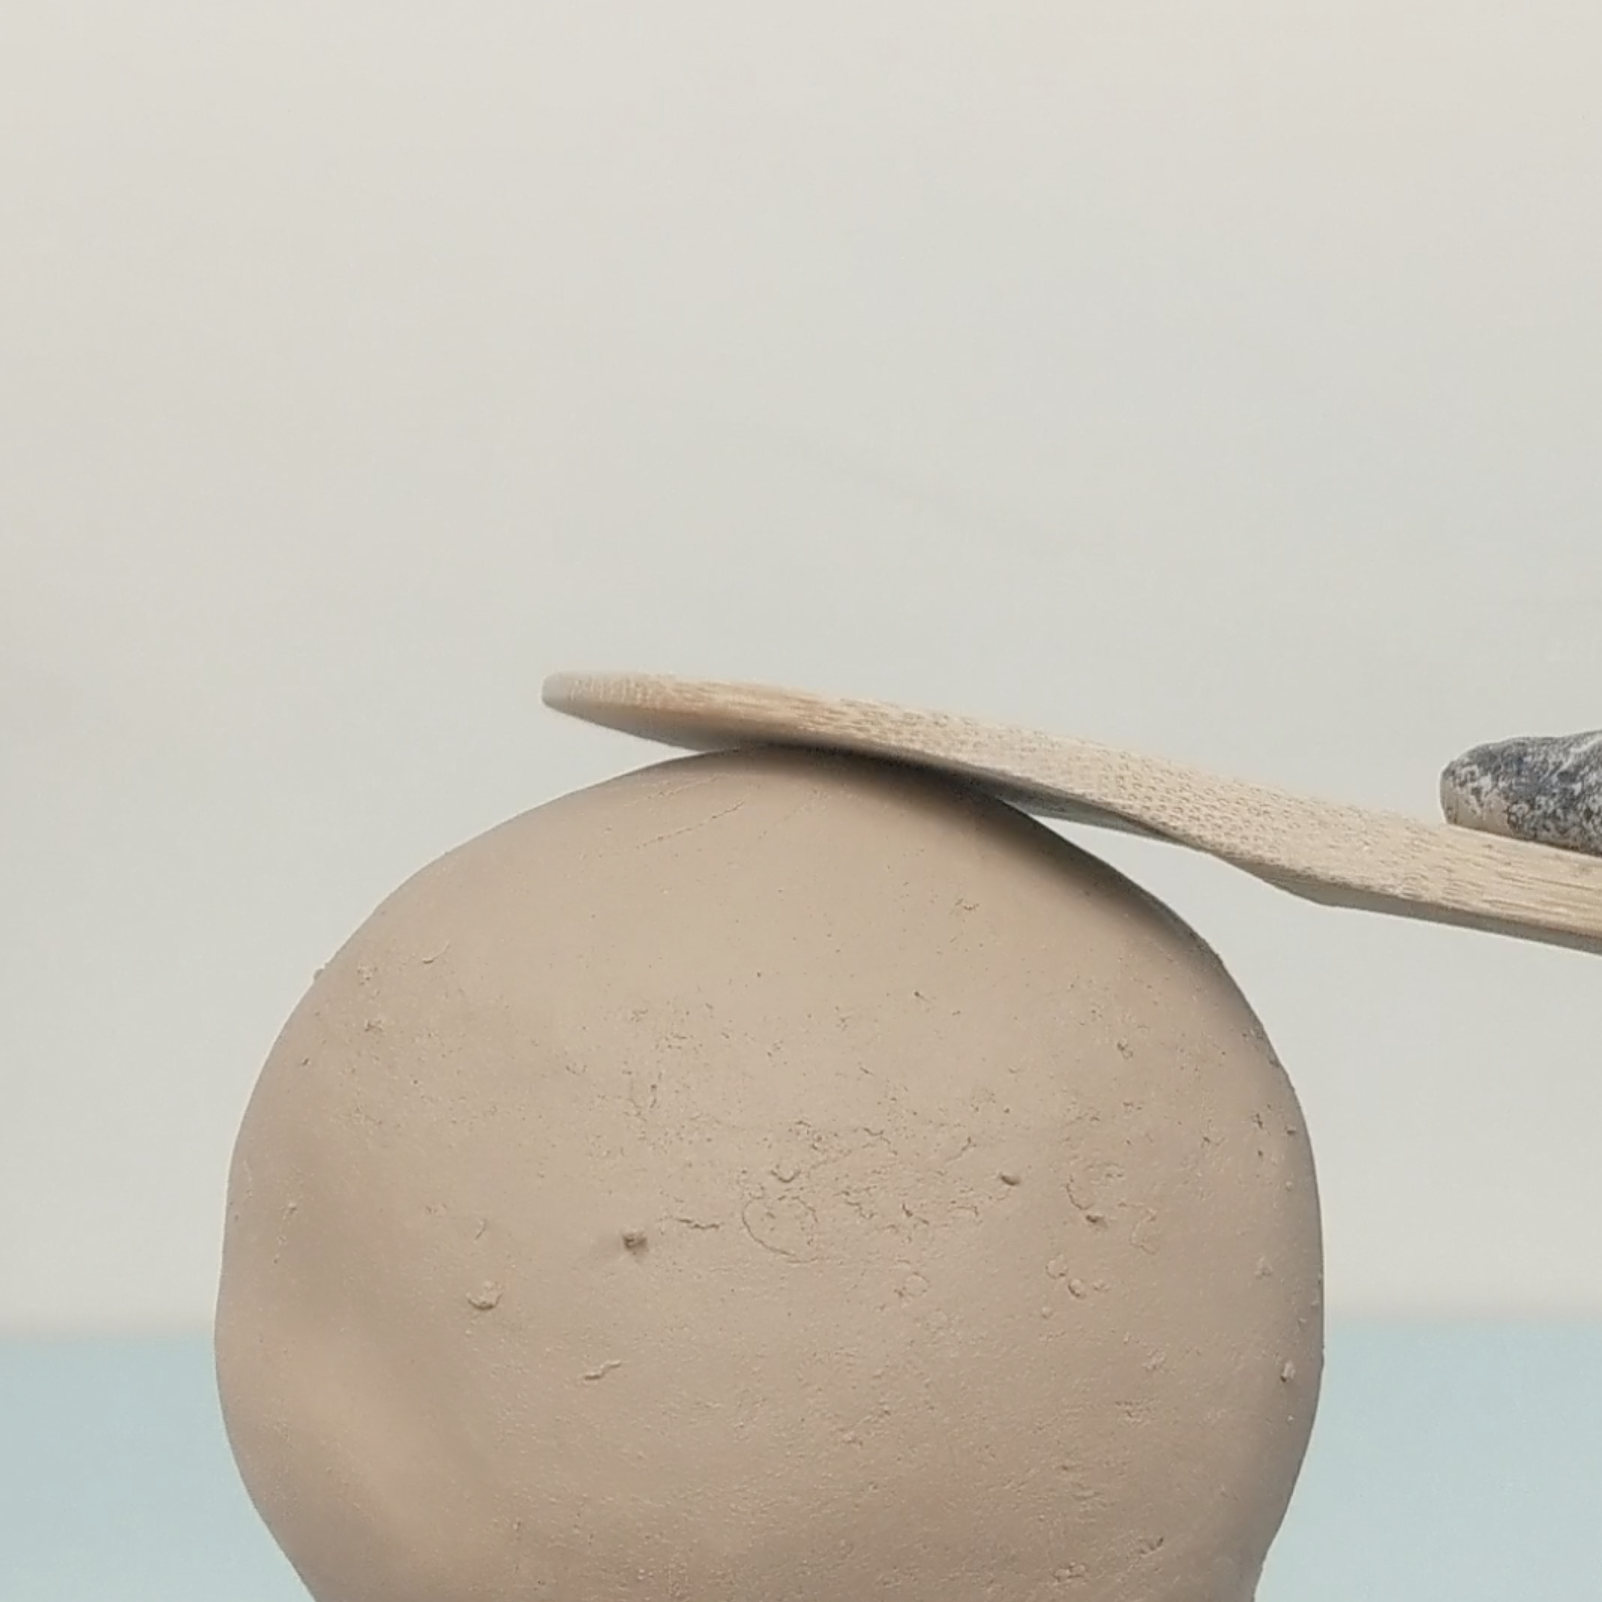
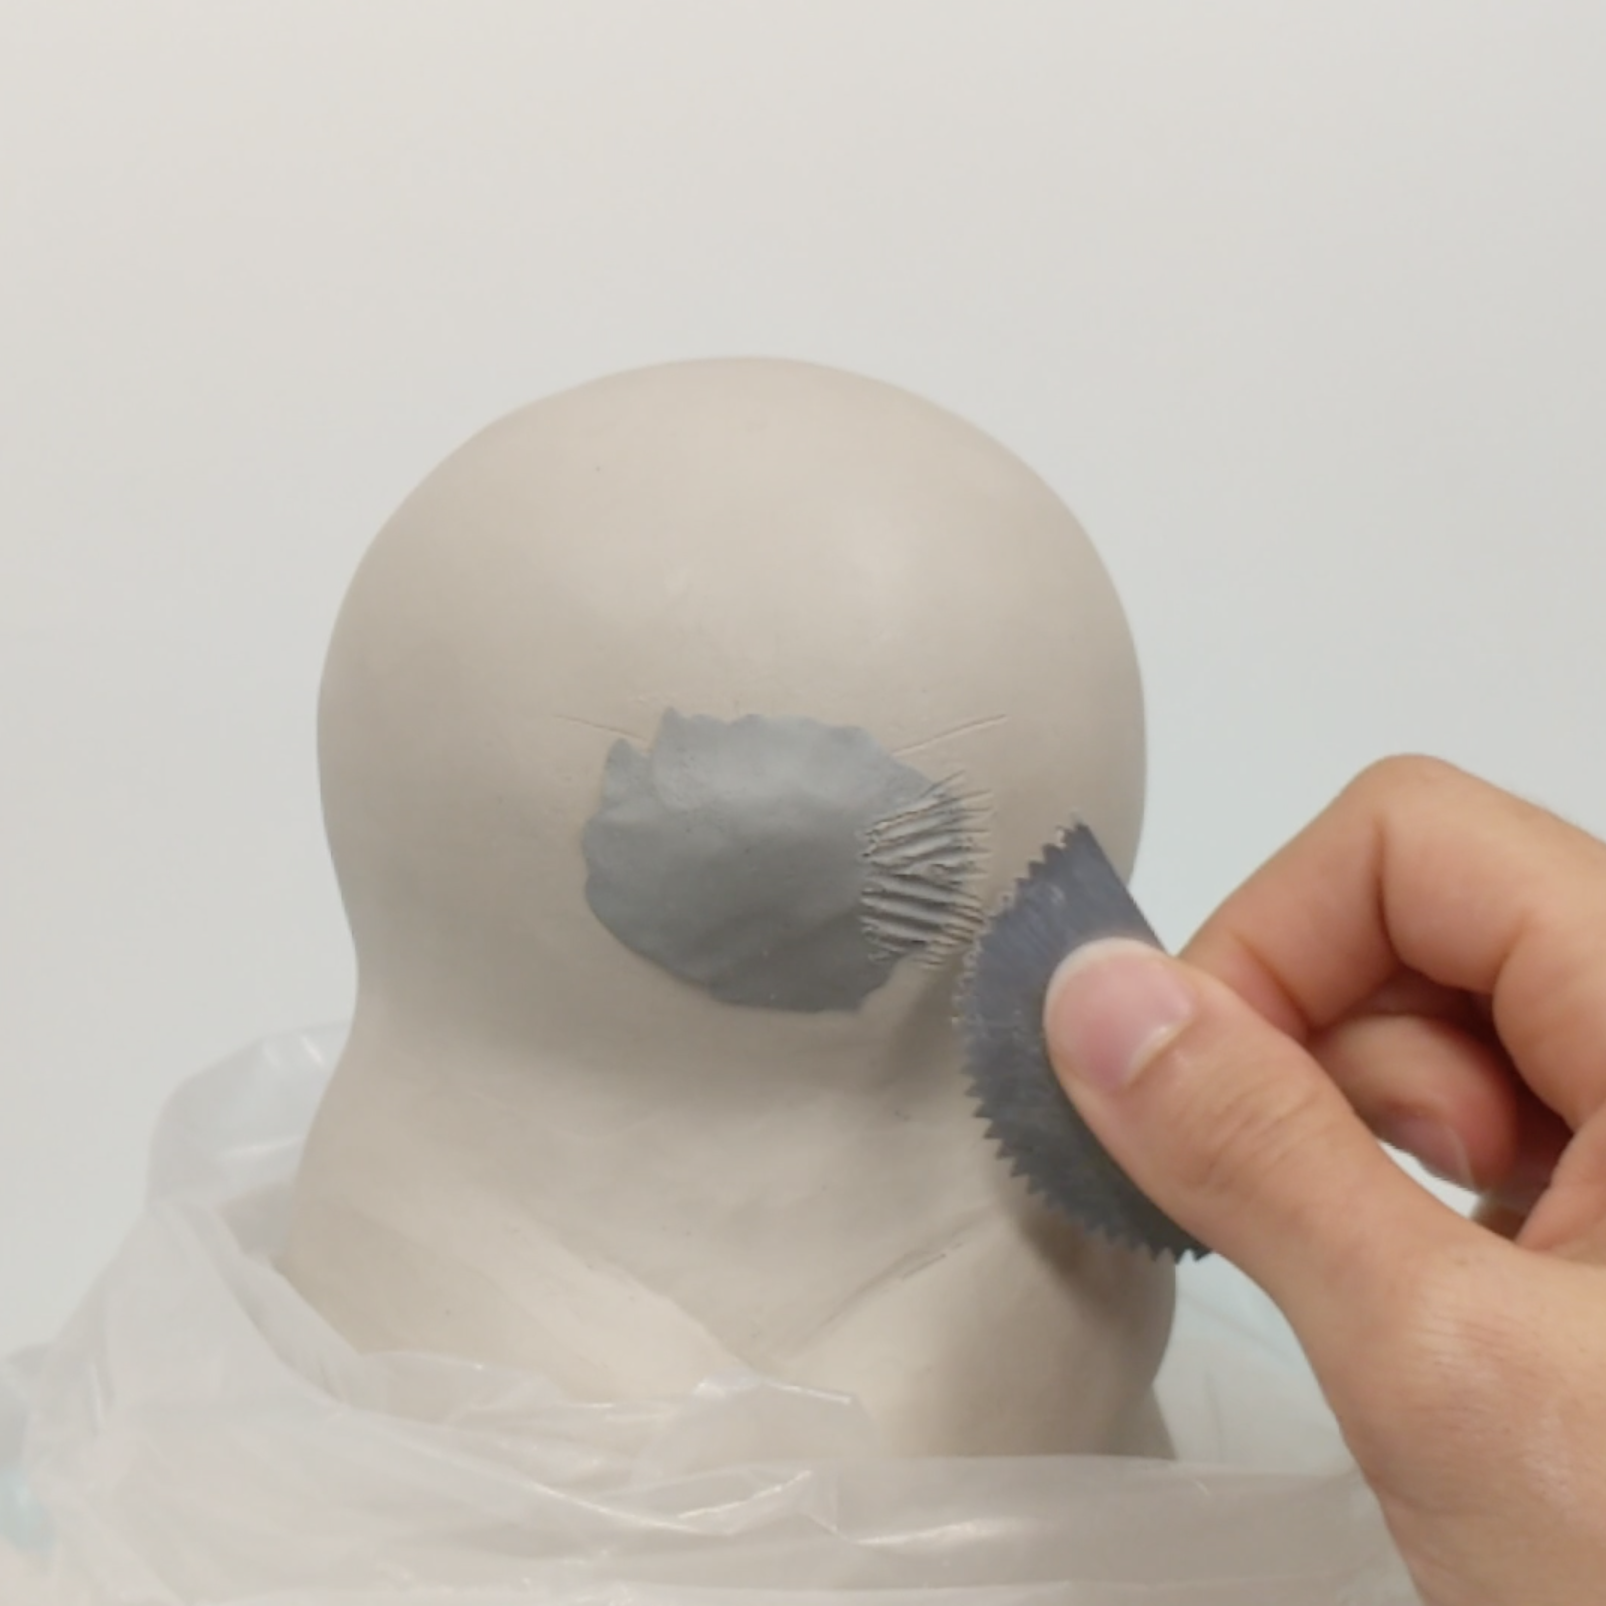
With either technique, a small mound should remain on the top which you can paddle down. If the mound looks visible after paddling, it could mean that there’s a bit more clay there than the rest of the walls. I suggest using a serrated rib to scrape at the surface. This will remove small amounts of clay at a time while also blending the particles together.
Add a small oval of clay for a muzzle and “tongue” shaped pieces of clay for the ears. Now your bunny will have all the parts that form the overall figure. All that remains are the details. I will carve out the fingers, toes, and center of the ears. Then I incise the eyes, mouth, and a small X for a butt hole—this is also where I poke the air hole, but you can place the air hole wherever makes the most sense to you.