Solid then Hollowed Tiger & Magpie
Building solid is an intuitive way to sculpt where you can freely add and subtract clay. It’s a great method for exploring the form in clay, so I use this technique when I’m not sure what the figure will look like or I need more precise forms that are more difficult to achieve with pinching and coiling.
This method also allows more working time, since the mass of clay will dry slower compared to hollow-built forms.
Beth Cavener is a prominent ceramist that sculpts animals and hollows them. Her website below has an amazing portfolio as well as more information her process.
Minhwa Korean Folk Paintings
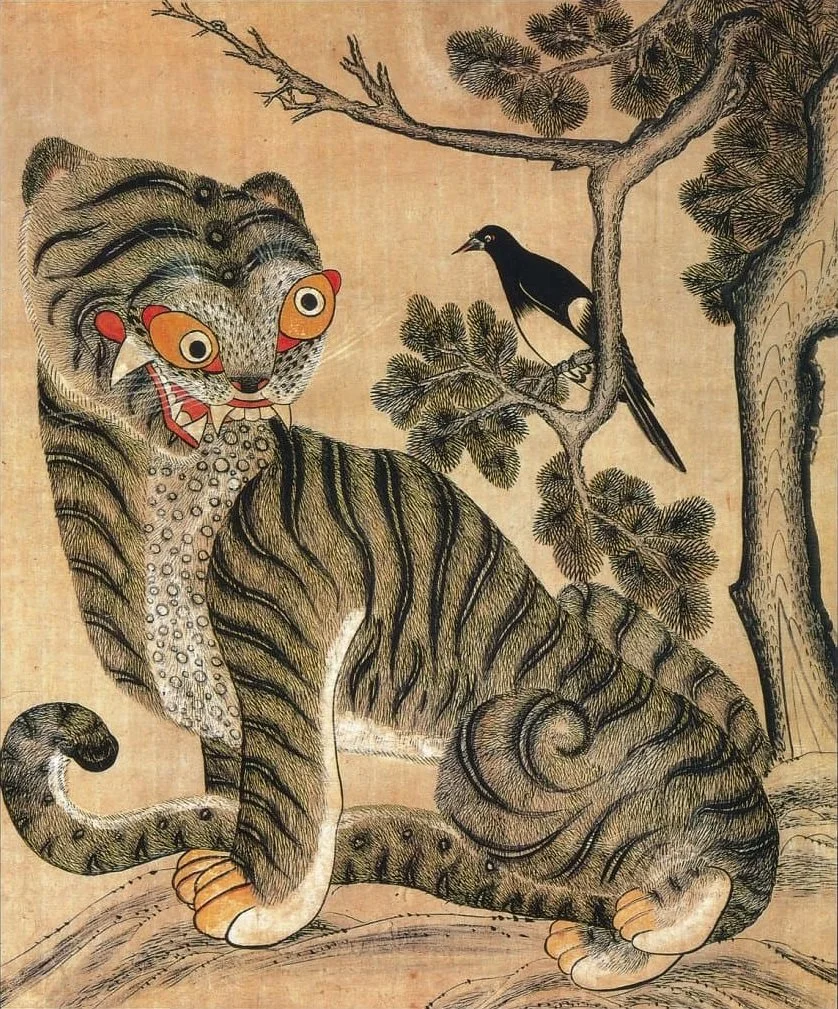
Tigers and magpies are common symbols and characters in Korean culture. Tigers themselves are seen as gods of the mountains since they were powerful predators that roamed such domains. Although they were truly fearsome, they were portrayed as having a gullible side where they could be outwitted by people. Magpies represent good fortune and bringers of good news.
Tigers and magpies were often depicted in minhwa—Korean folk paintings. Together they can symbolize strength and good fortune, but some of these paintings were more satirical with the tigers representing the upper-class and magpies as the common people. In such minhwa, the tigers featured comically goofy features while the magpies reside high in the pine trees looking down on them.
Critiquing Tigers
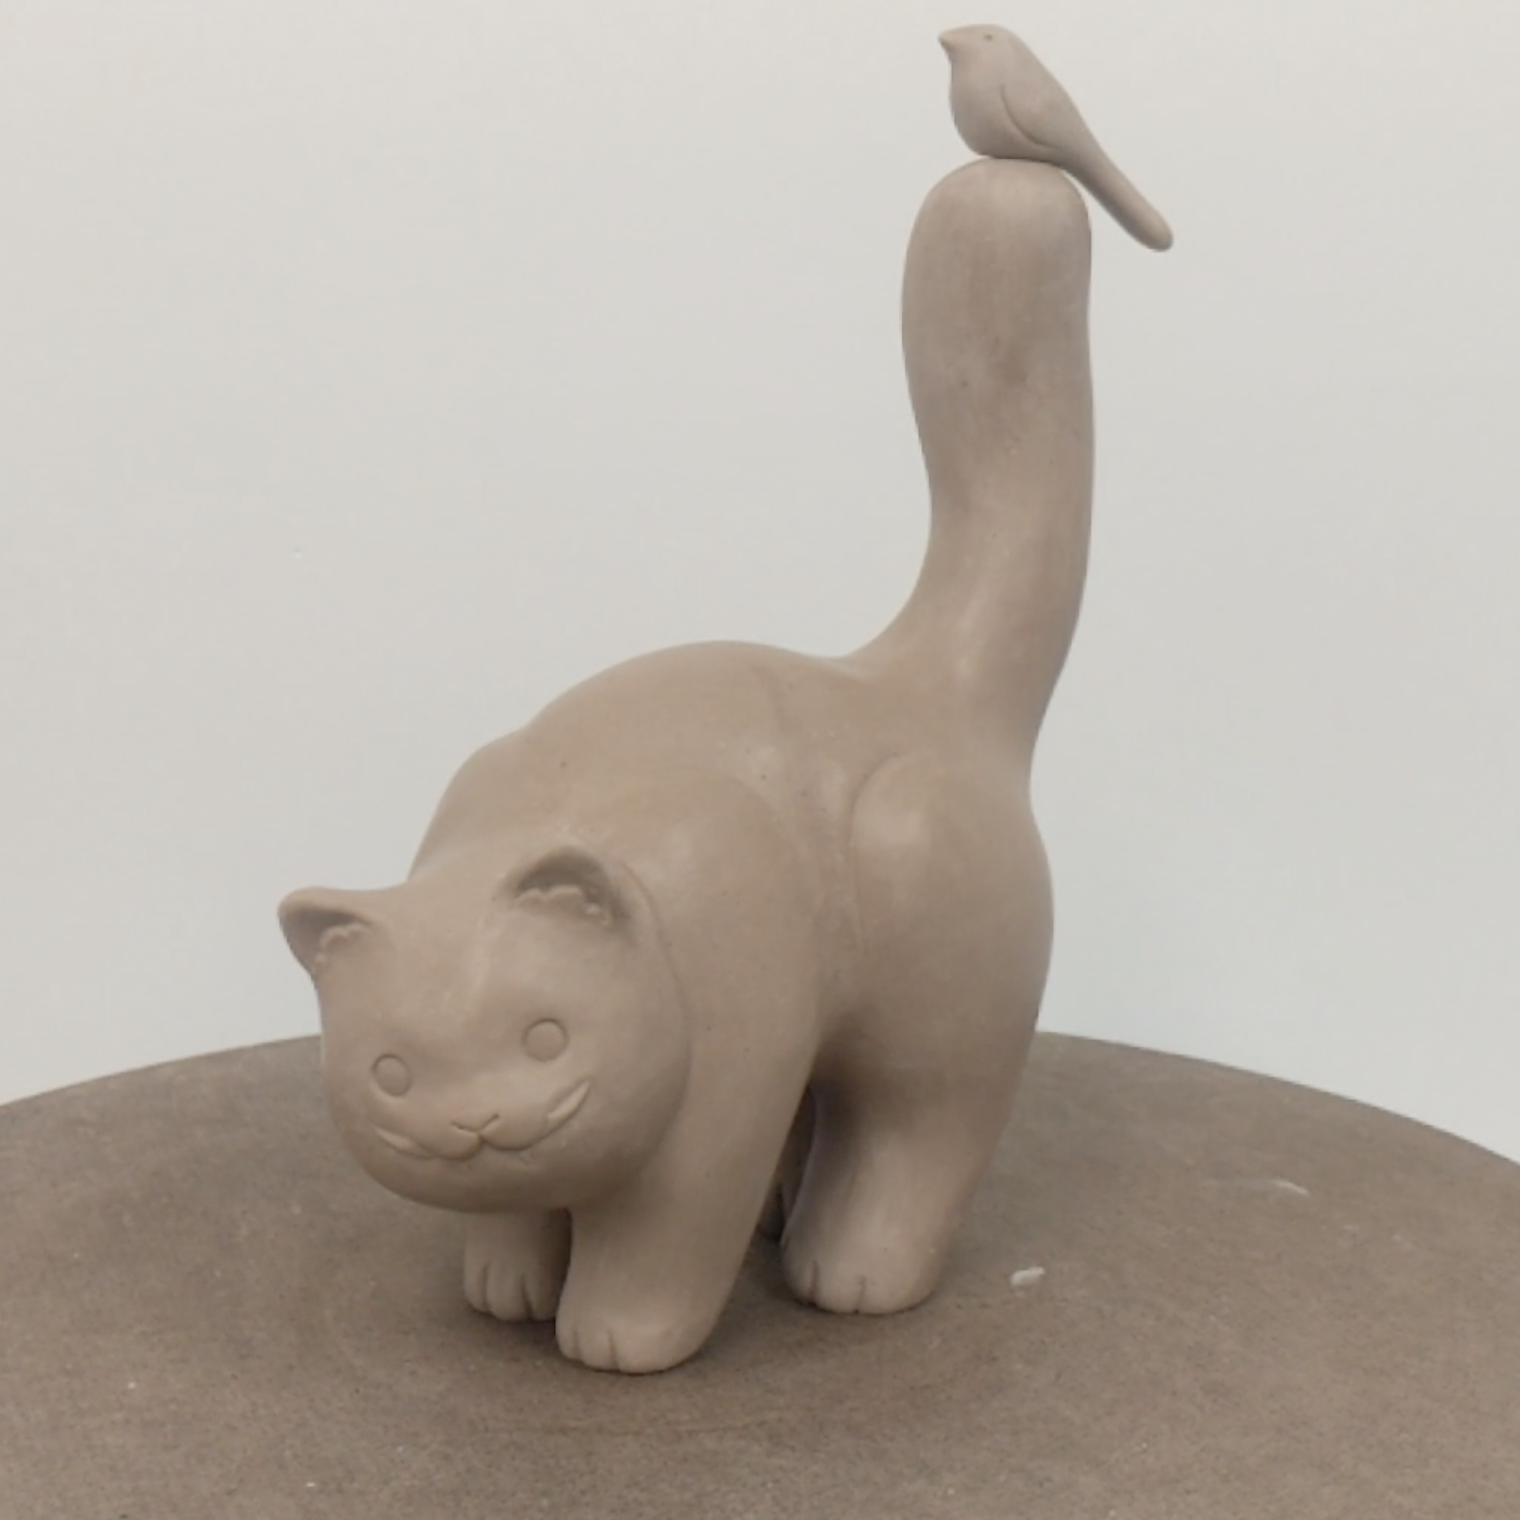
Although tigers are a national symbol of identity, there are no more tigers in Korea. They were hunted out of existence during the Japanese occupation. When I make tigers, it’s a critique of it as a symbol. They are supposed to be fierce and powerful, but they’re also commercialized as plush, cute mascots. My tigers usually have extra fangs and sharp claws alluding to power, but their bodies are incomplete and softened with baby-like faces. Glorified cats and wispy spirits of their past lives.
Let’s Make a Tiger and Magpie!
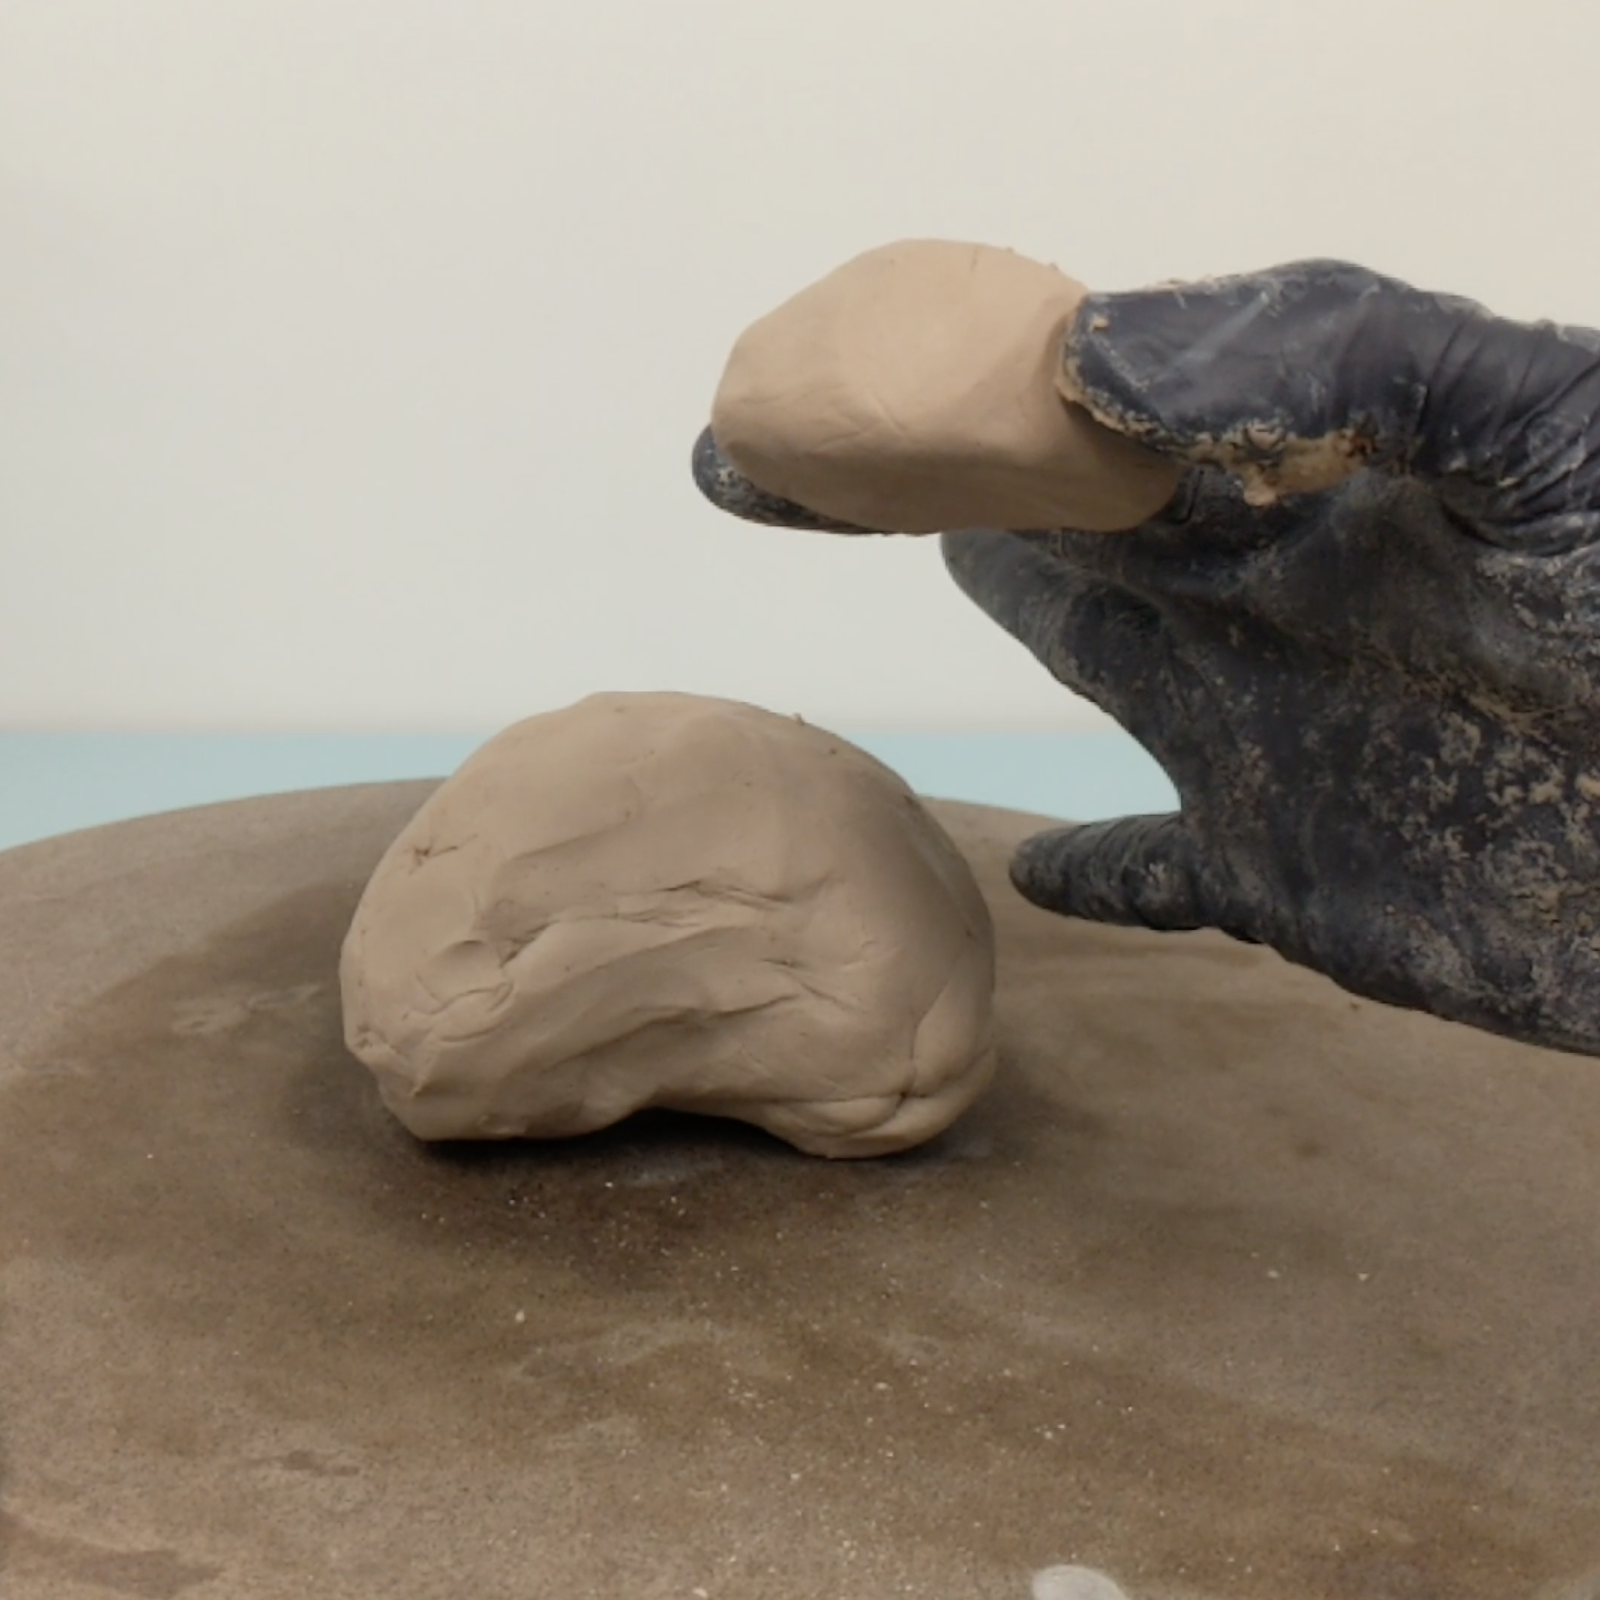
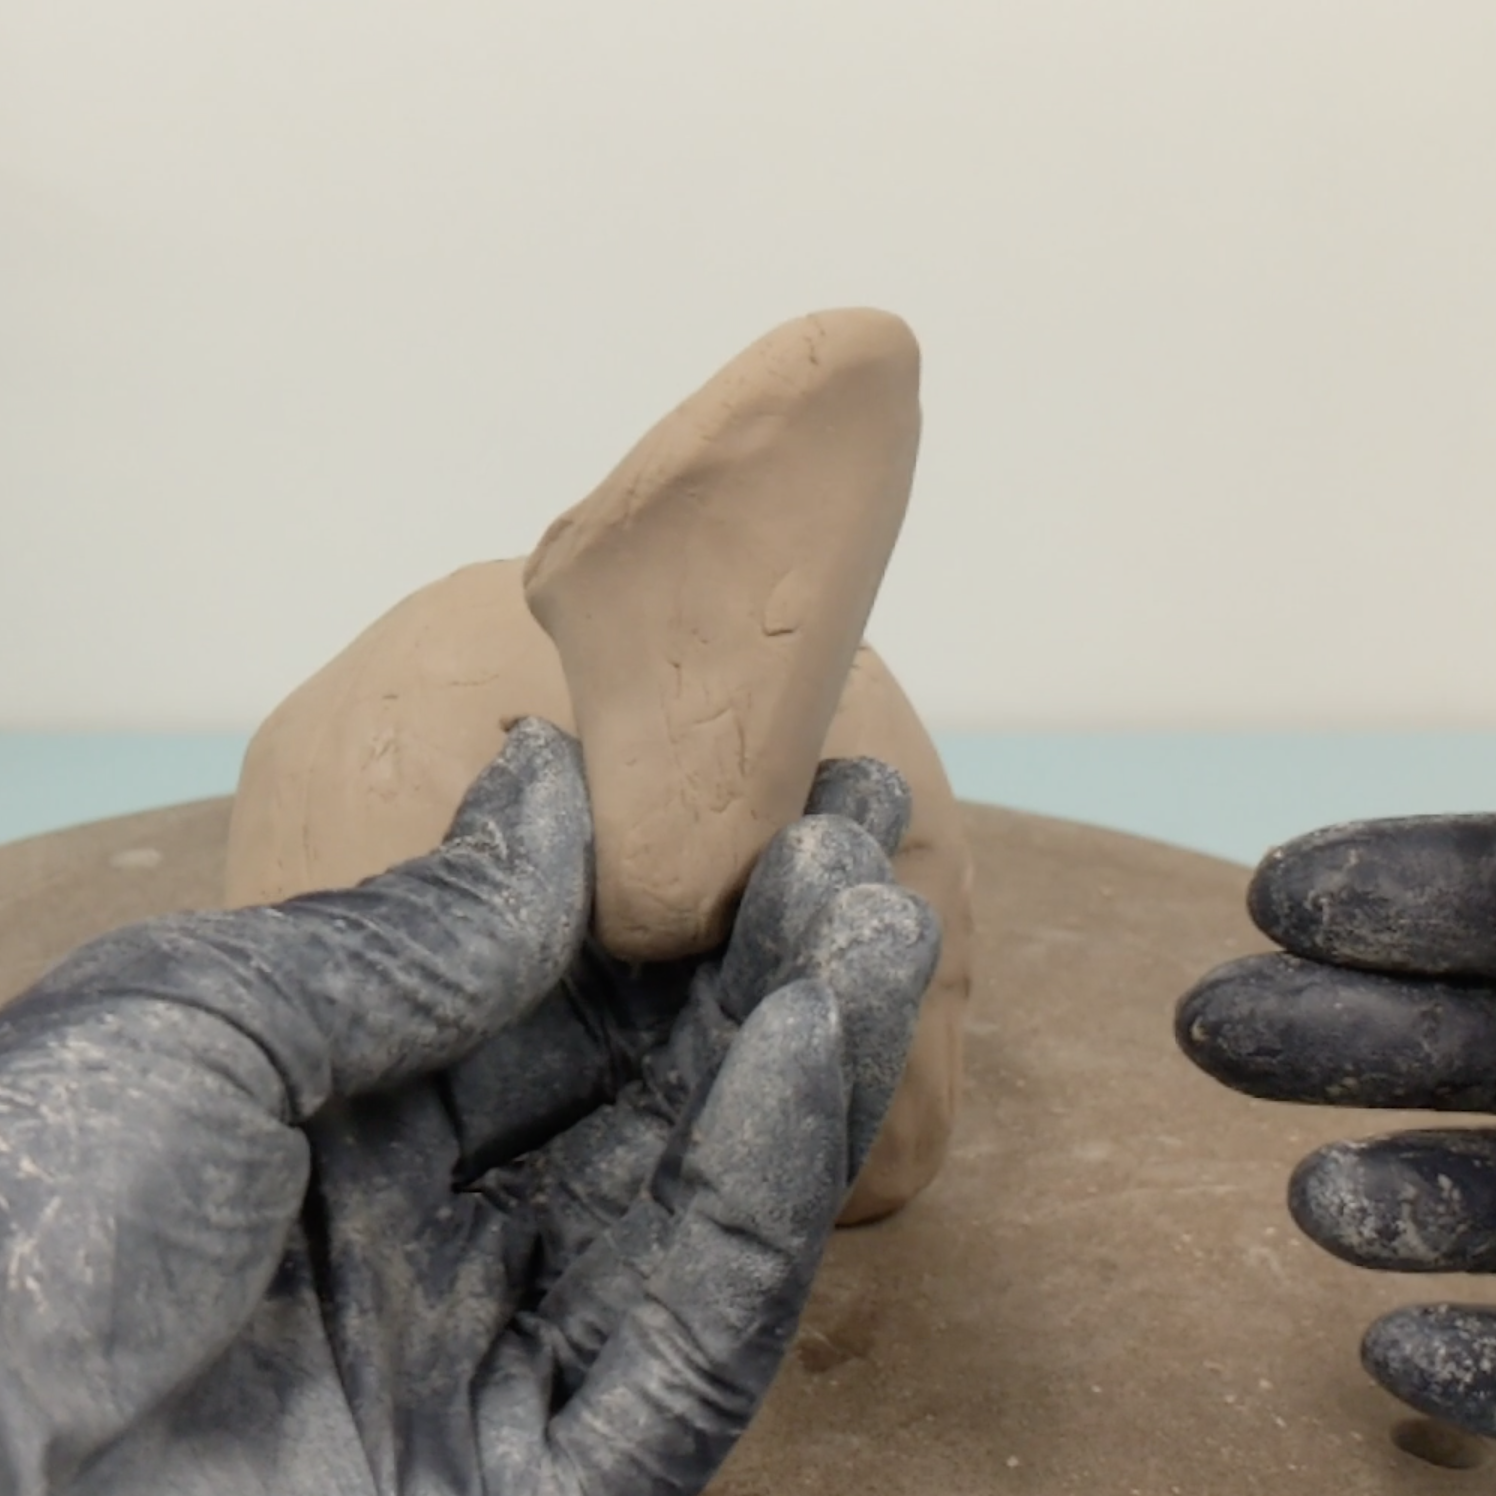
Start by roughing out the body parts in clay. This tiger will have and arched back, so form a bean shape for the main body. A flatter half-dome will serve as the head and cones as the legs.
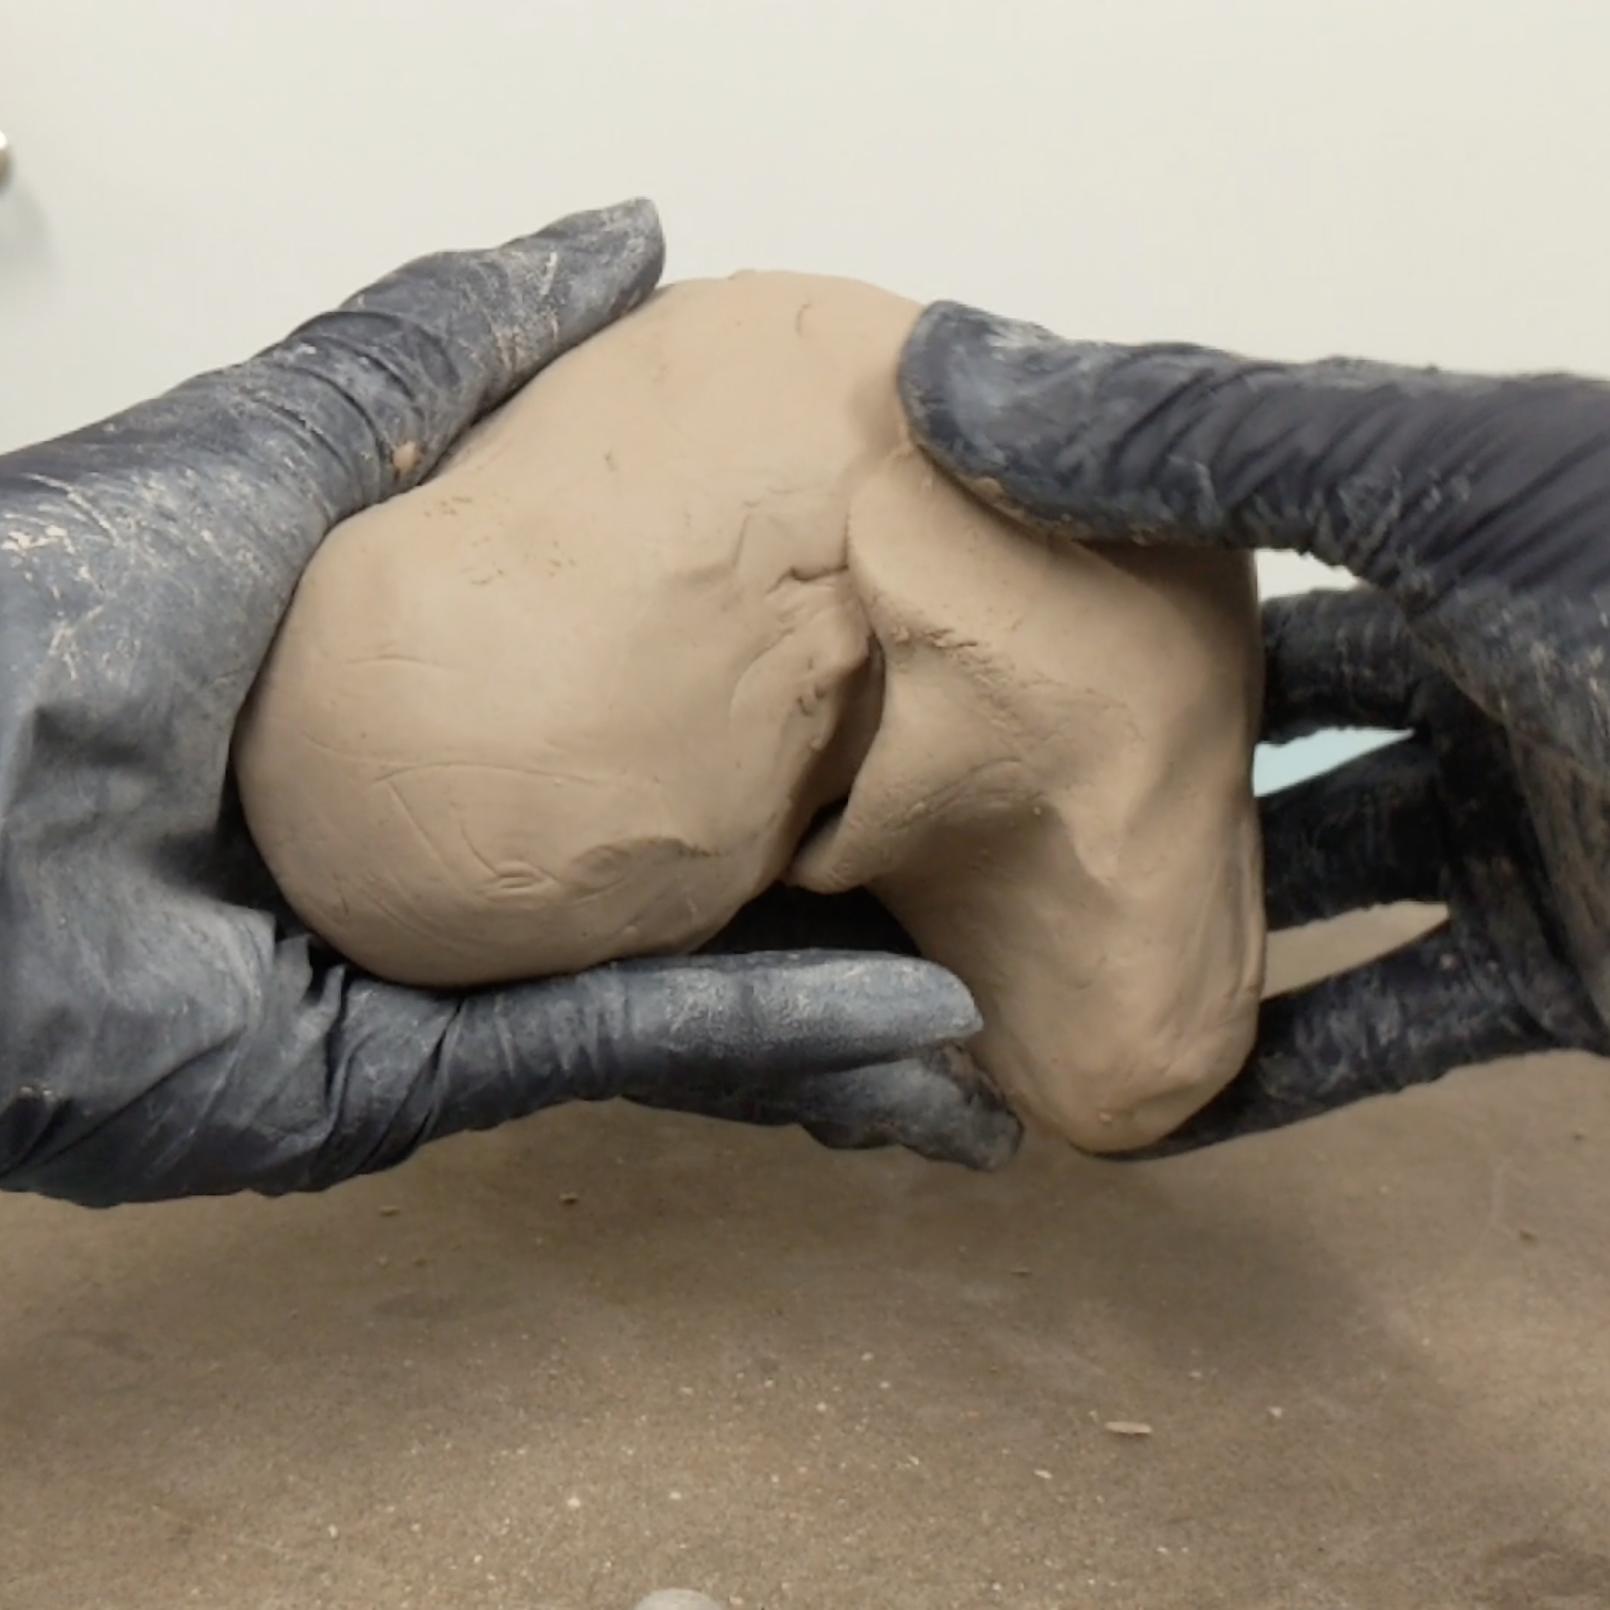
Smear and blend the parts together. I will also mark where the face is and some guidelines, such as the curve of the spine and the curves of the legs.
I am not sure where I want the legs, so I cut this section of clay so that I can freely adjust the legs.

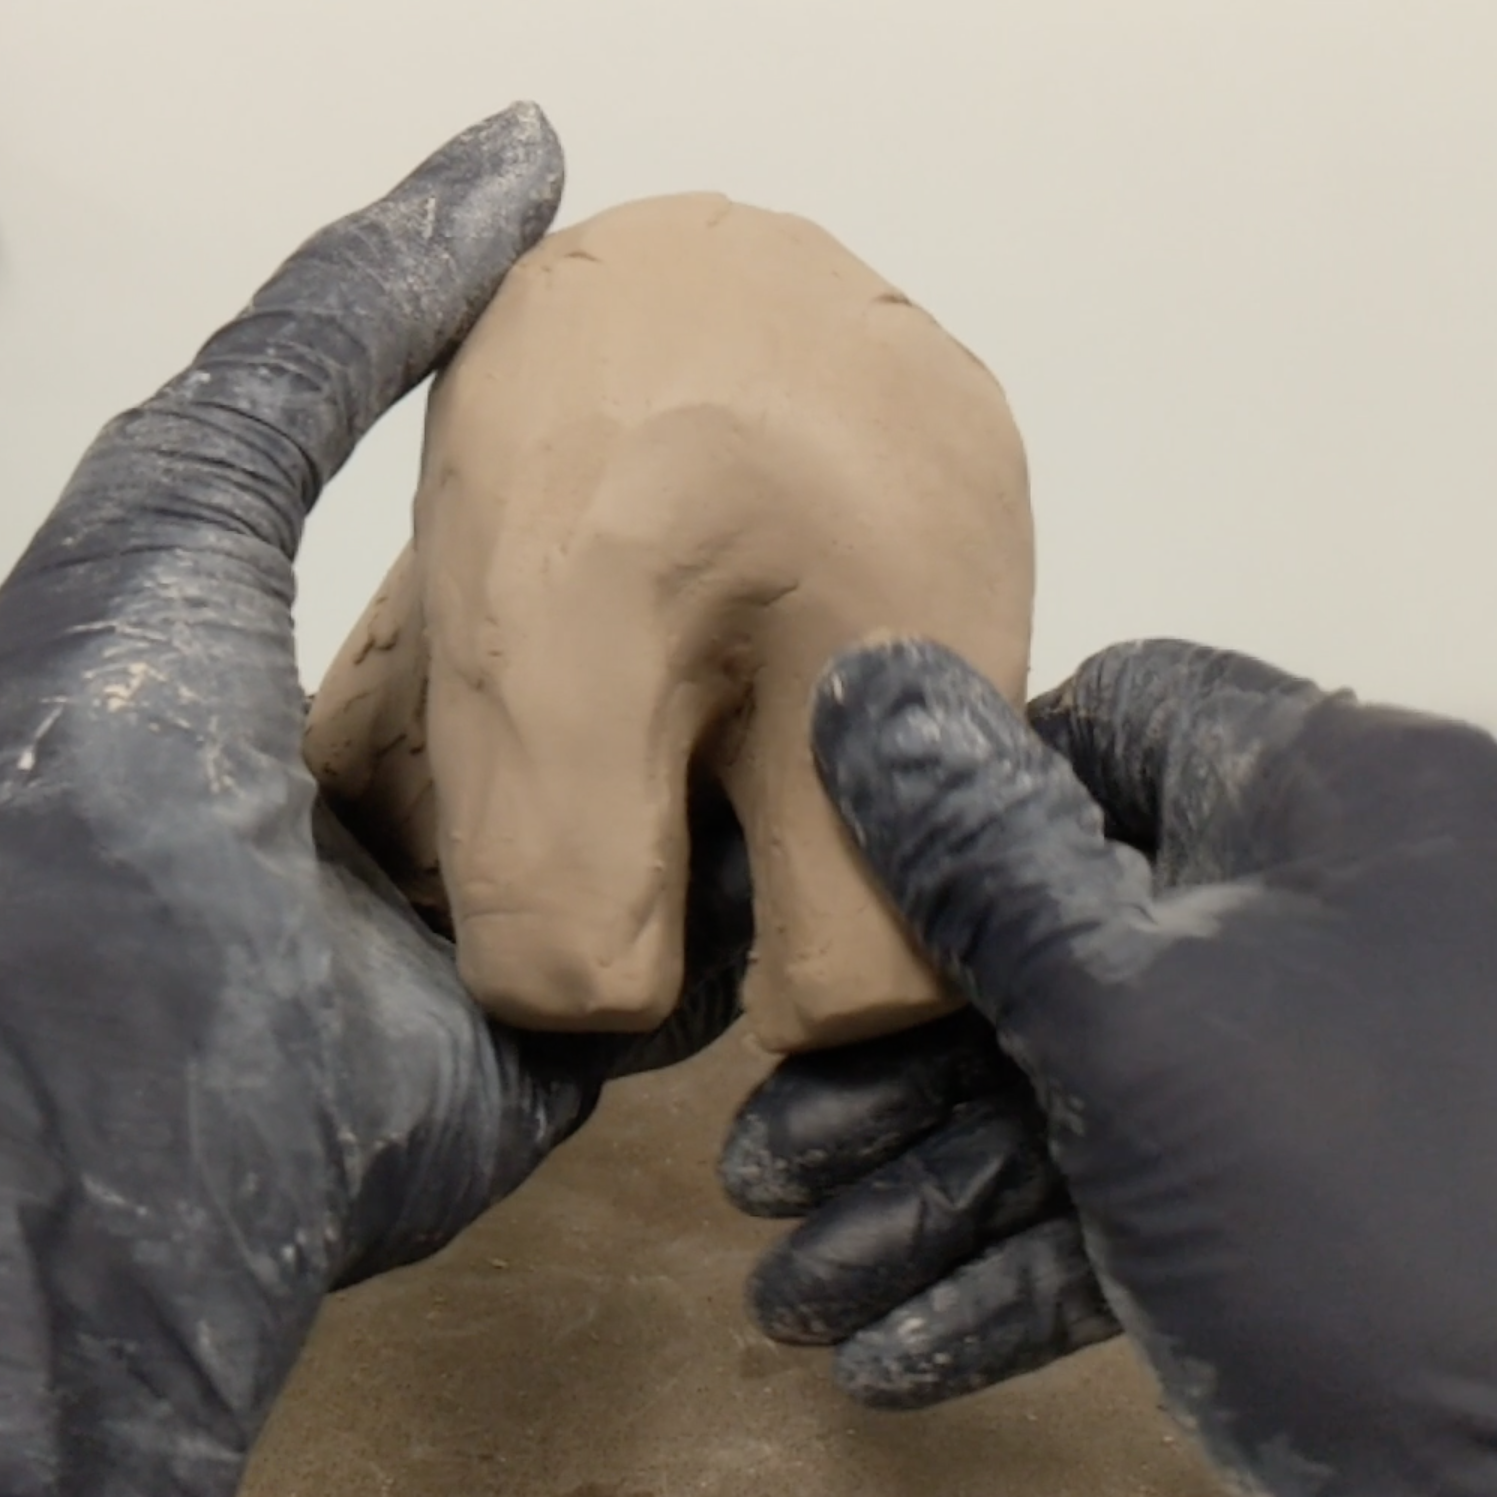
For the front legs, I shape a cone with one side much higher up which will become the shoulder. After blending it into the main body, I cut more of an arch for the underbelly and trim the leg shorter if necessary.
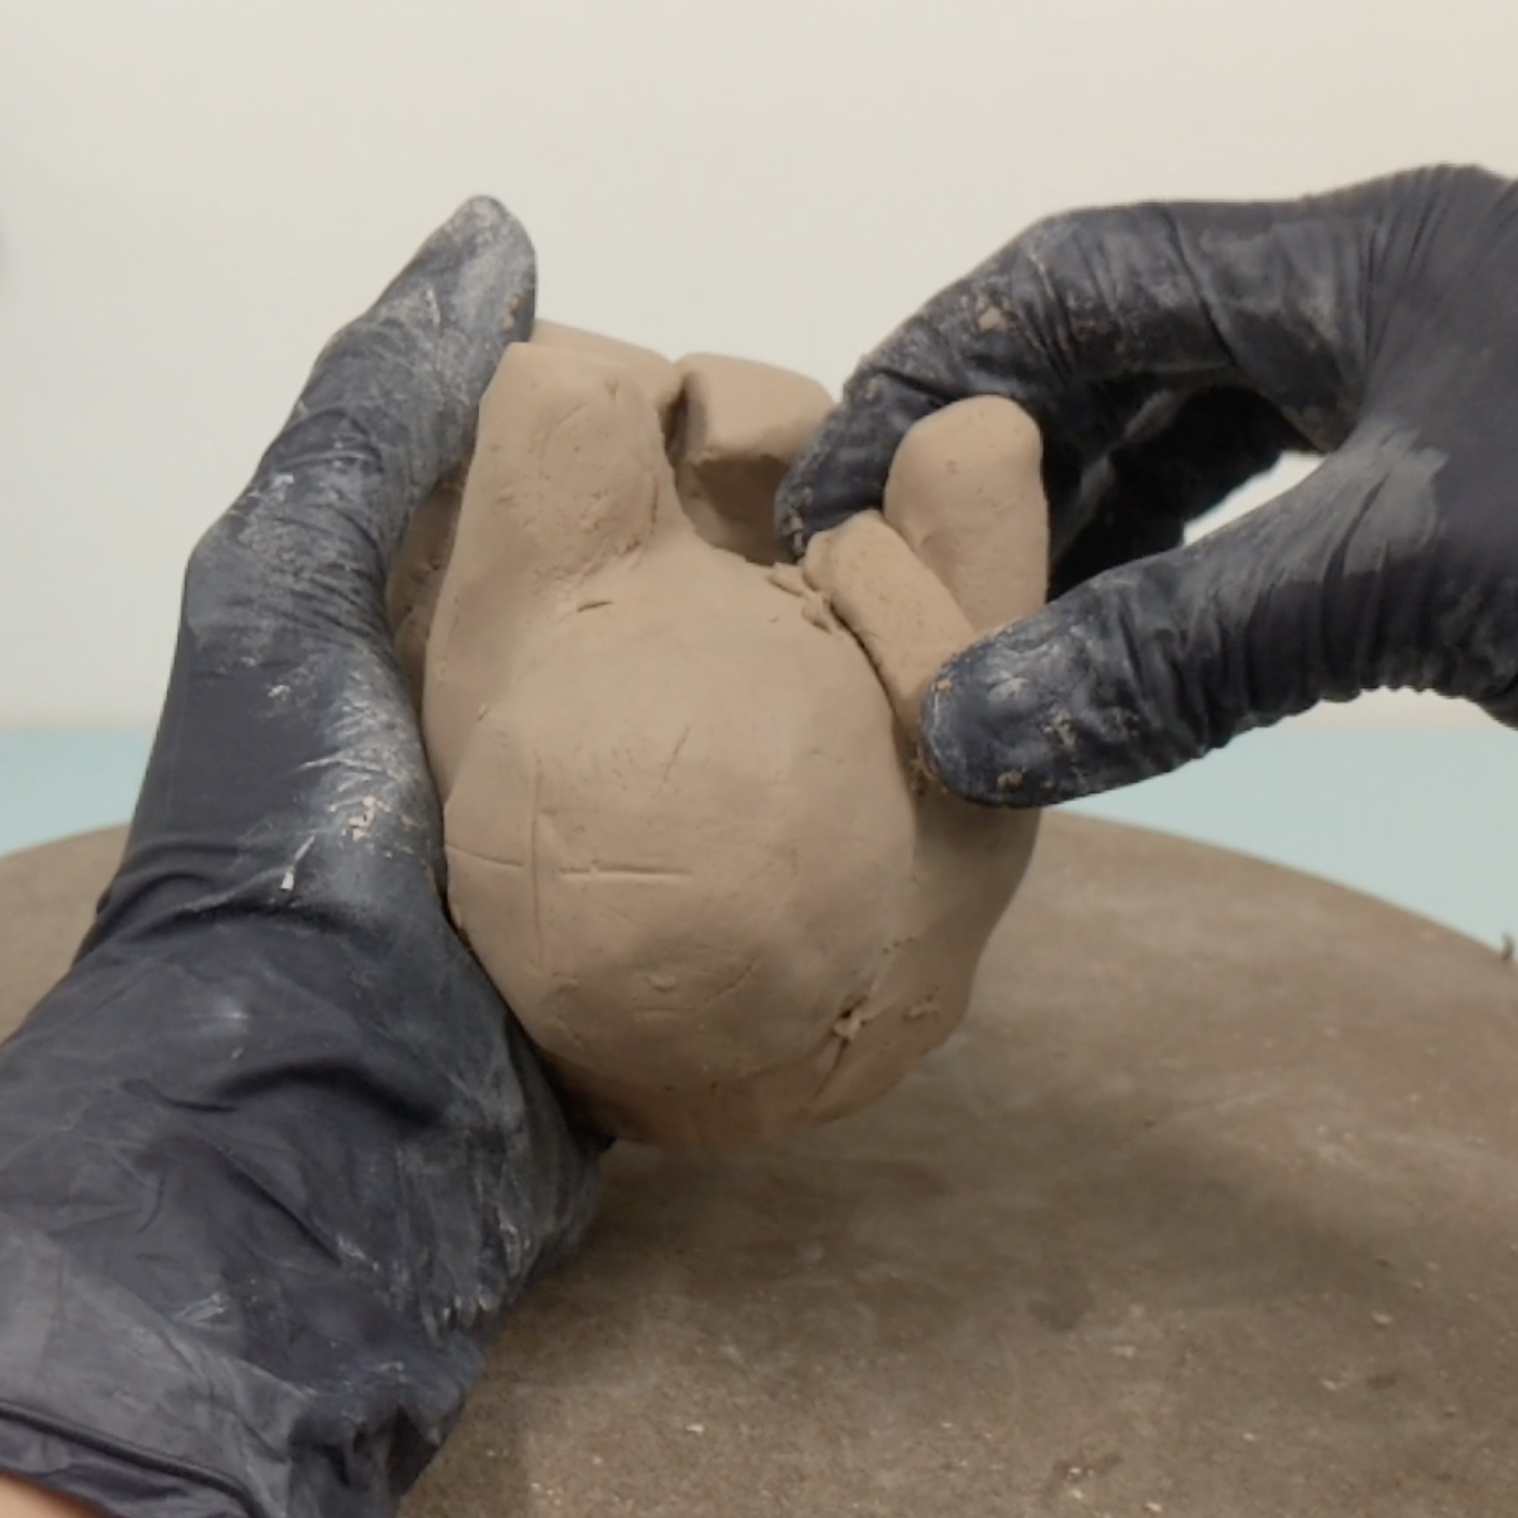
Attach the last cone leg and add patches of clay to fill out any shallow spots or dents. I always taper body parts, so that they are thicker towards the torso/main body. It looks more natural as opposed to stick legs and makes it more structurally sound.
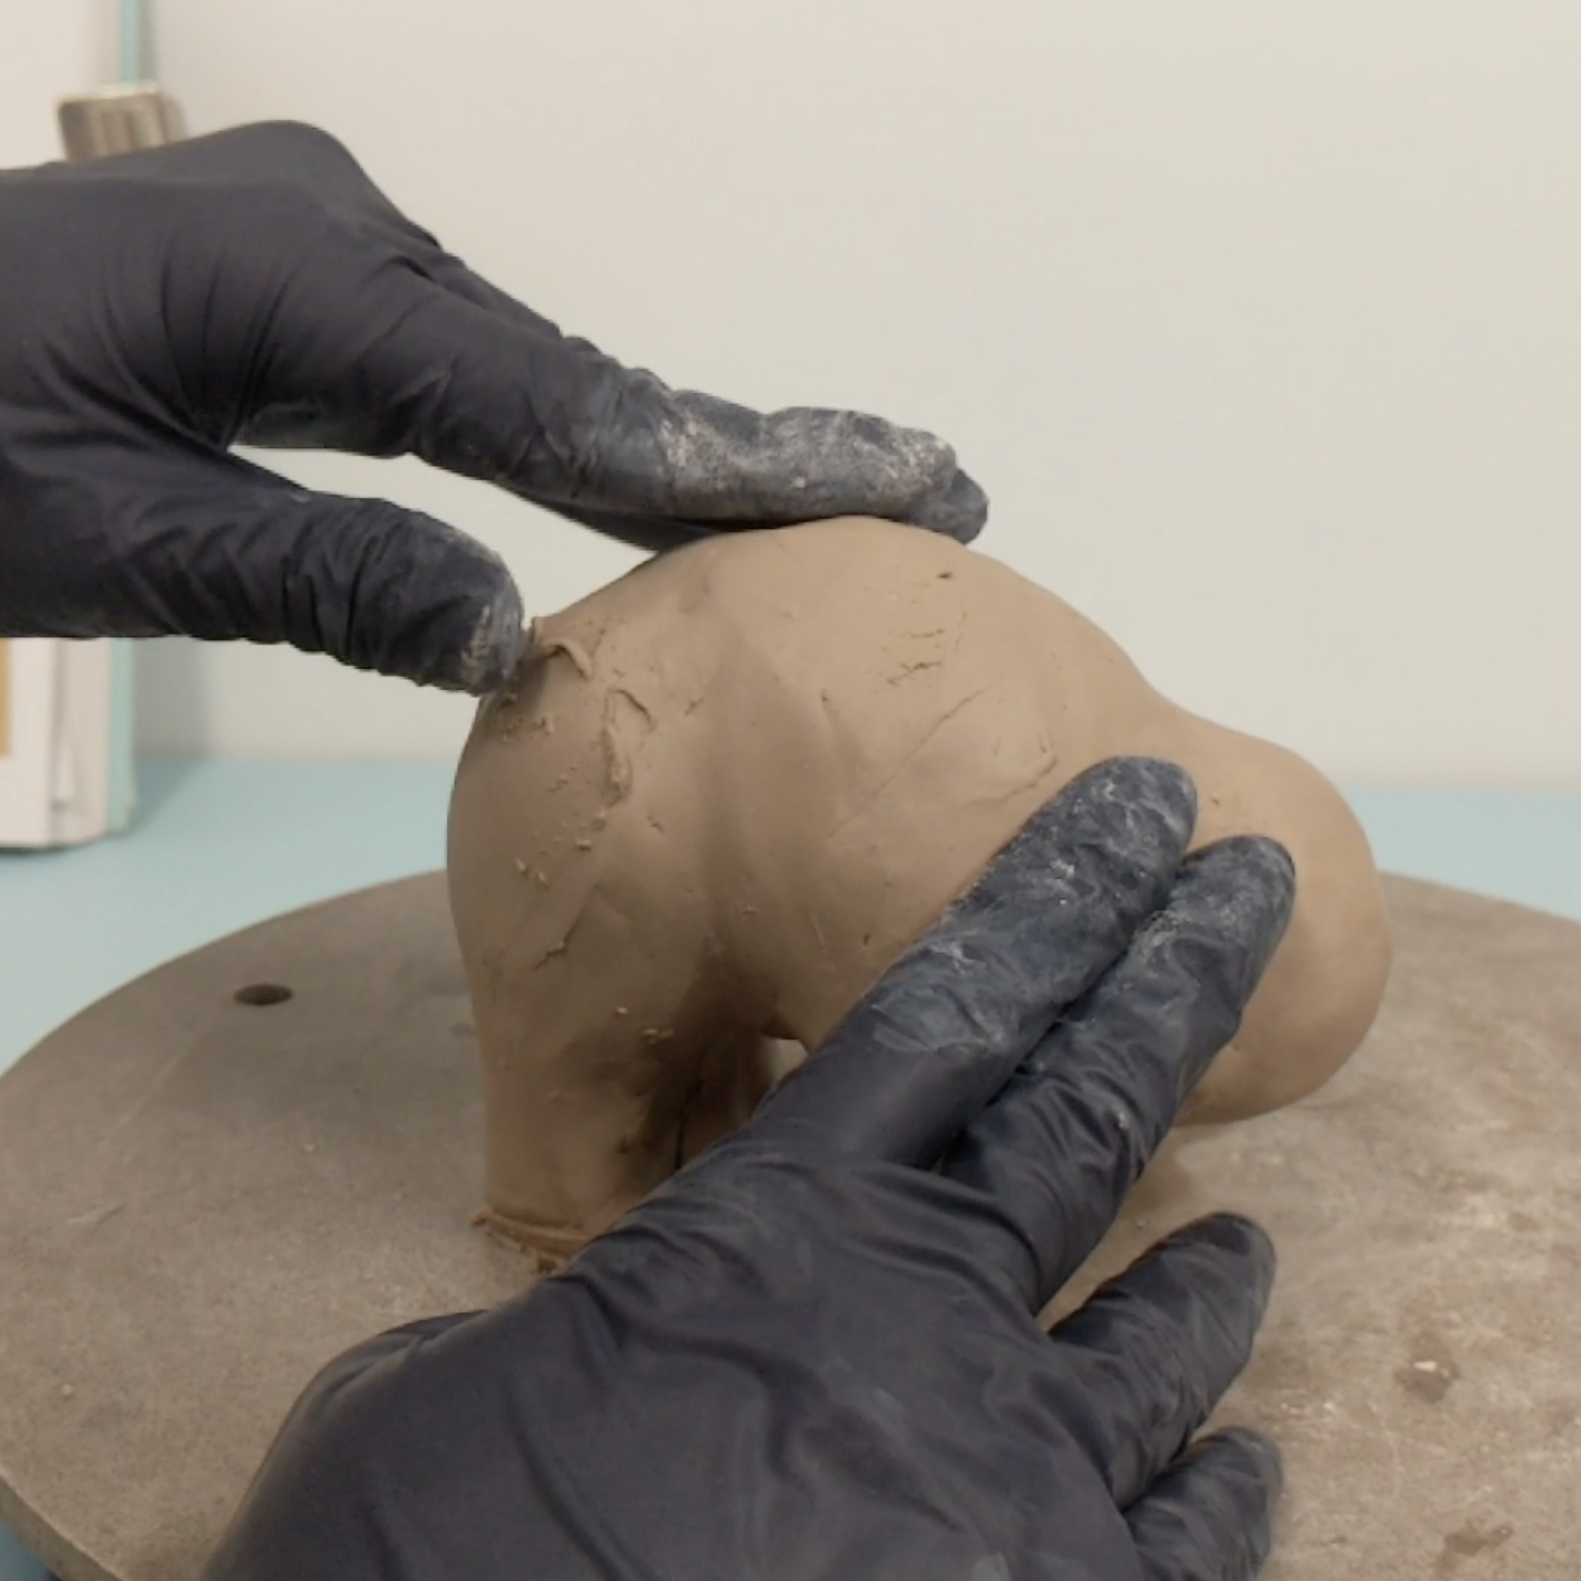
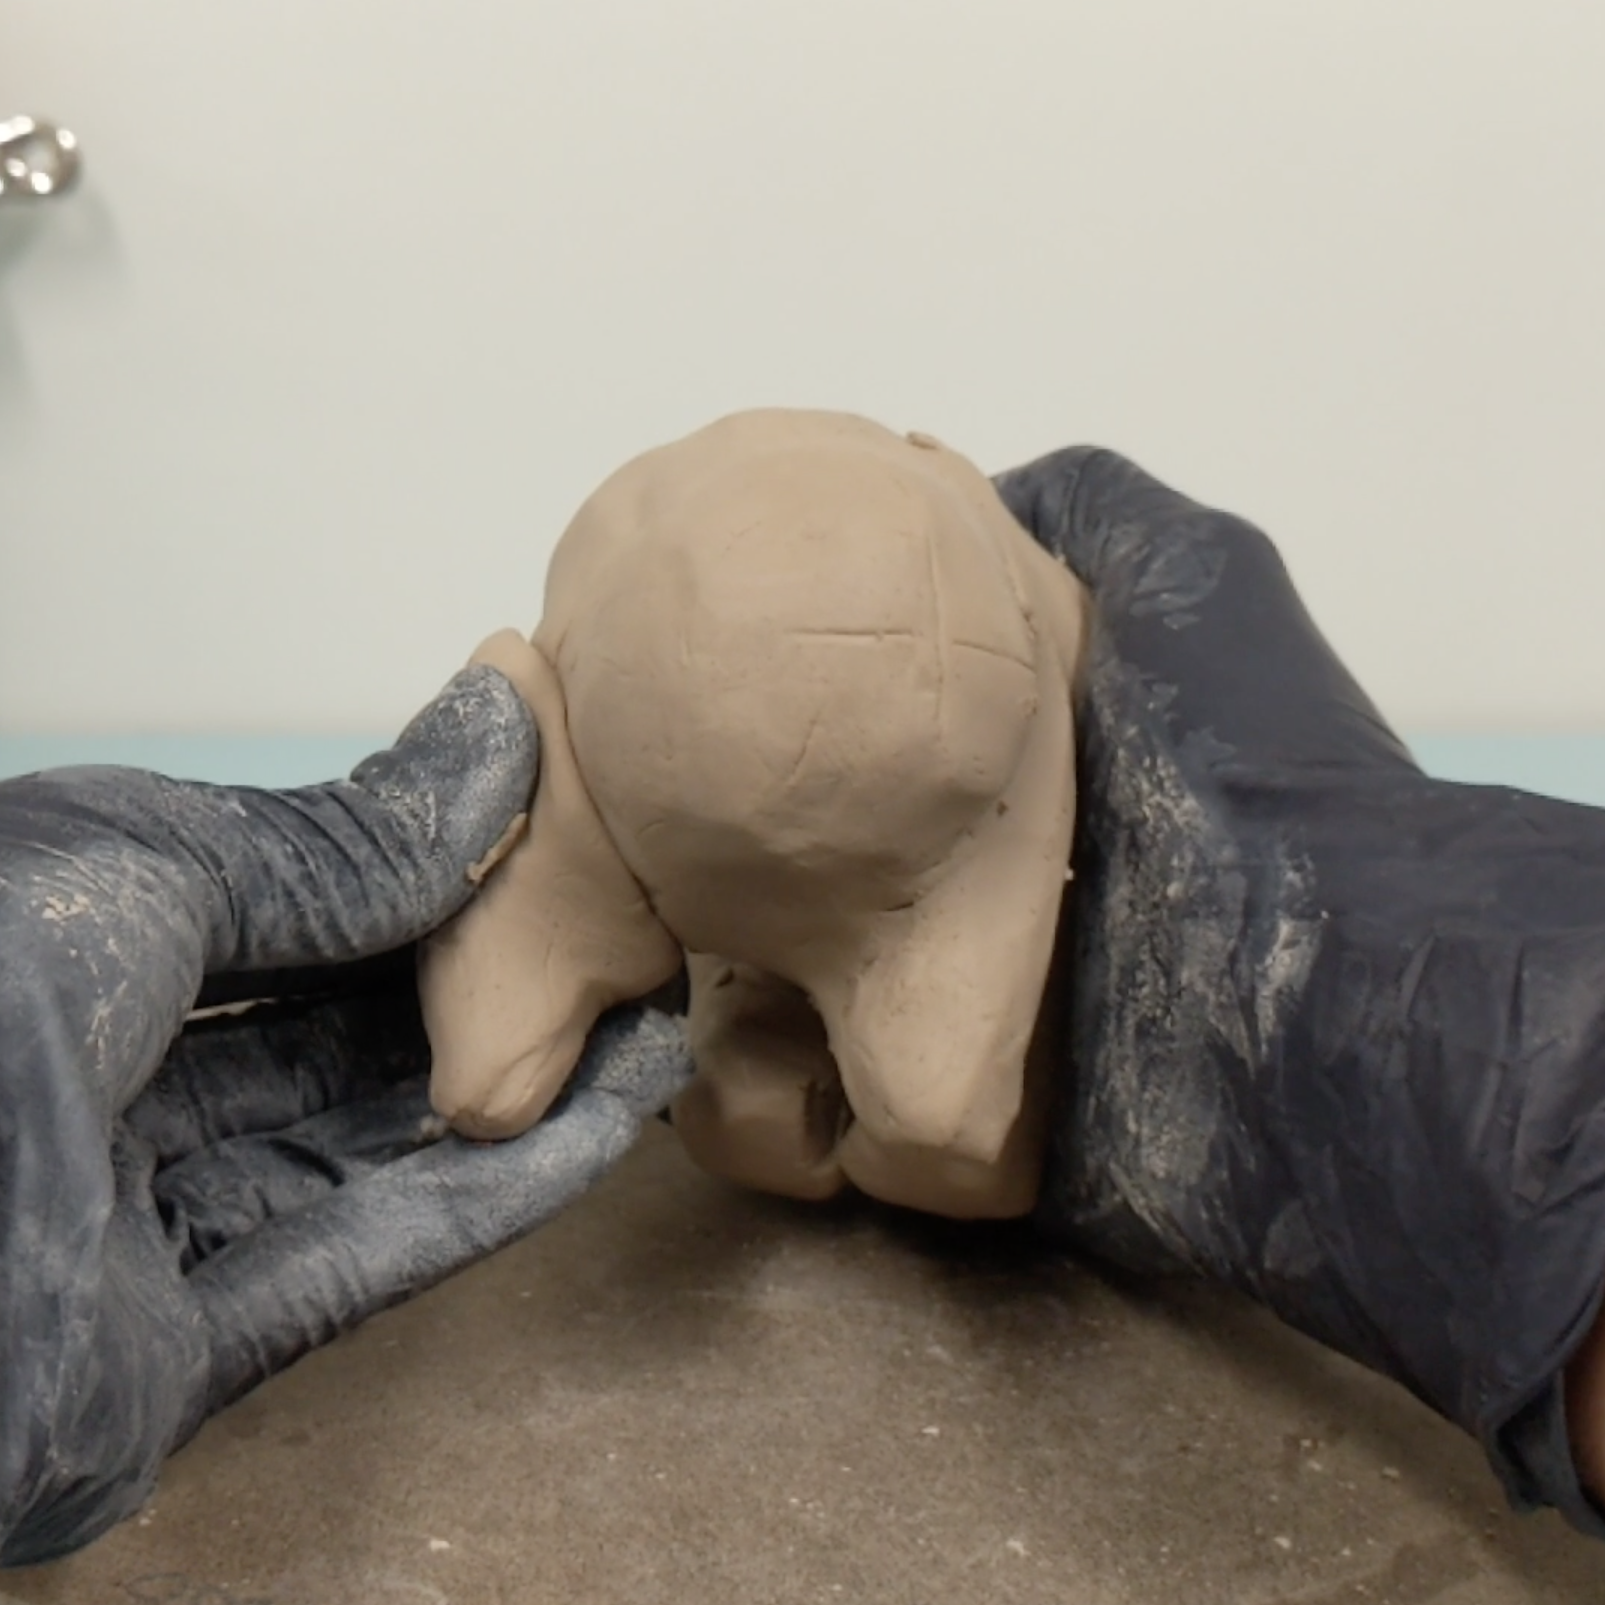
Once the overall figure is loosely established, you can start to refine the anatomy. I added more clay to the backside because animals have butt cheeks too. Even though my figures are stylized and plump, I still consider where the bones and muscle would exist to create believable joints. In the end, your sculpture doesn’t have to realistically exist in our world, but should convince the viewer that it exists believably in its own little world.
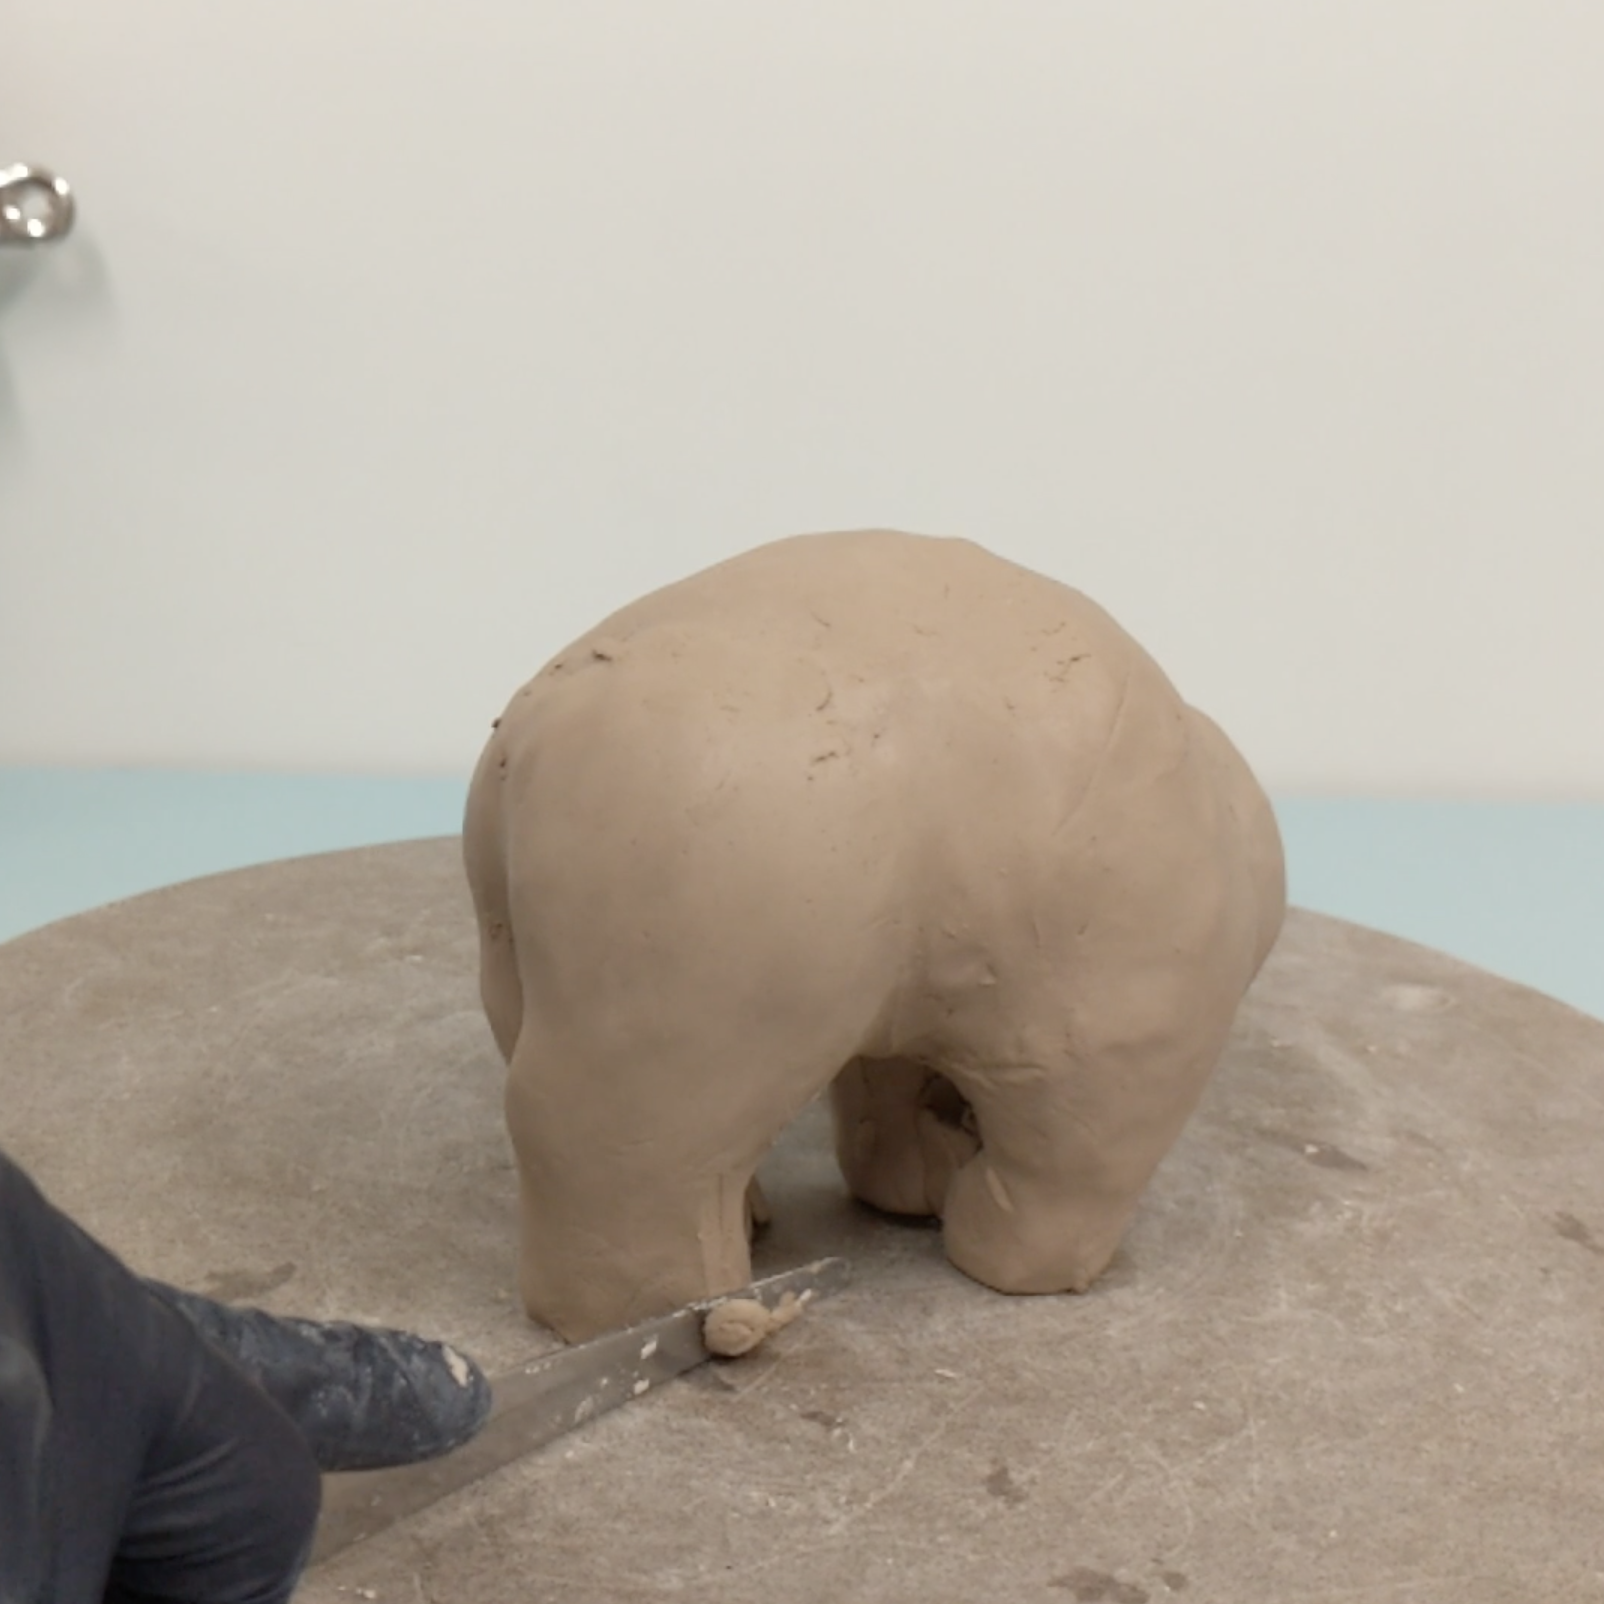
Consider the stability of the sculpture. The back legs of this tiger are butted up against each other which creates a strong structure. The front legs are separated, but since they’re low and thicker, I’m not worried about them snapping off or buckling under the weight of the rest of the body.
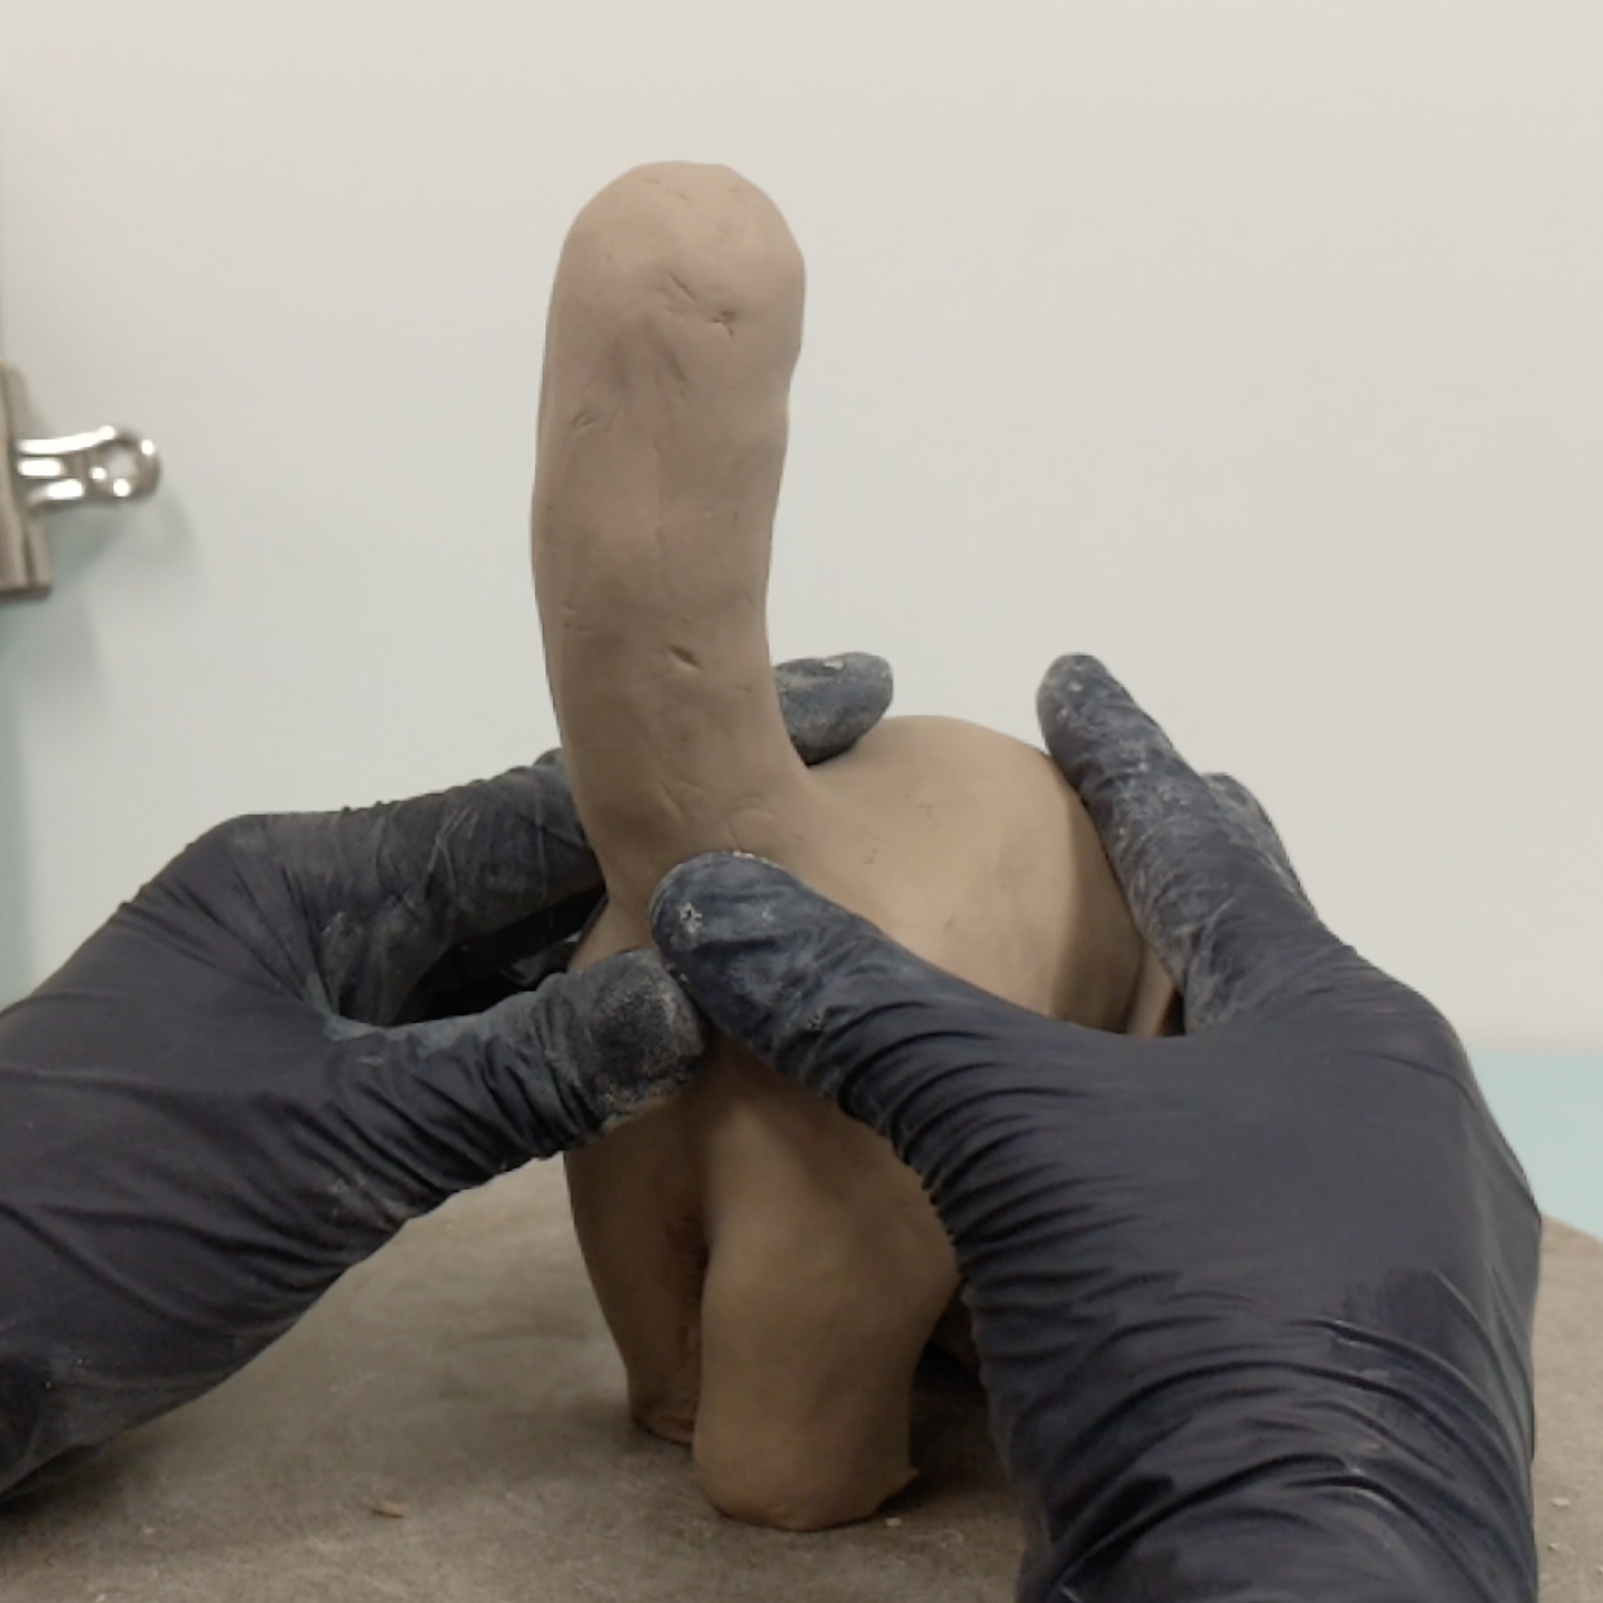
I add the tail after I’m satisfied with the position of the back legs.
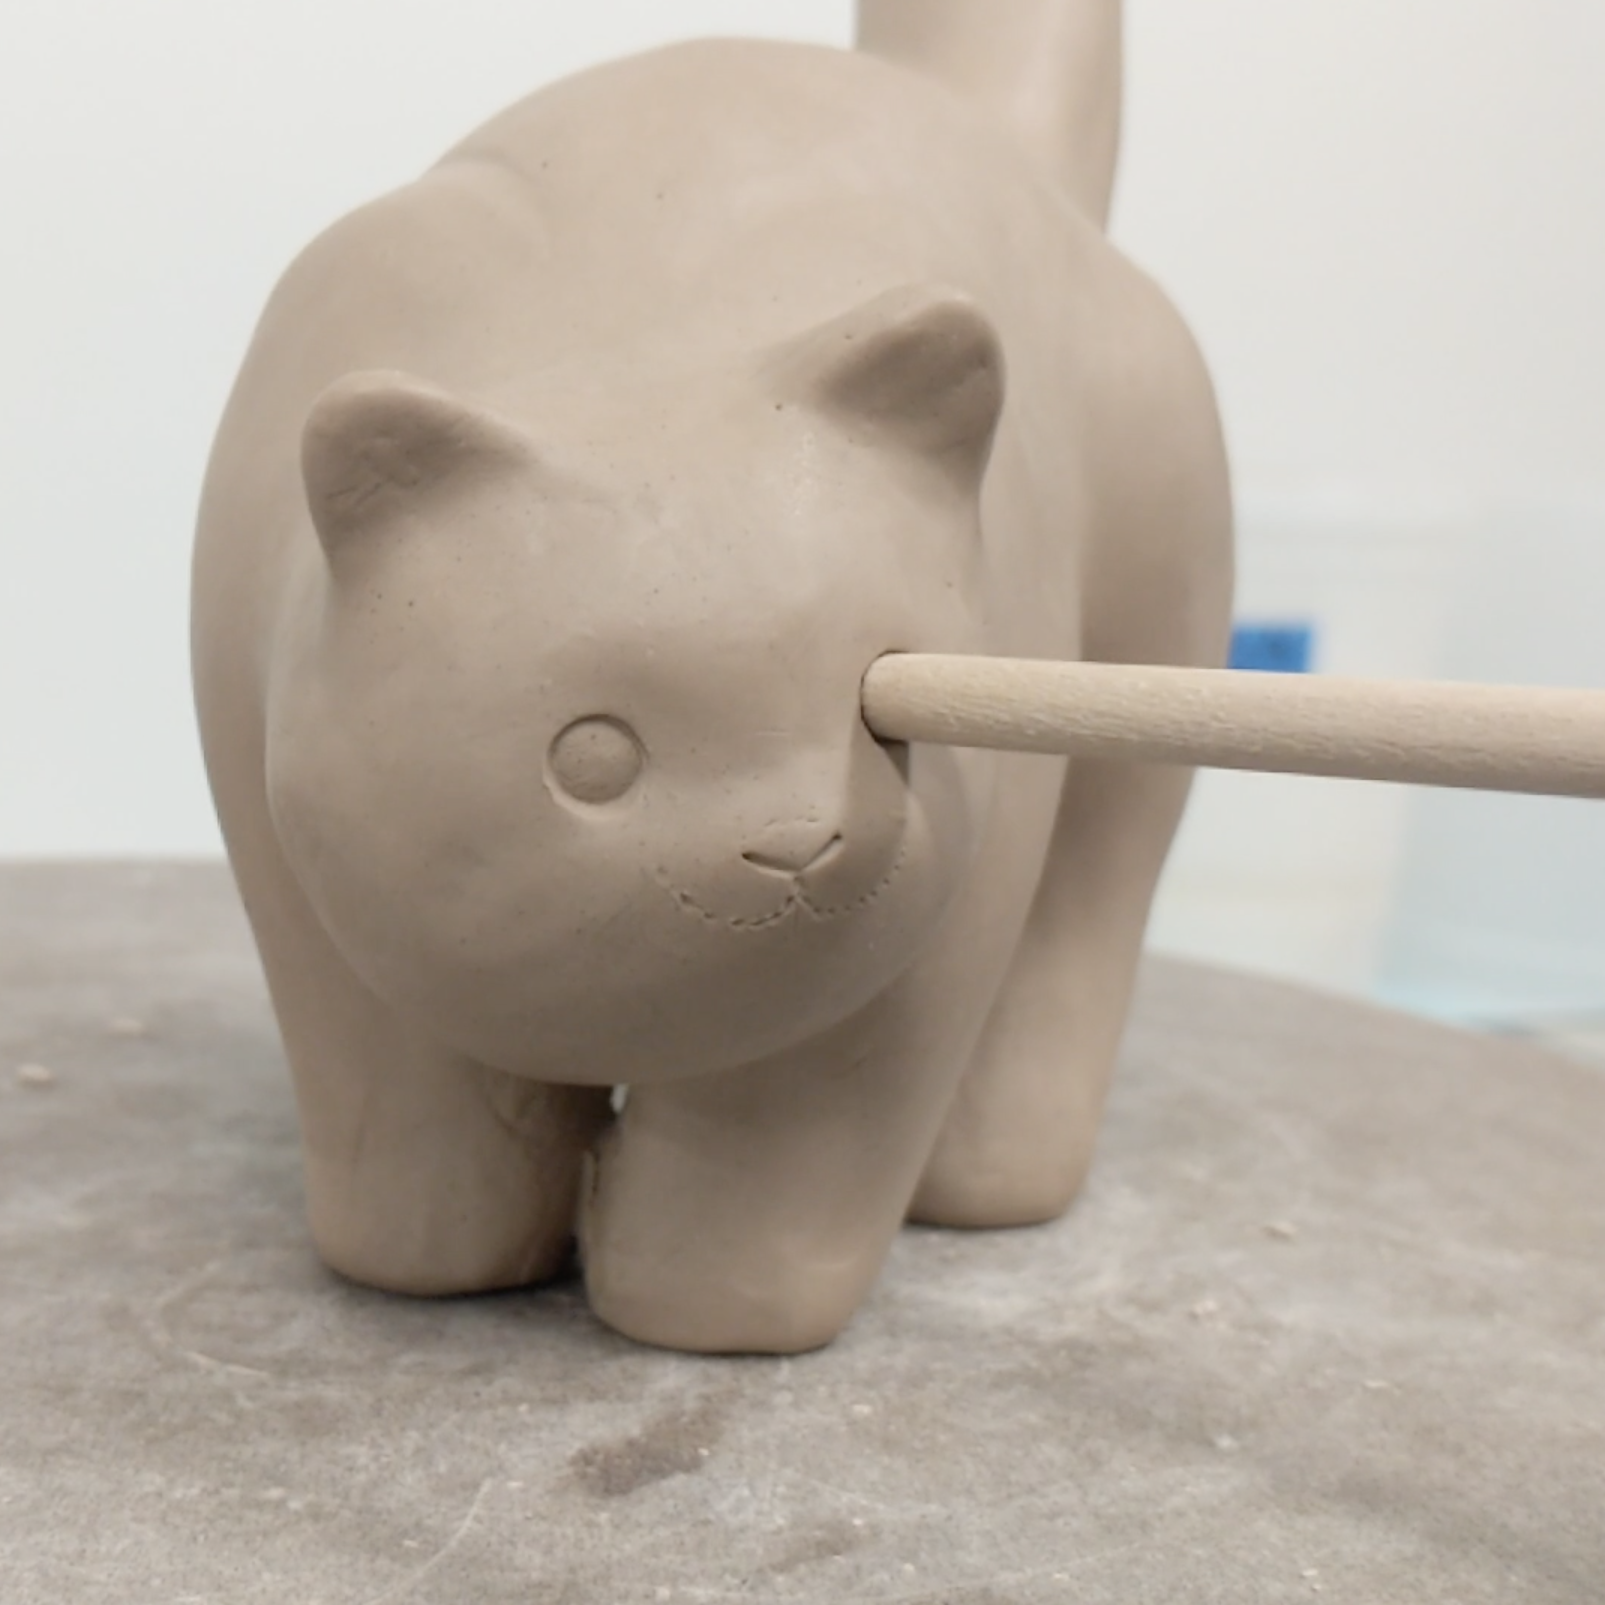
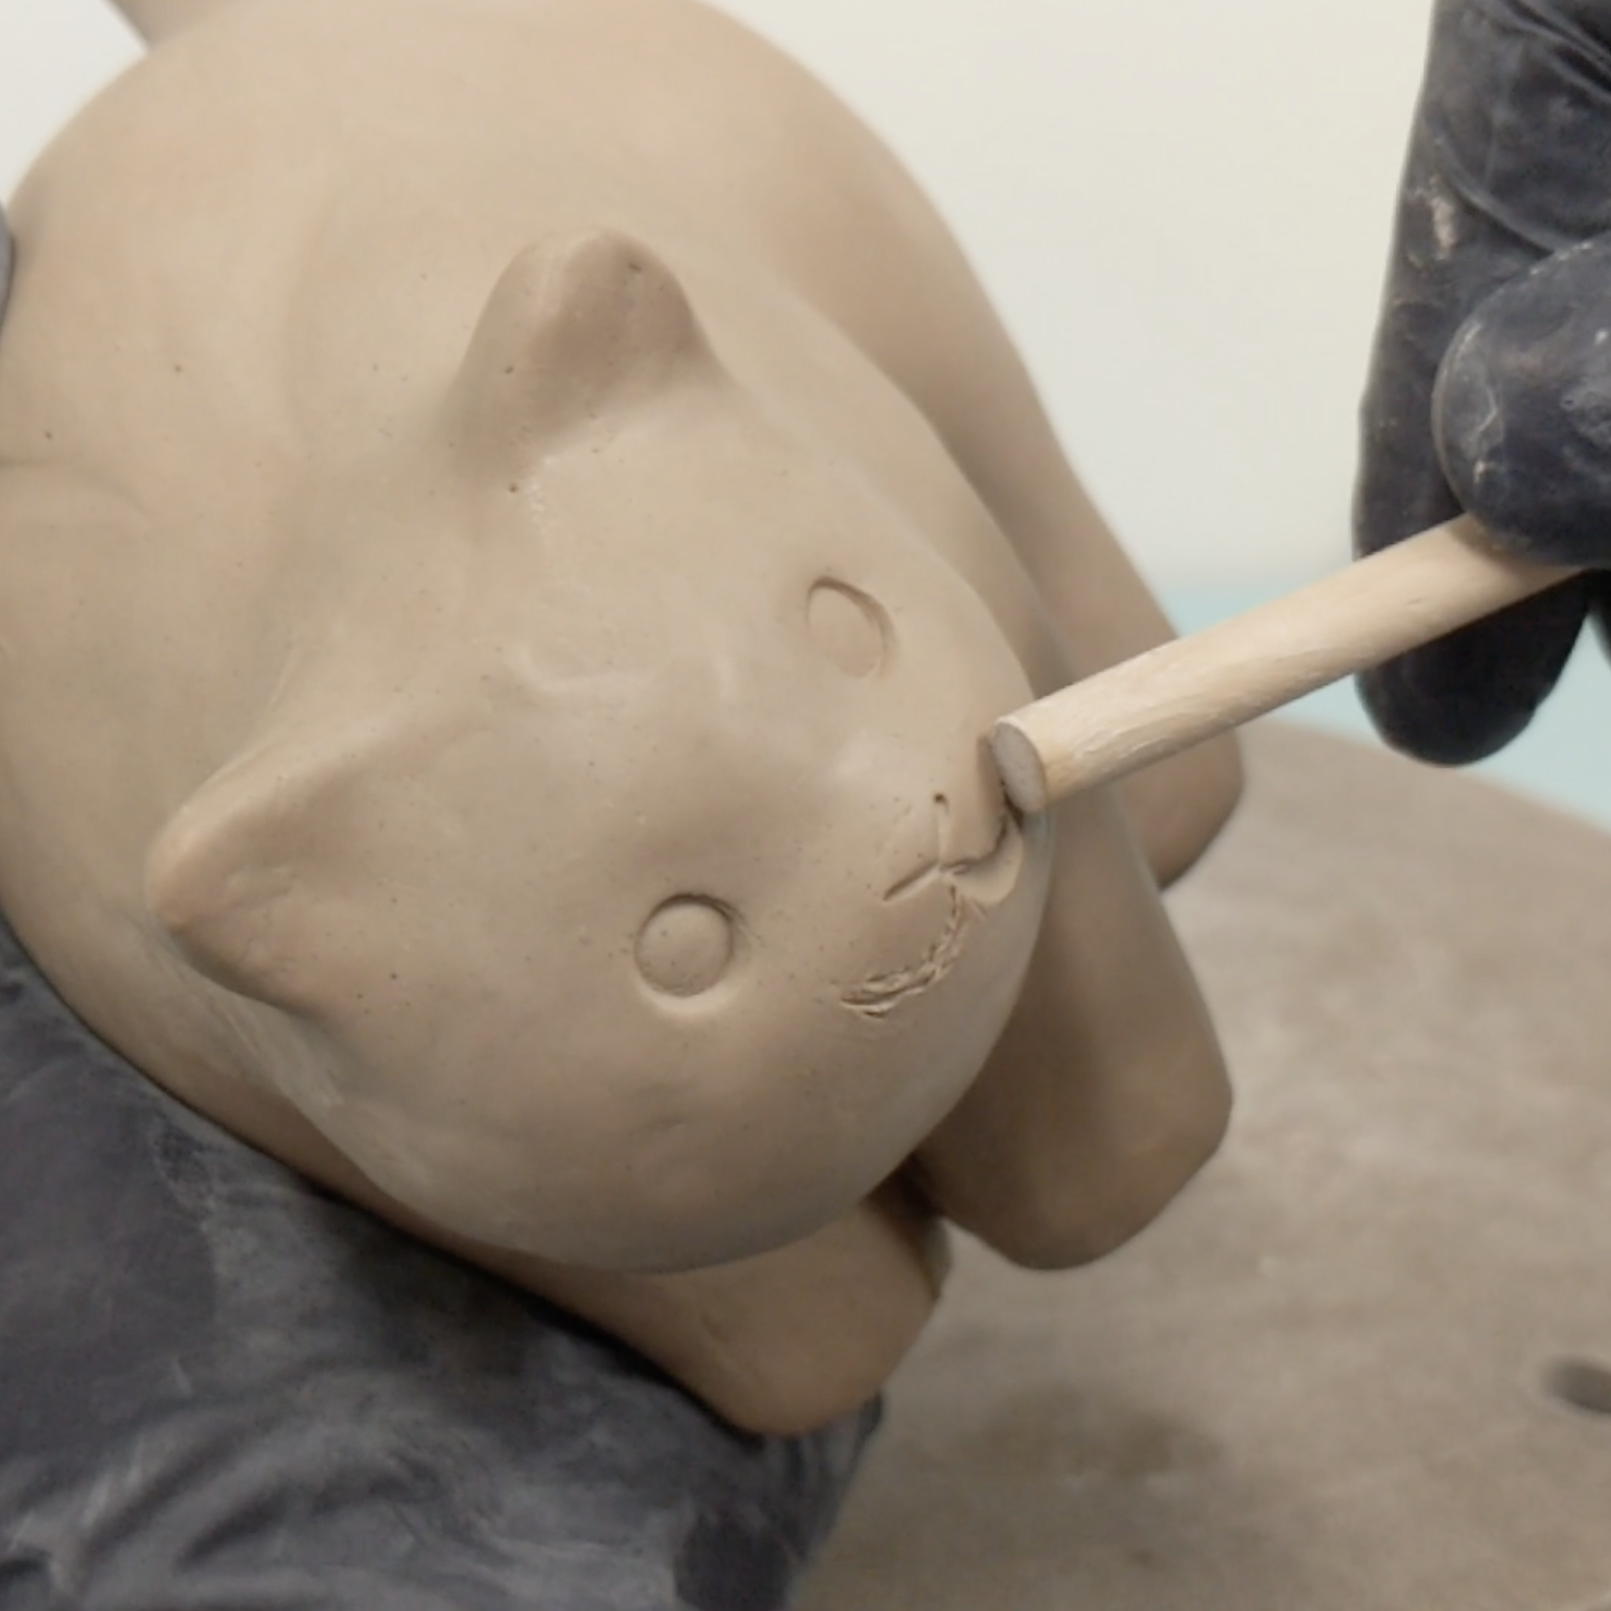
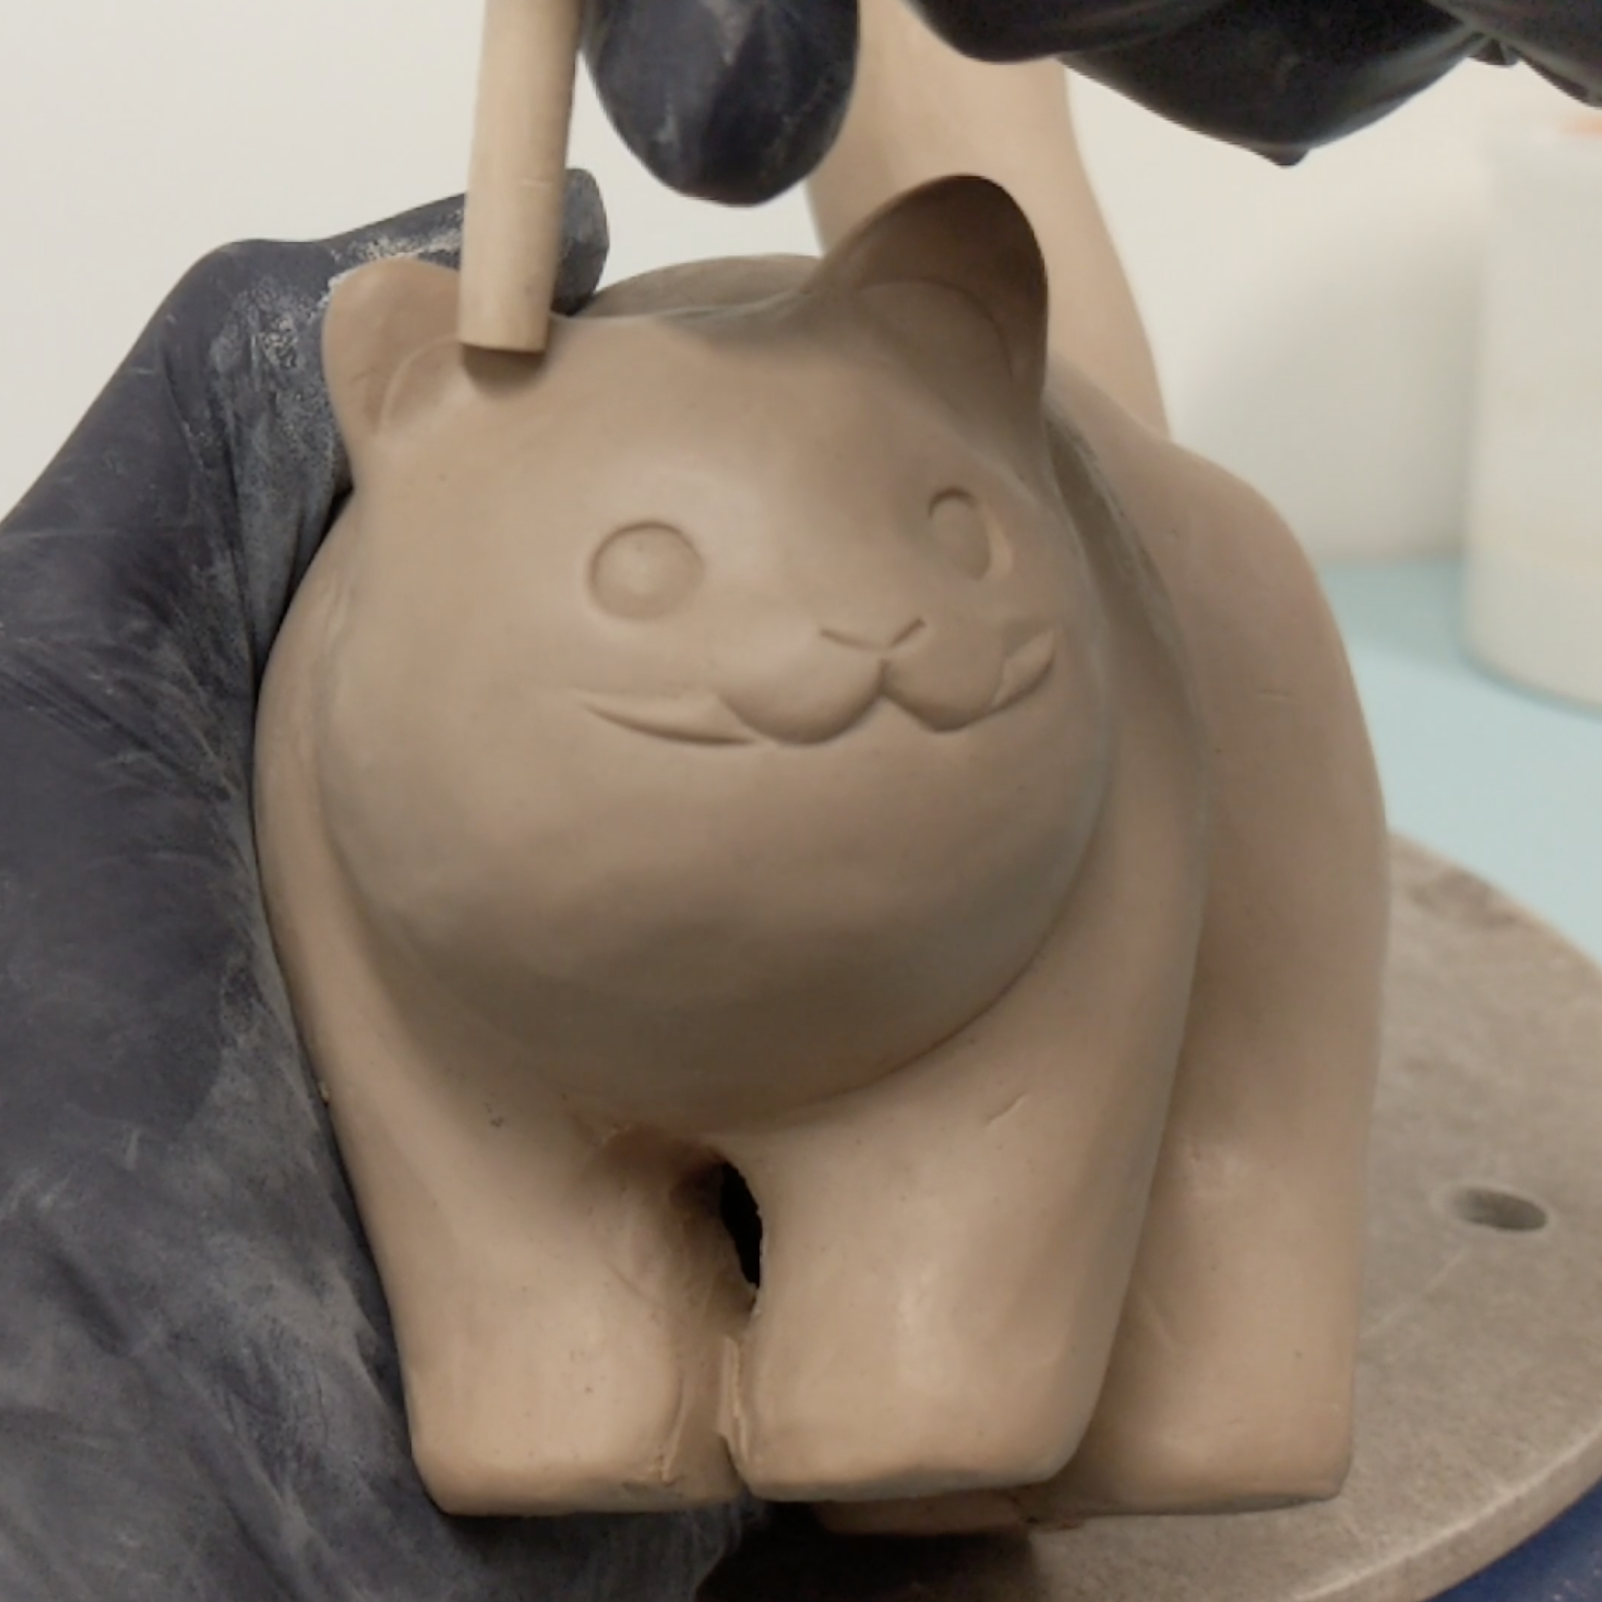
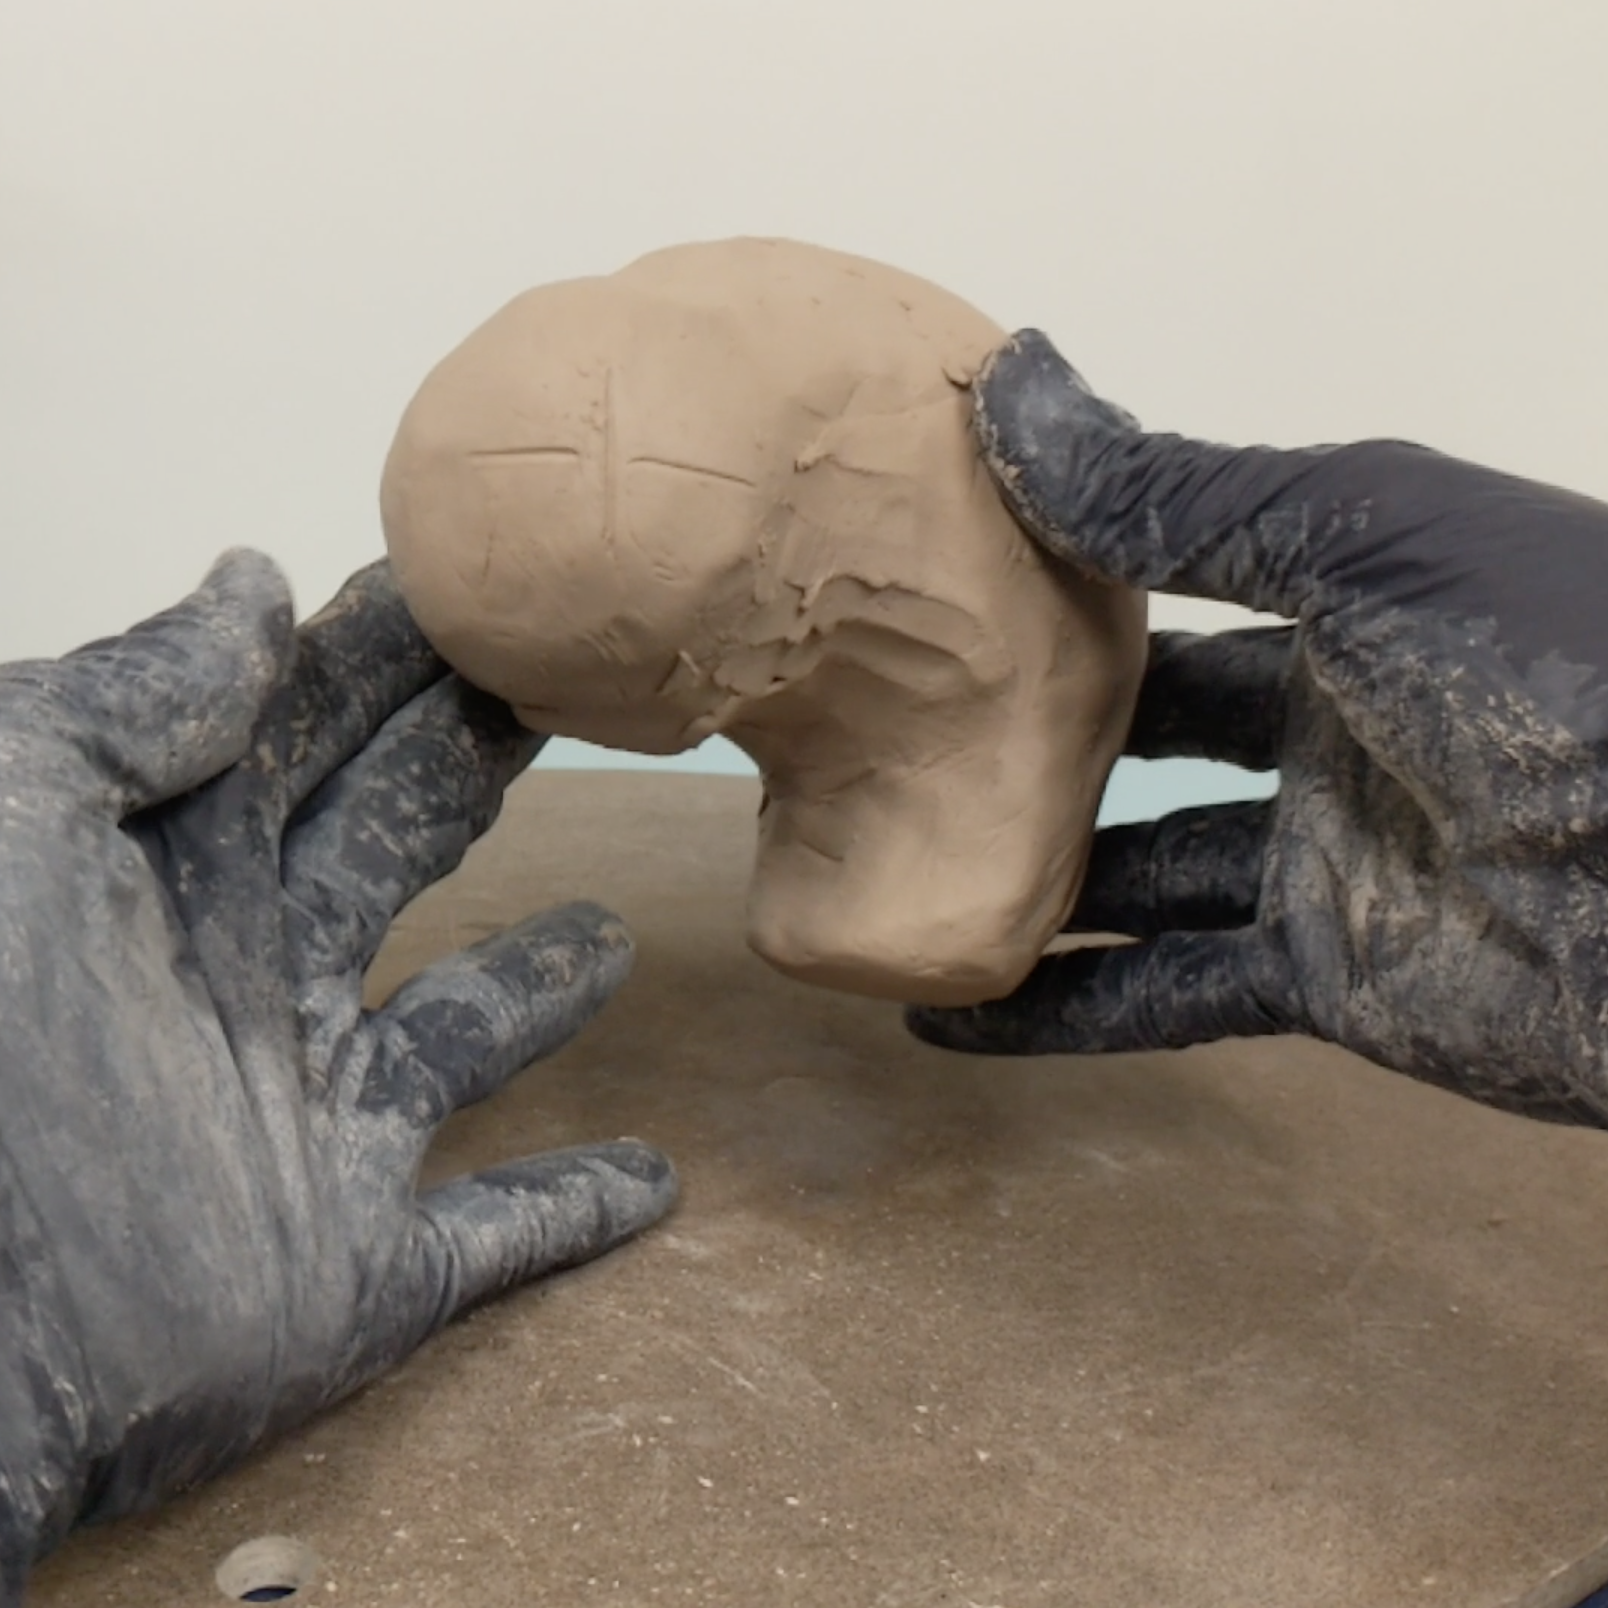
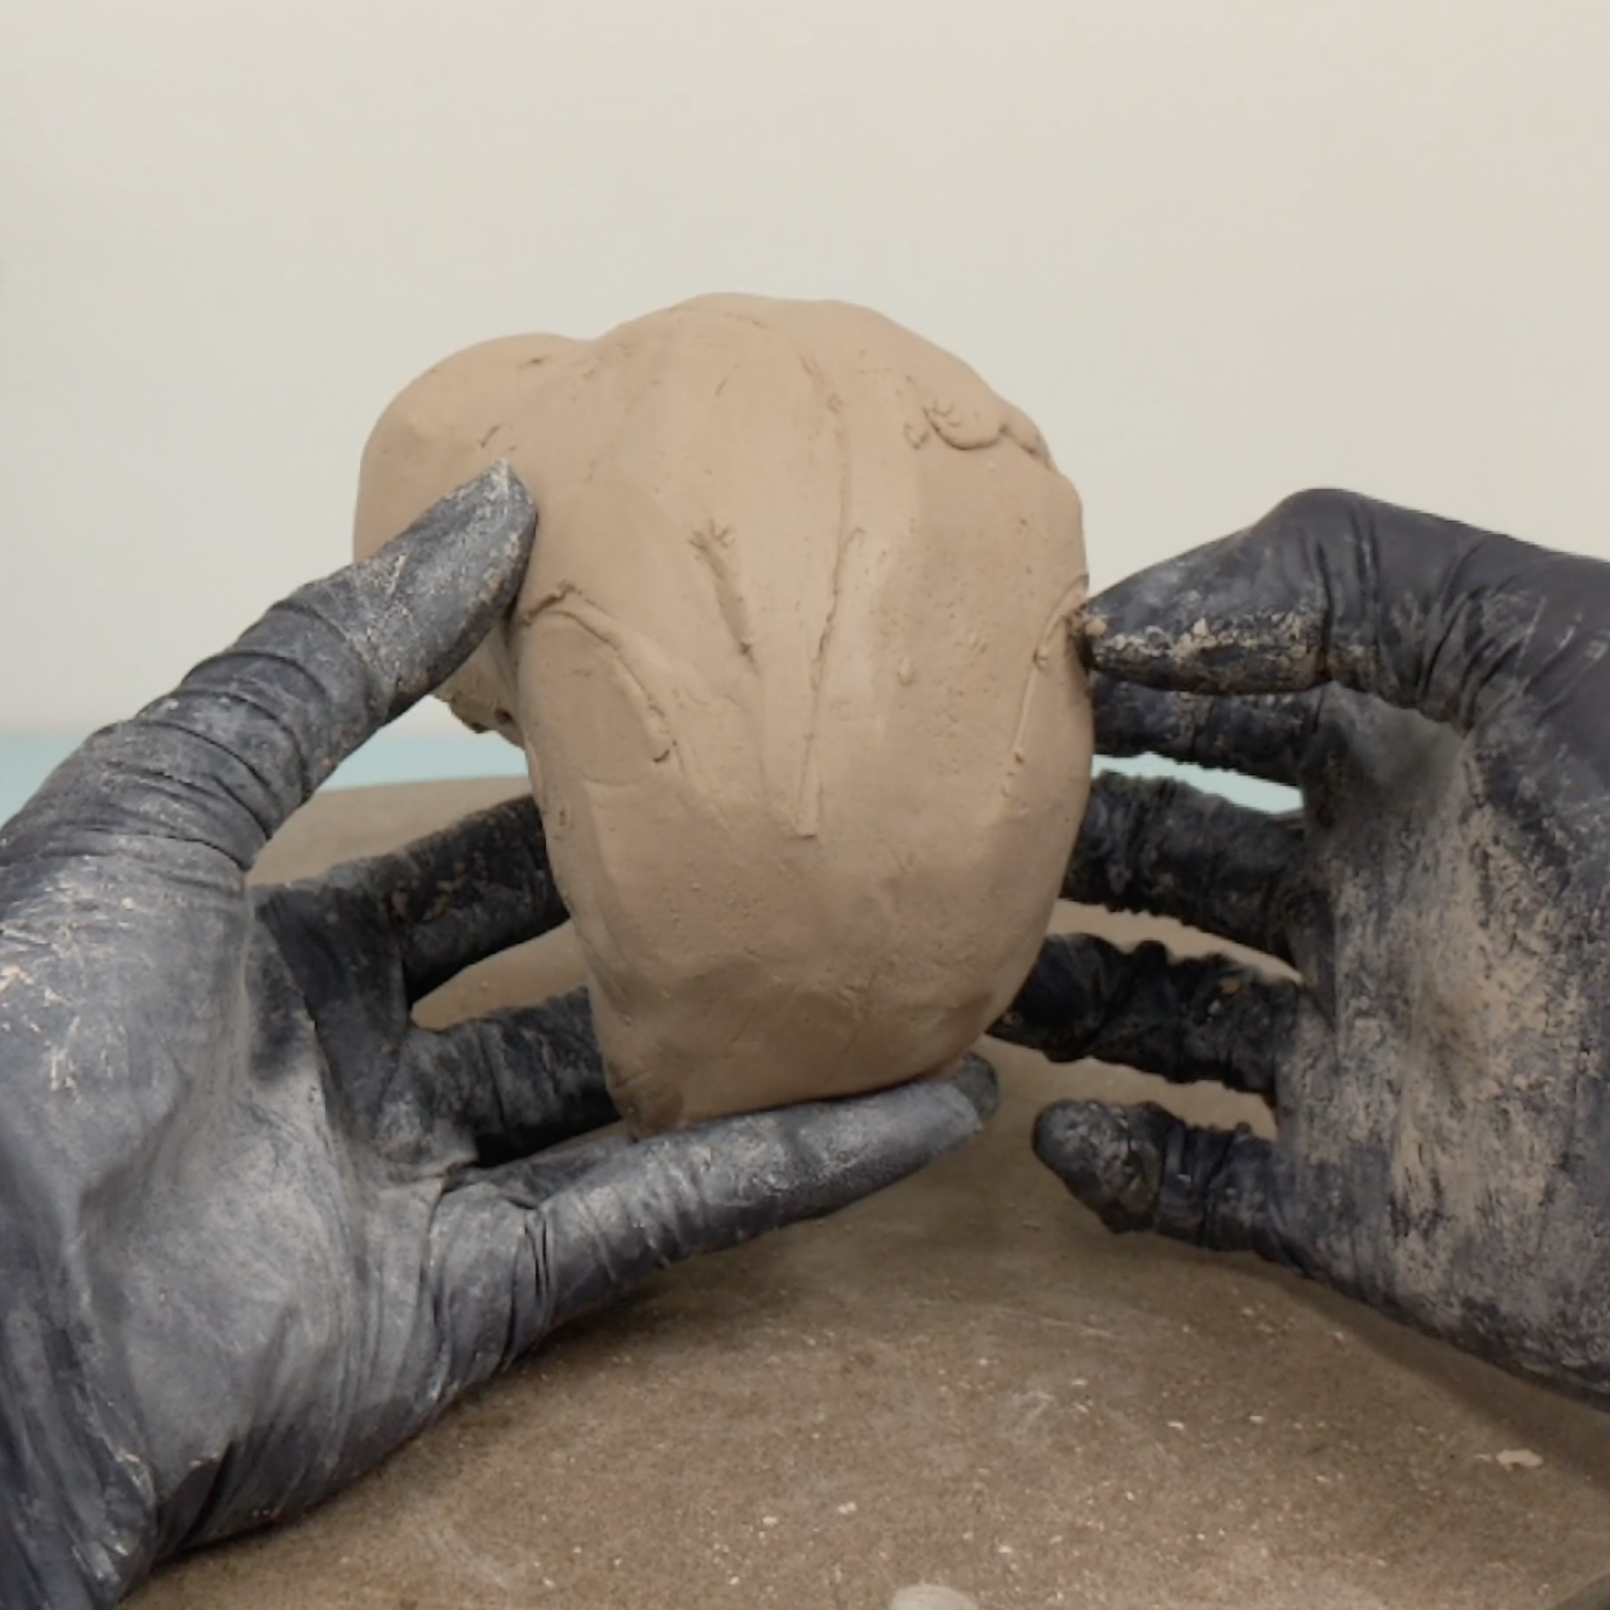
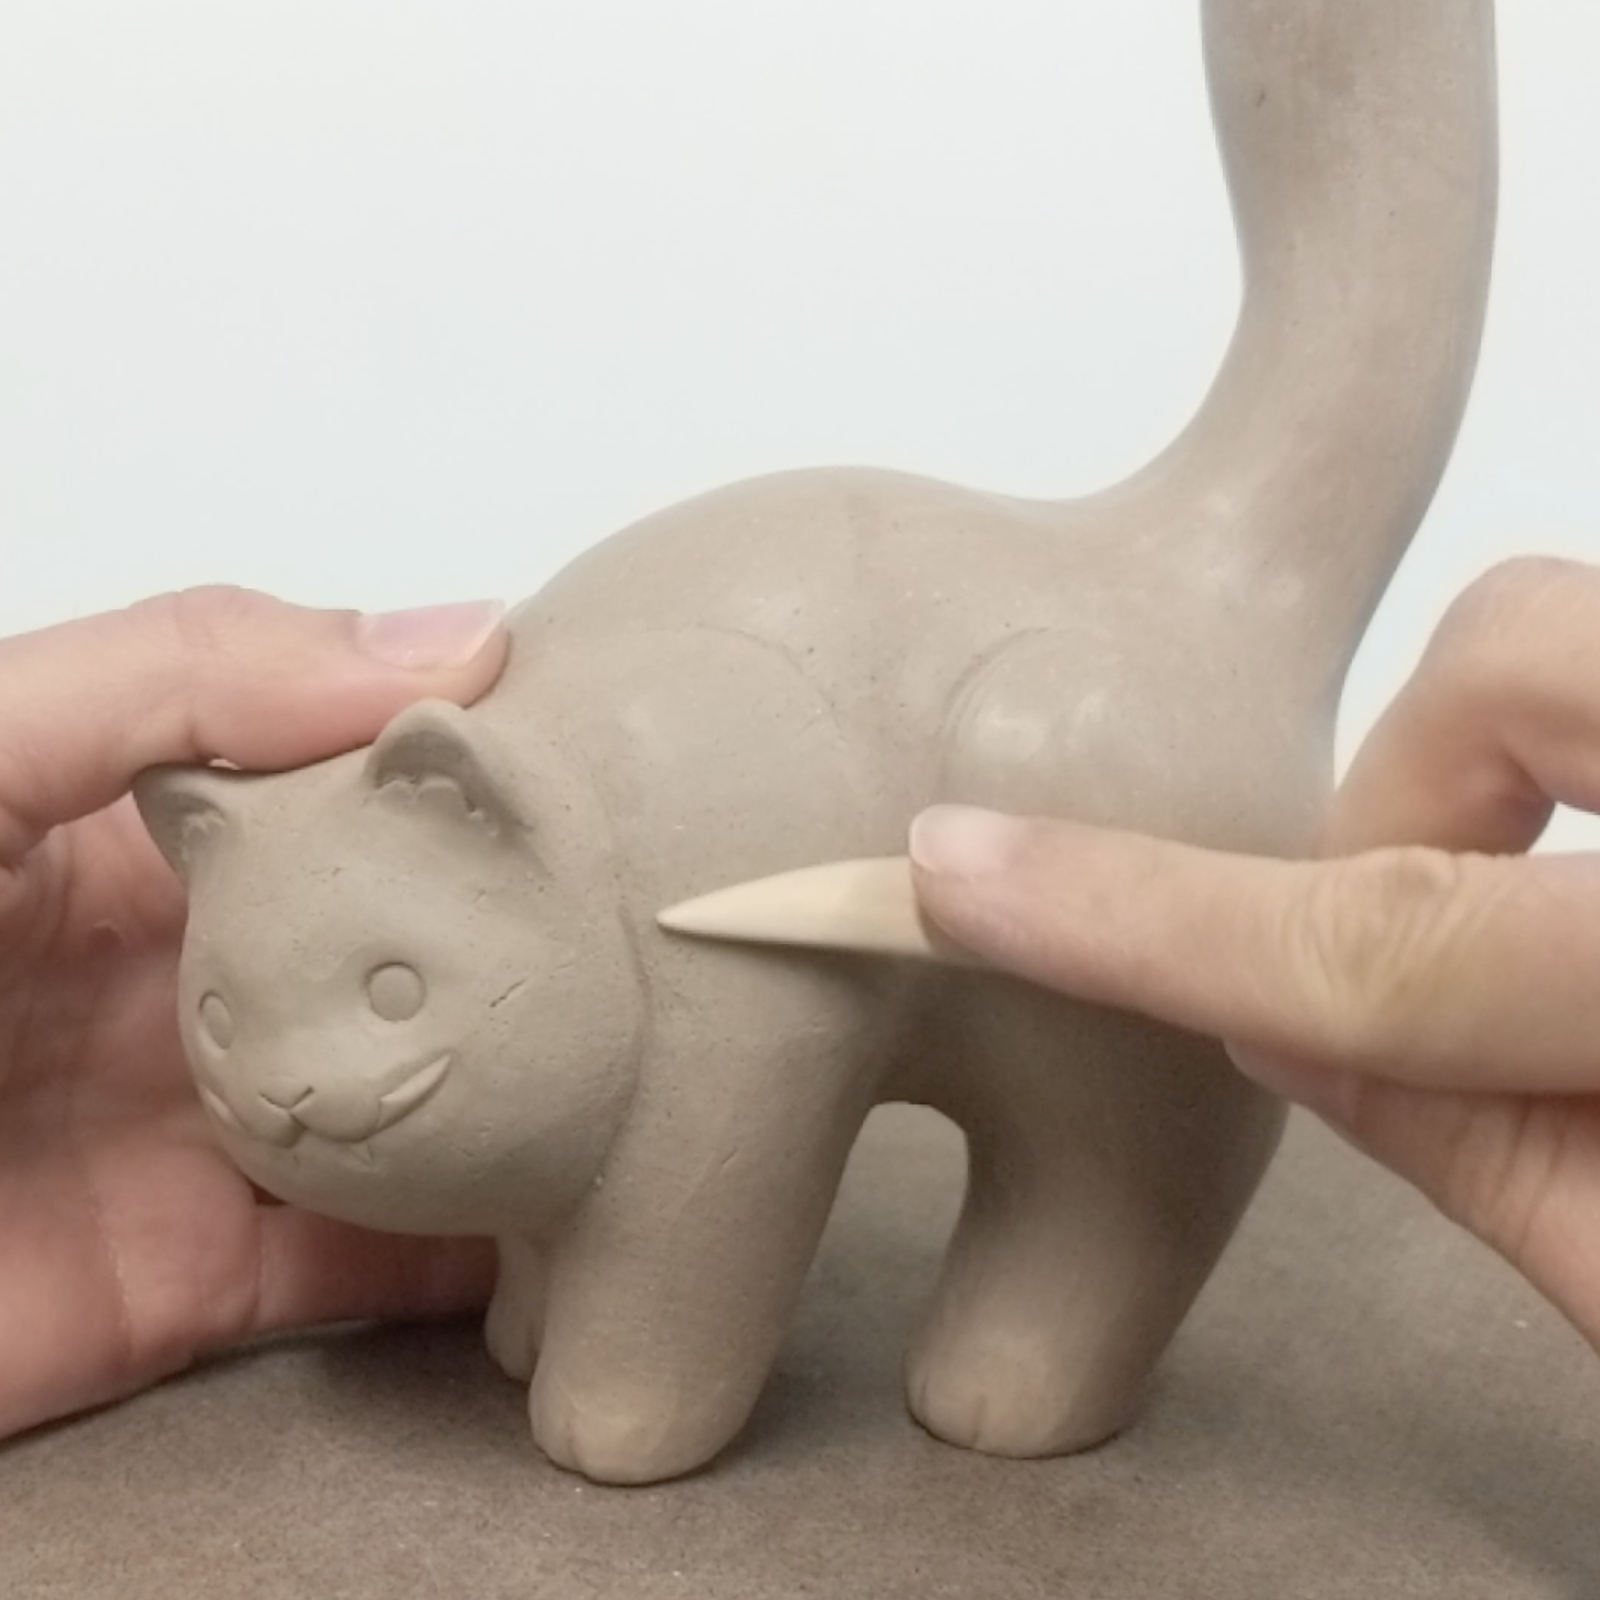
Add triangular bits of clay for the ears while being attentive to the rest of the face. It’s really easy to throw the face off symmetry, so look at it from various angles- front, sides, even above and below. I like to use a small dowel to stamp the eyes into even circles. I can also use the edge of this tool to roll and press indents for the muzzle and ear tufts. Alternatively, you could add and carve details out.
After establishing the face, I wont put in any more details because those can be worked on after hollowing out the sculpture. I would also wait to put in texture after hollowing since we will cut apart and have to reattach everything.
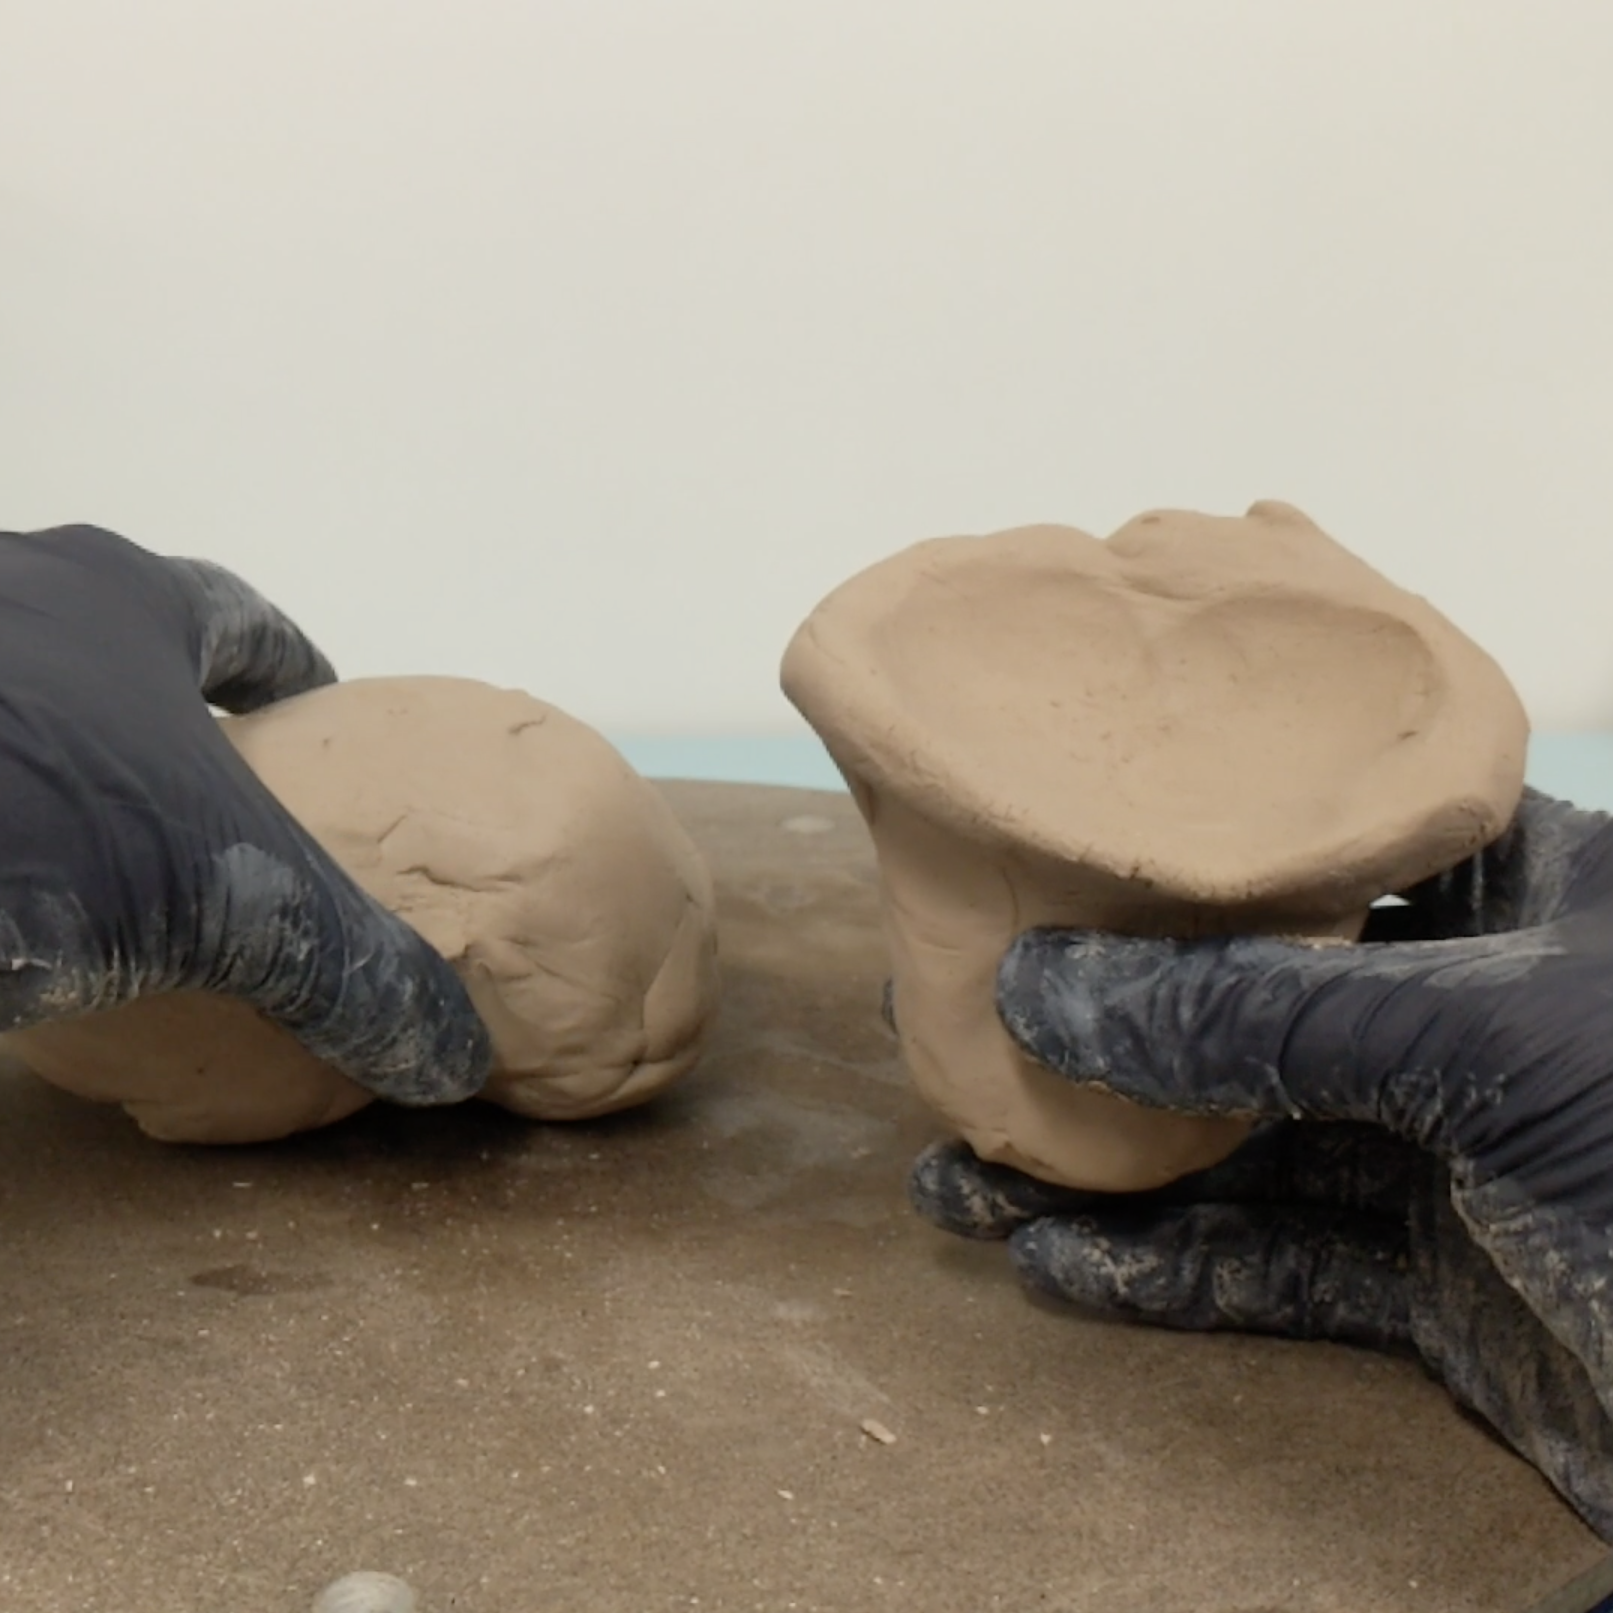
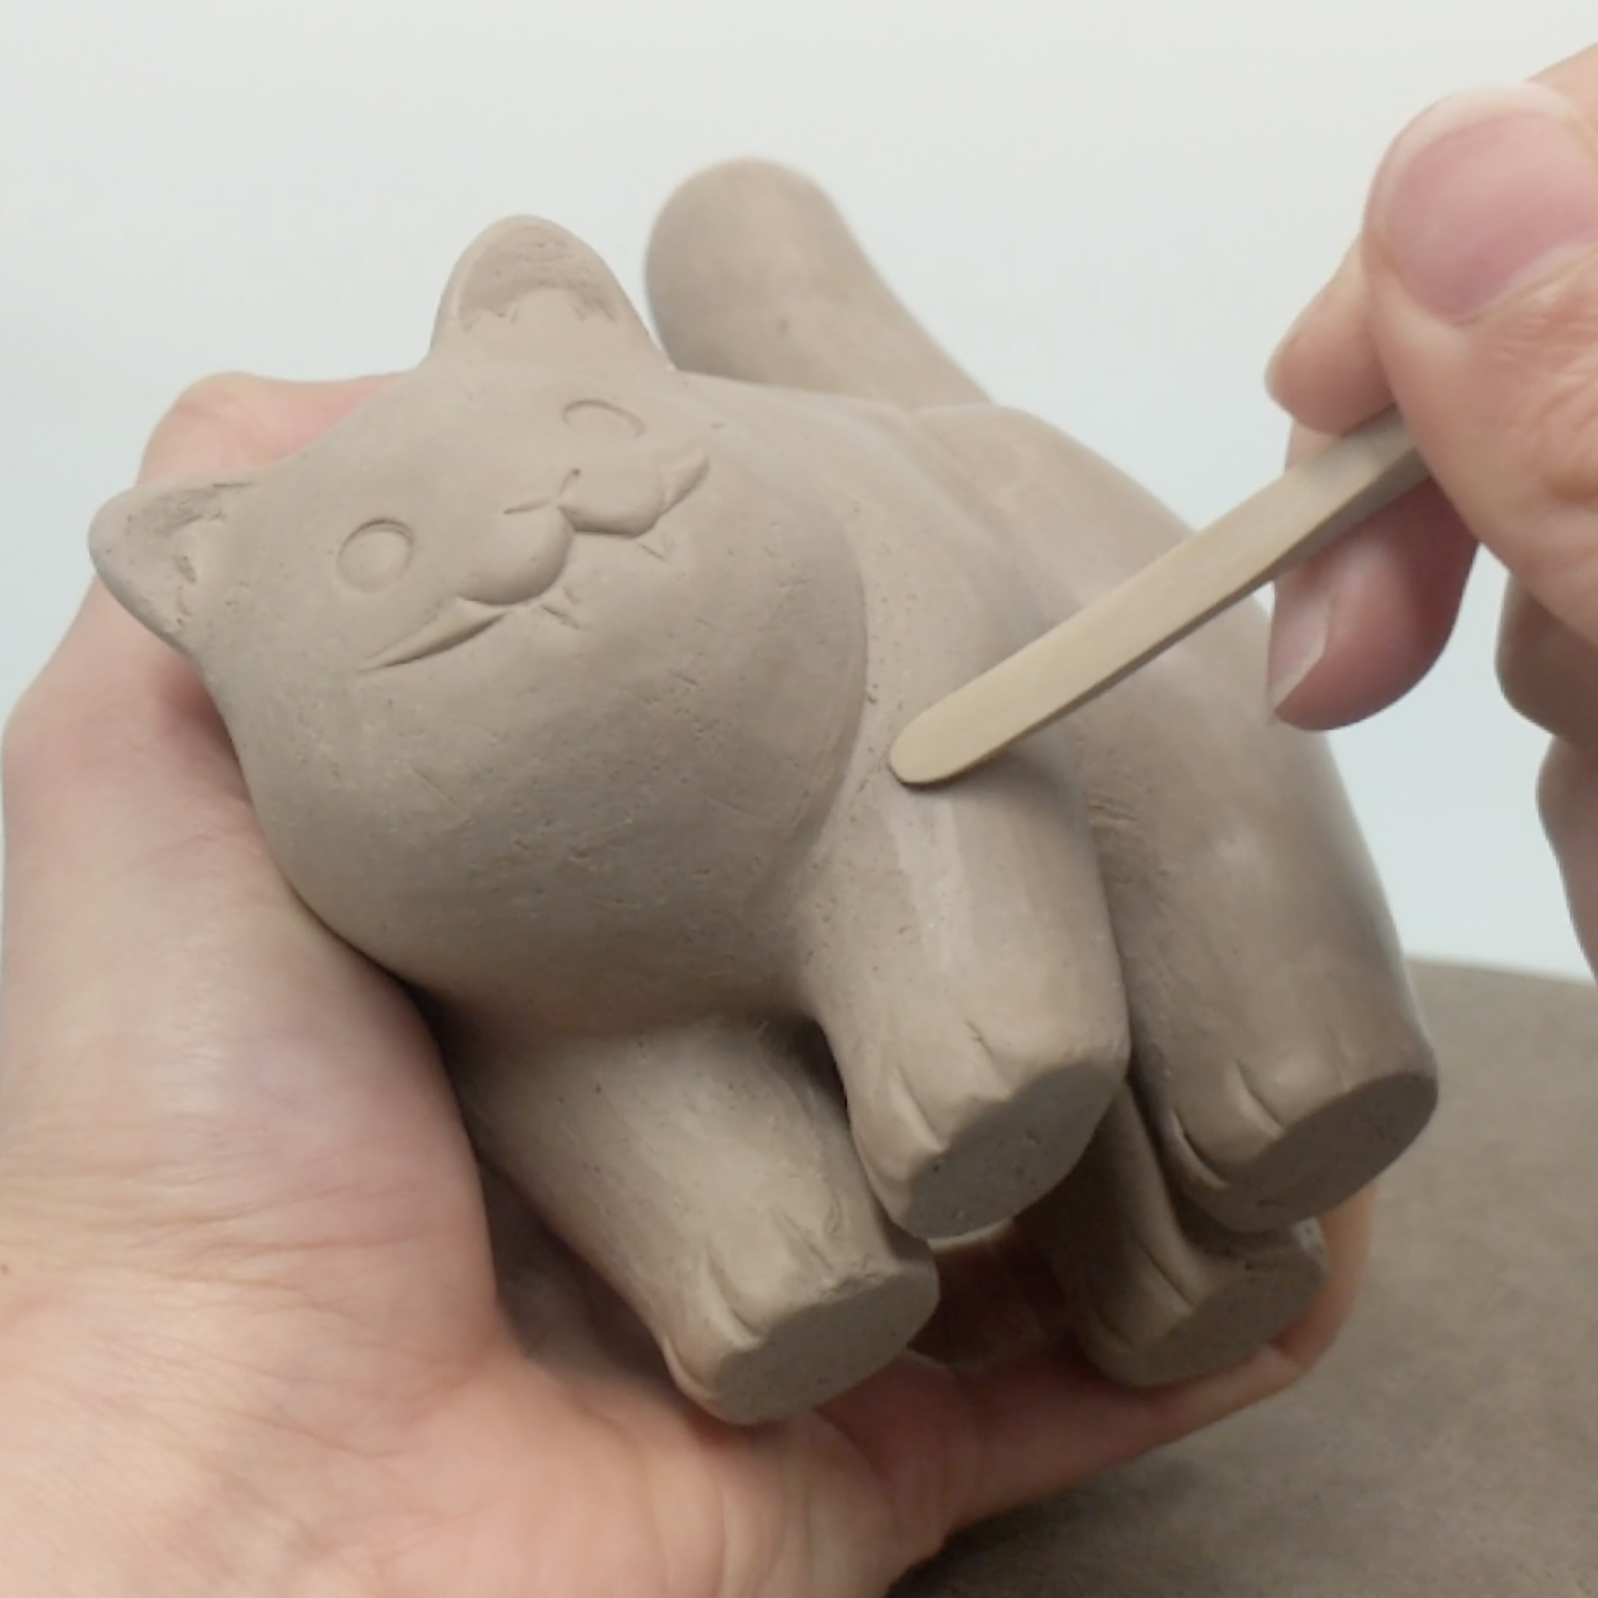
Your sculpture is ready to hollow out when the outside is soft leather hard to leather hard. You want the outside to be able to maintain its shape with the inside being soft enough to carve out. It’s okay if the pieces distort a little bit because you can reshape them when reattaching, but you don’t want them squishing and creating dents when you hold the parts.
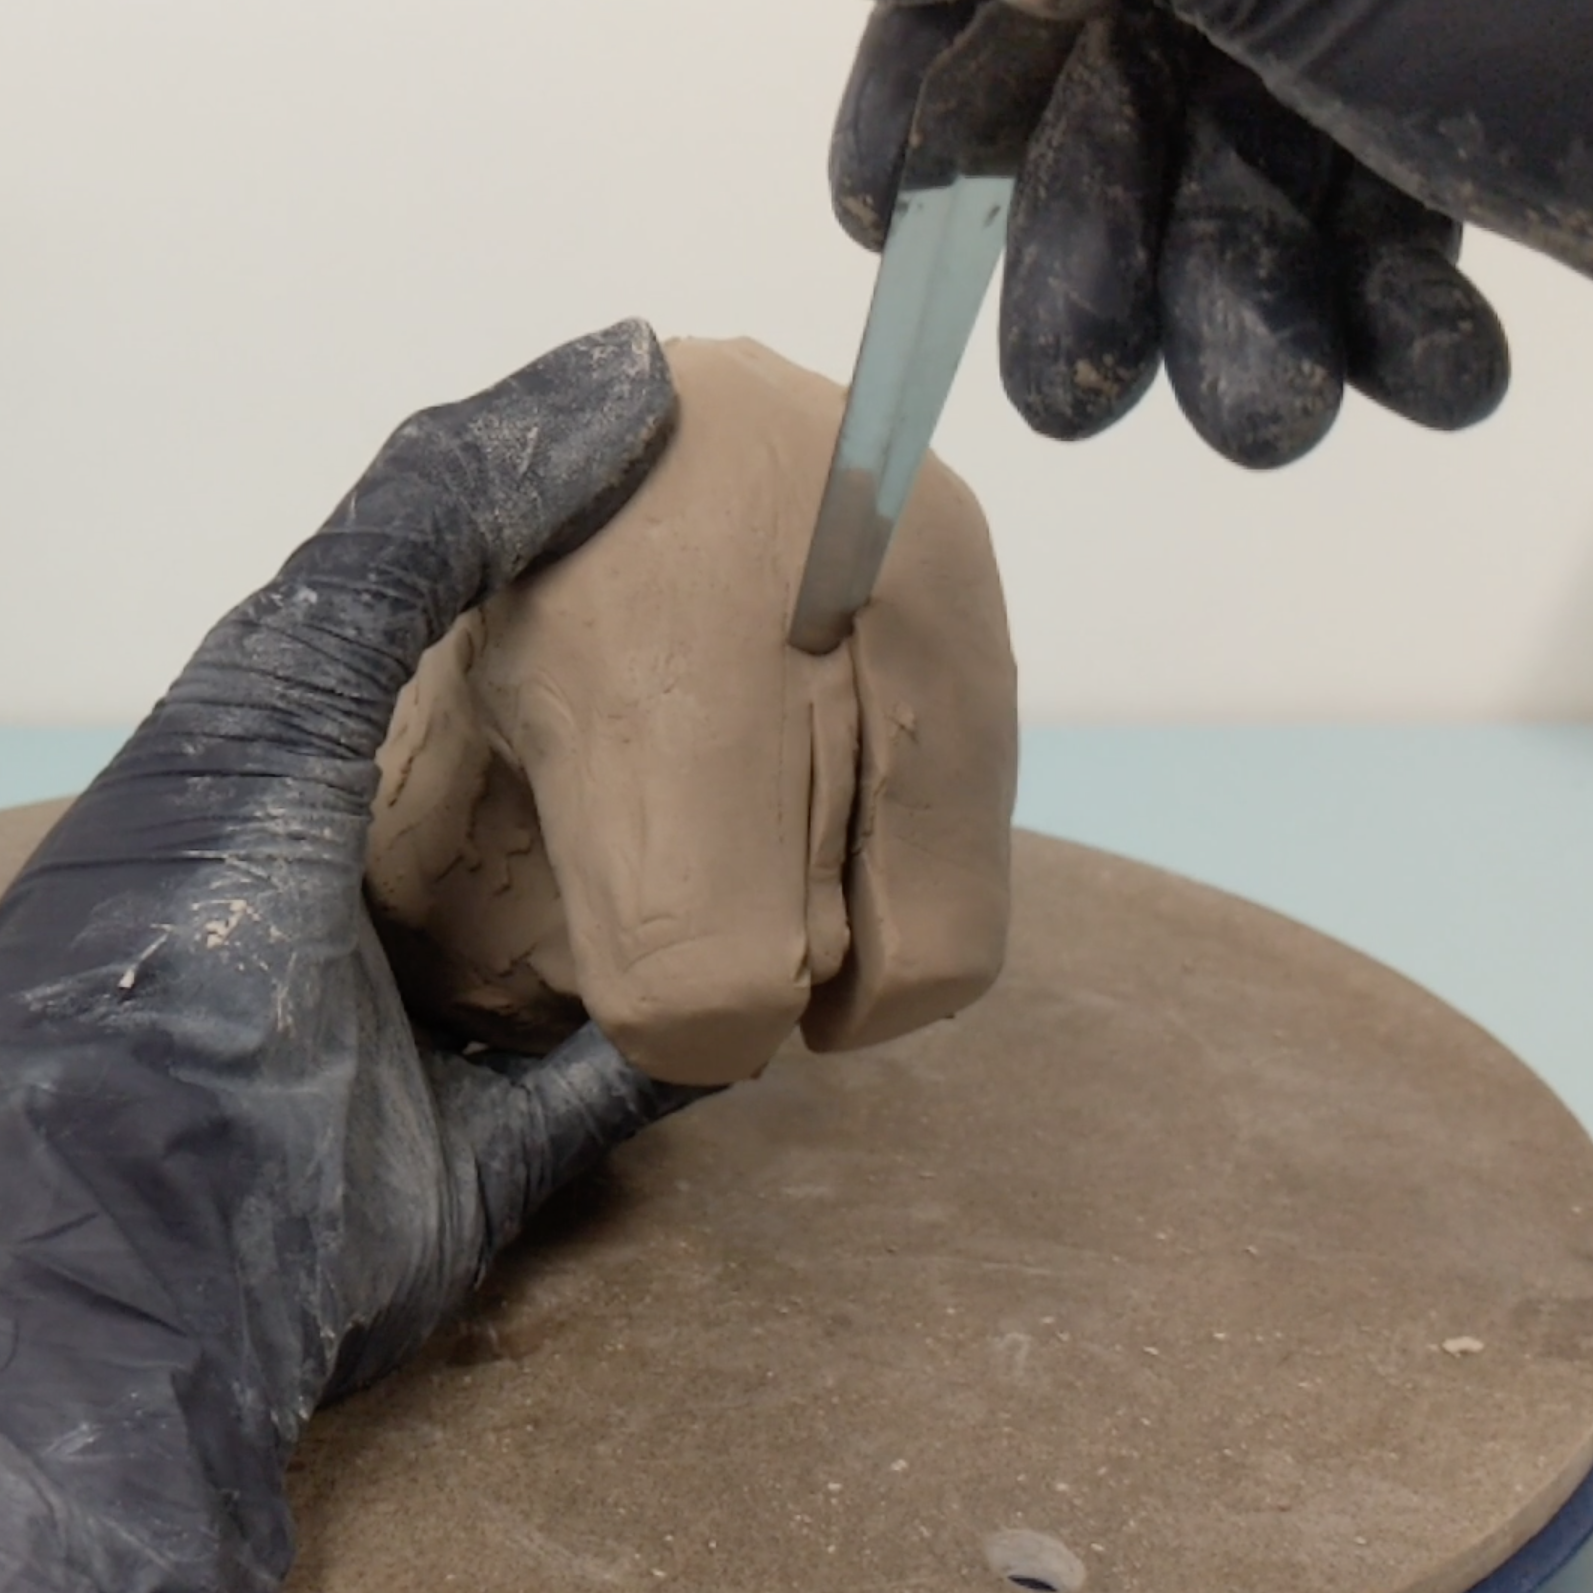
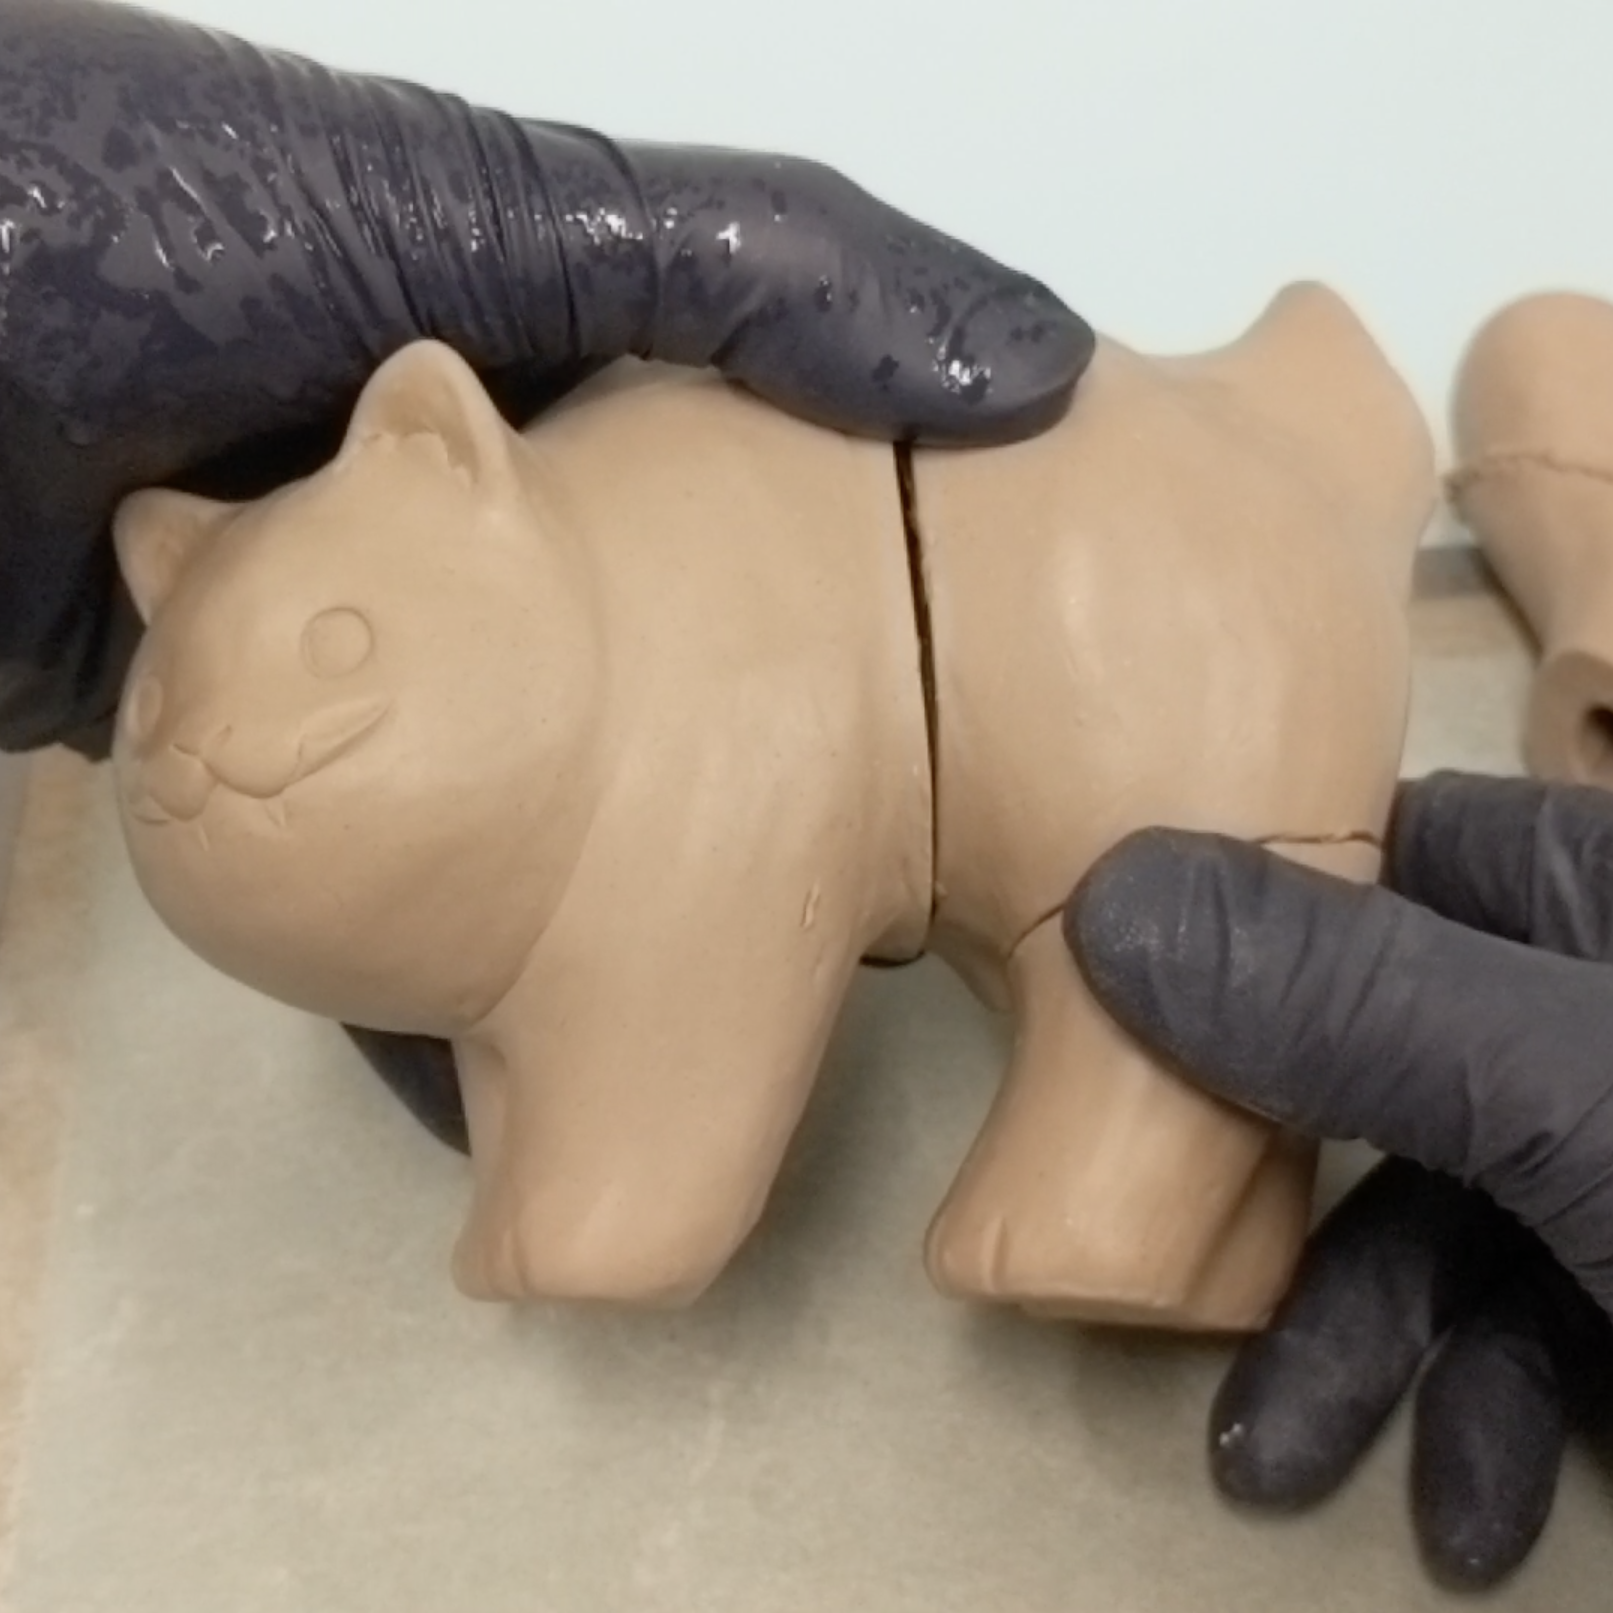
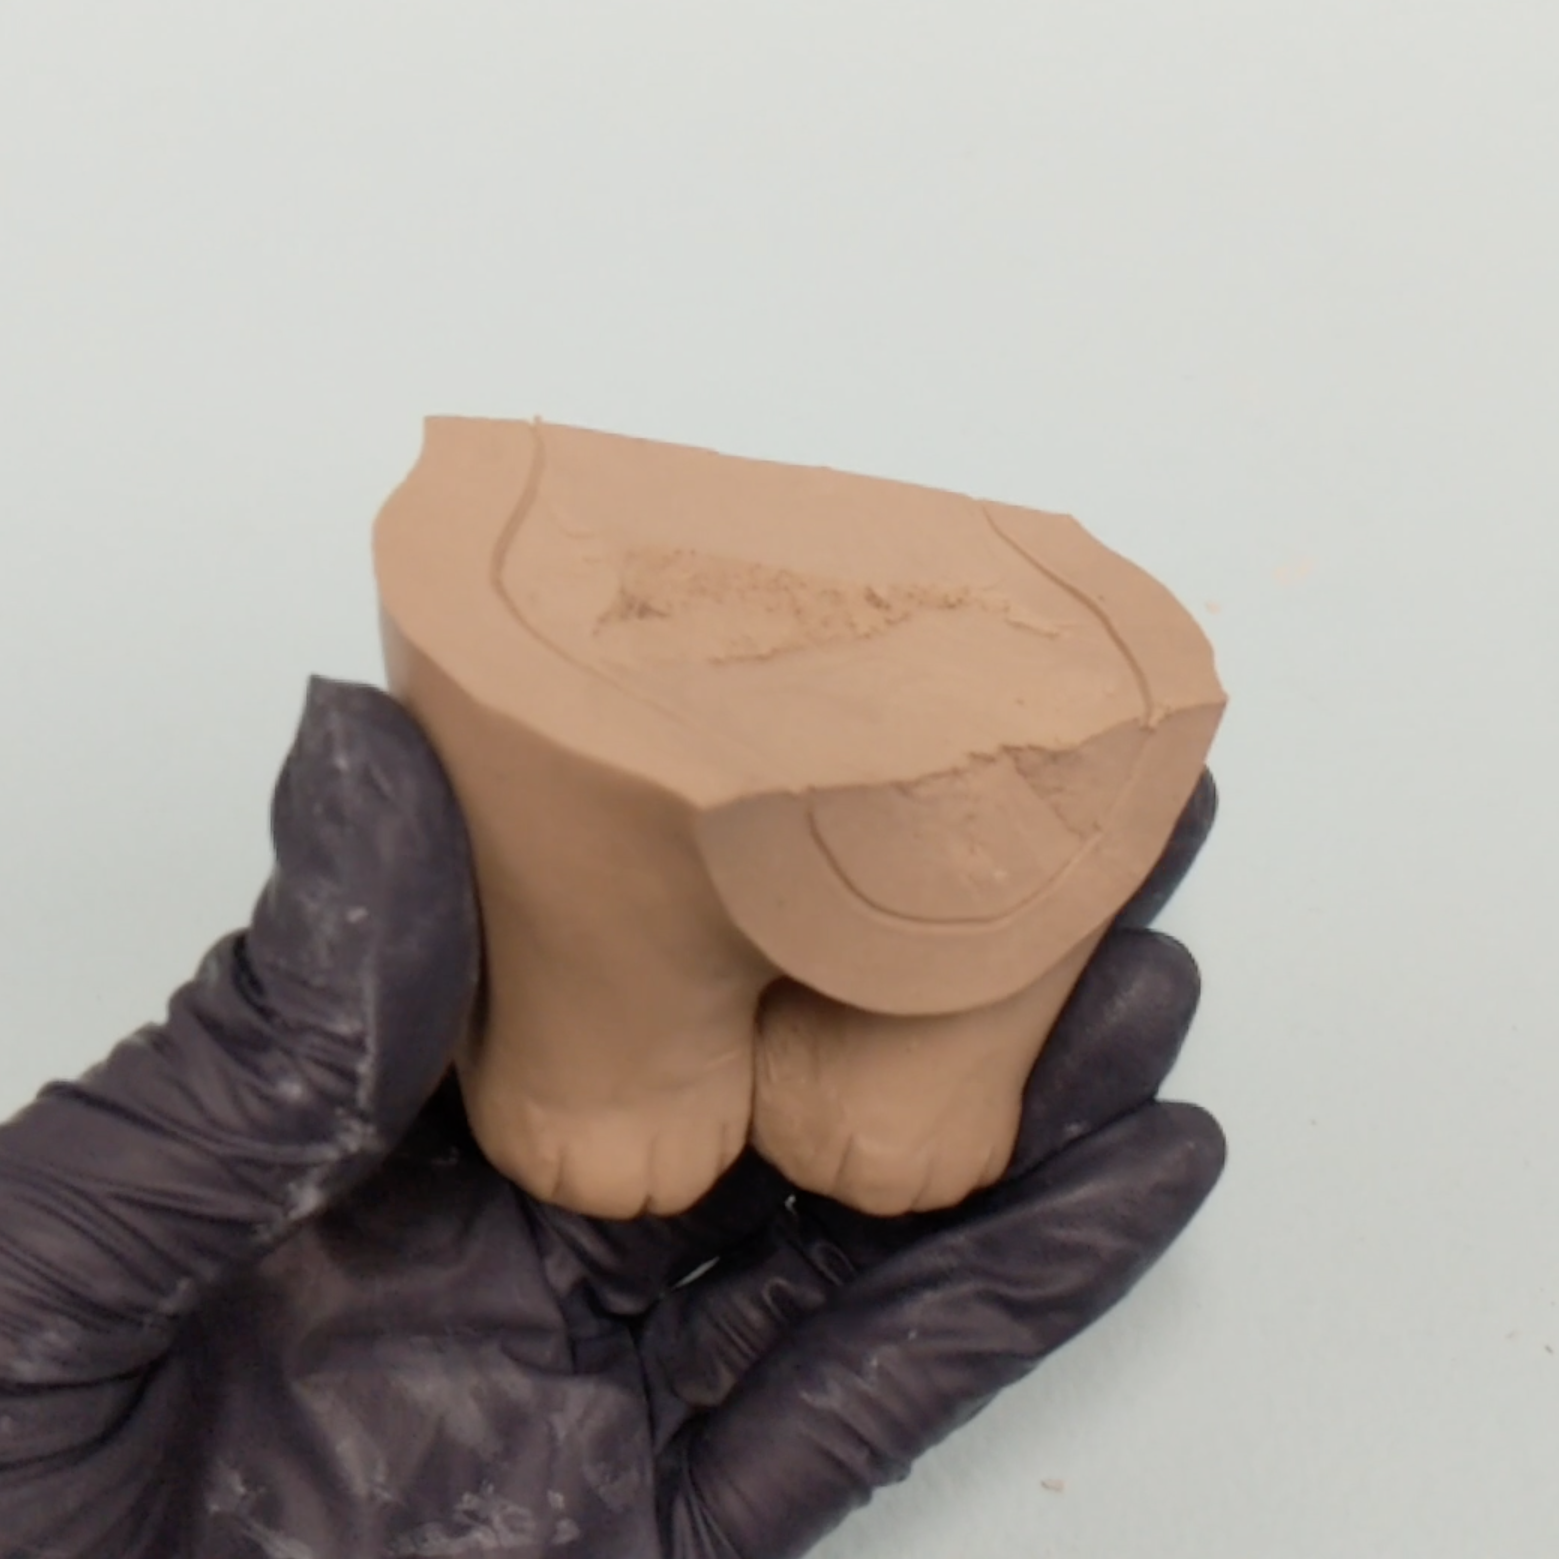
When it’s time to hollow, consider how you will access the inside of each part. Cutting more parts will allow more access, but means you will have more seams to clean up later. I cut the tail into two parts, the back legs off as one piece under the body, the head, and the the front legs as one piece horizontally through the torso (top right image).
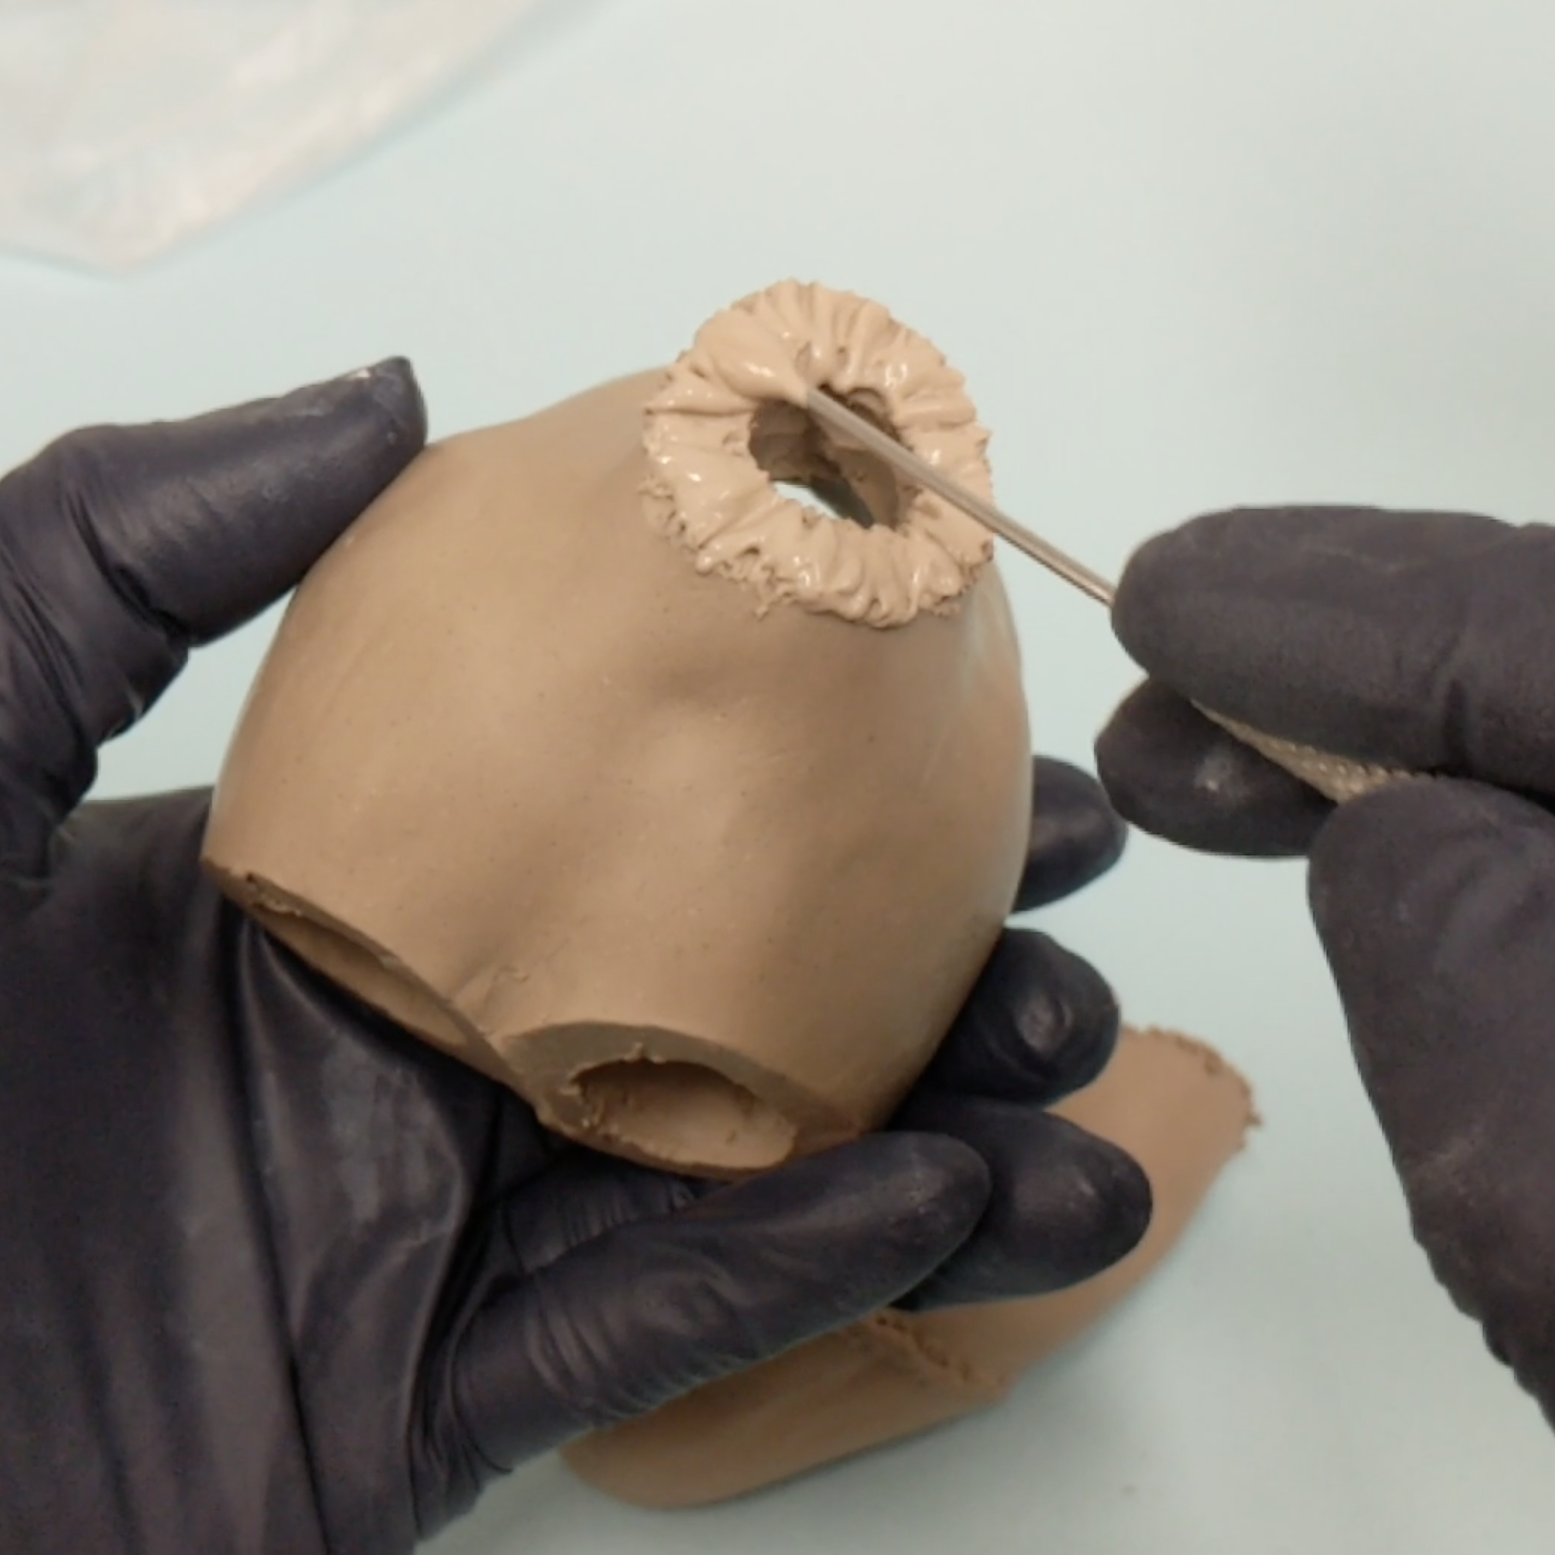
Mark about 1/4 inch thick walls as a guide. It’s easier to reattach the parts if they’re of equal thickness since the walls will match up. Plus, I find that having a guide keeps me from carving too much away.
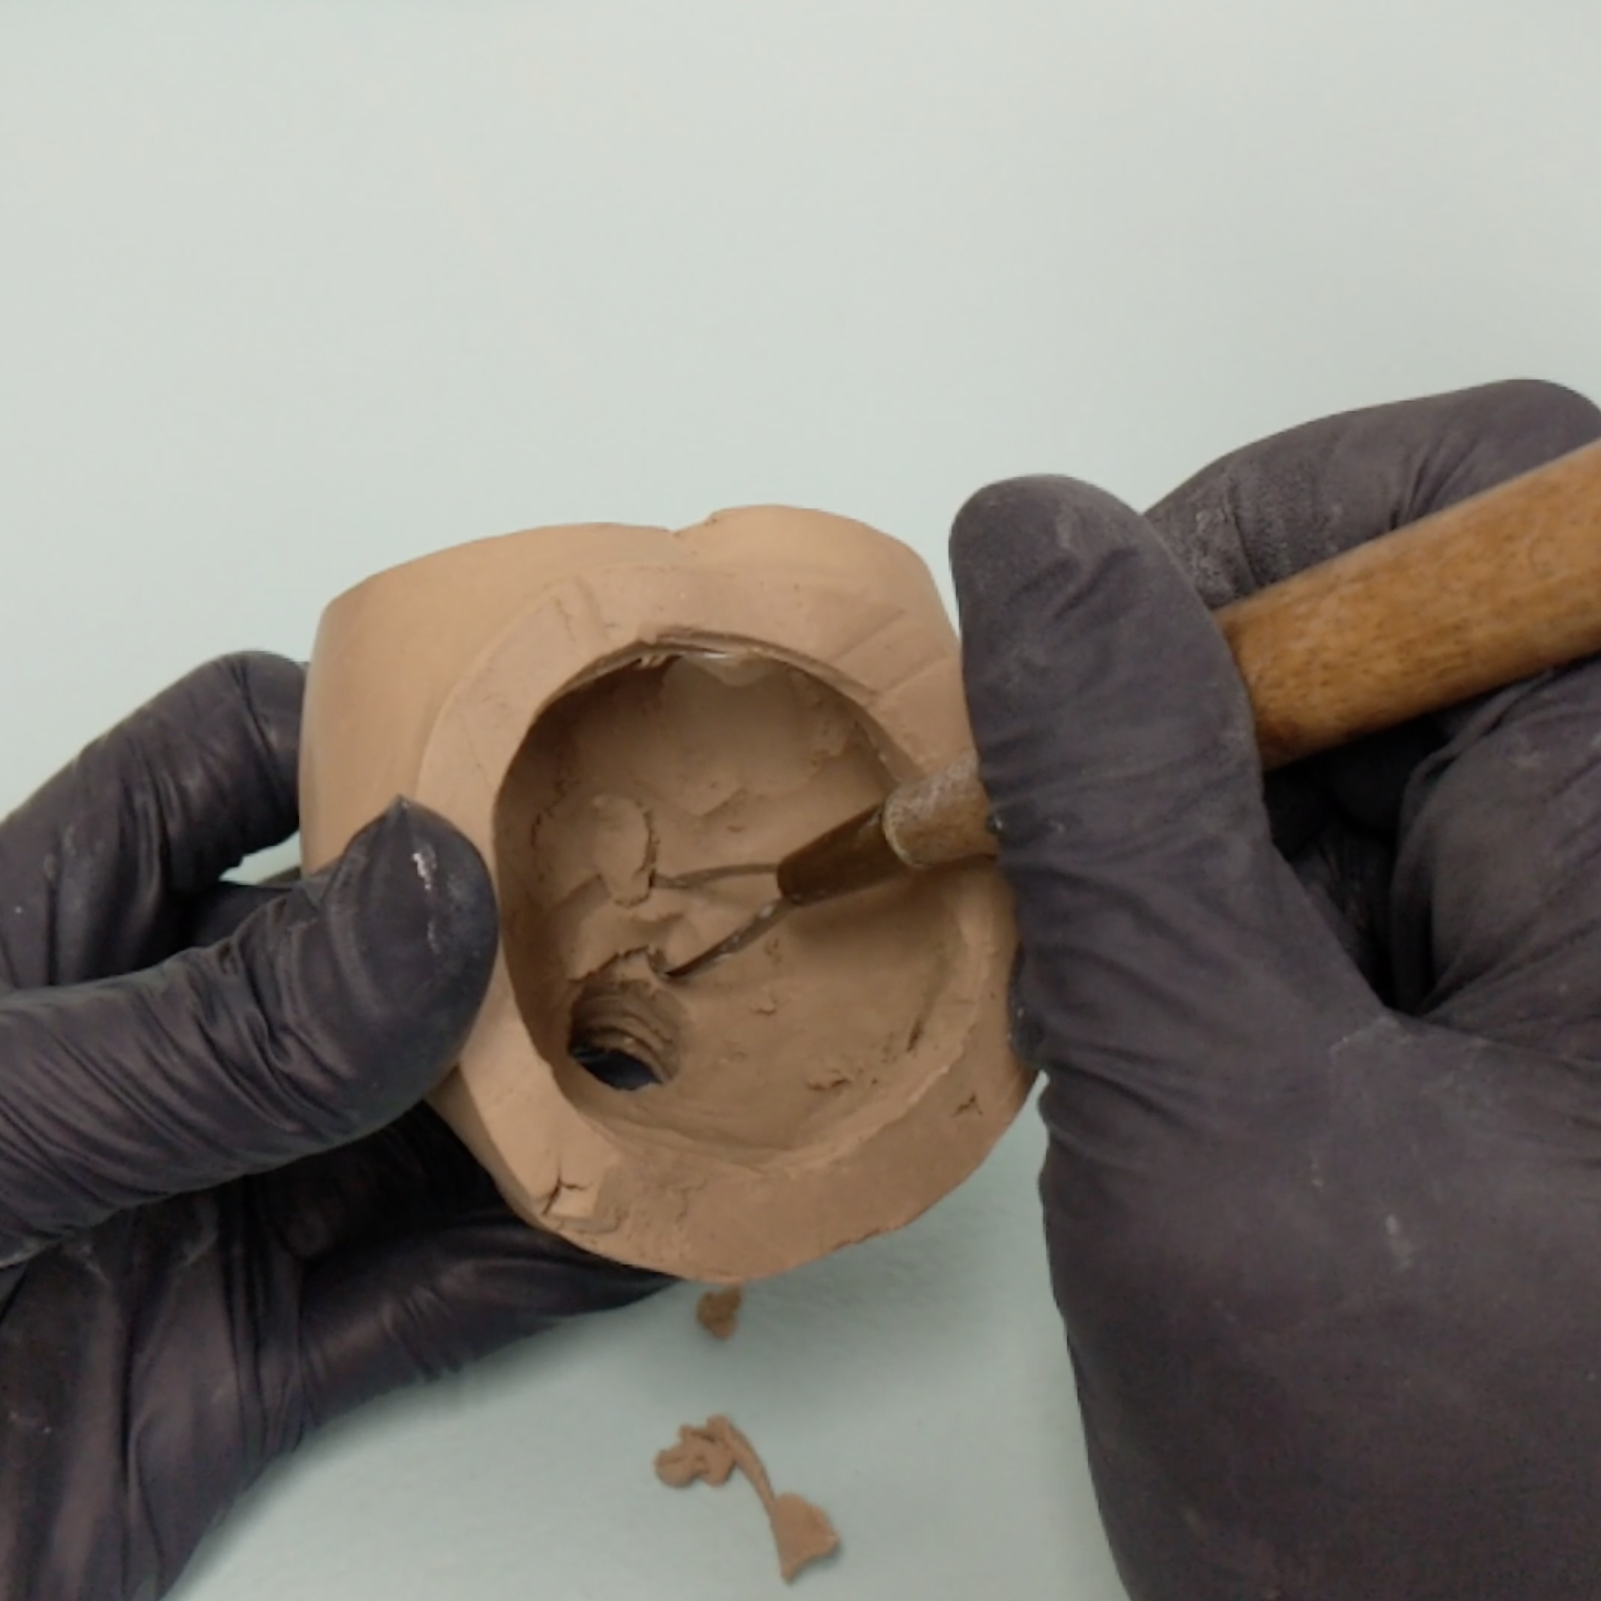
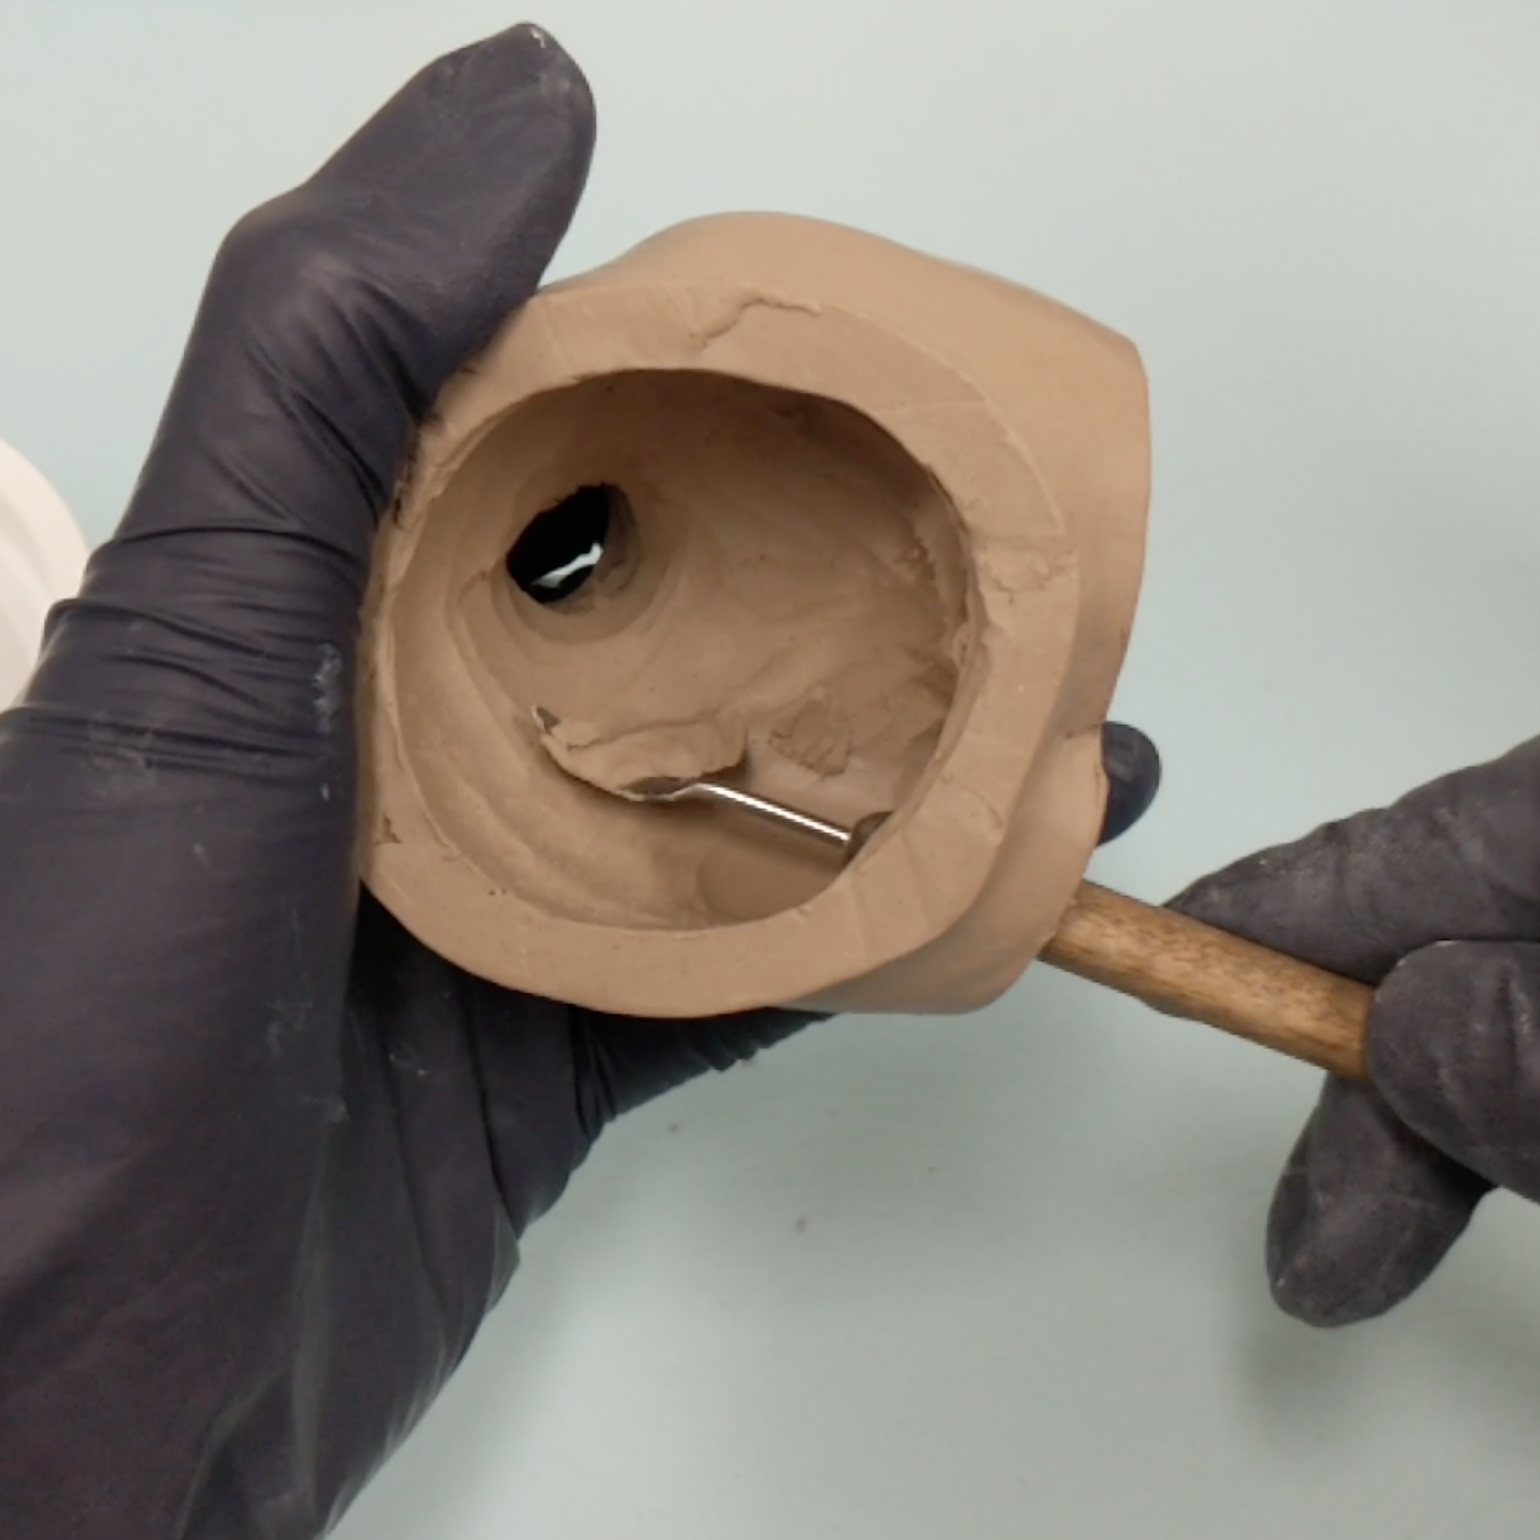
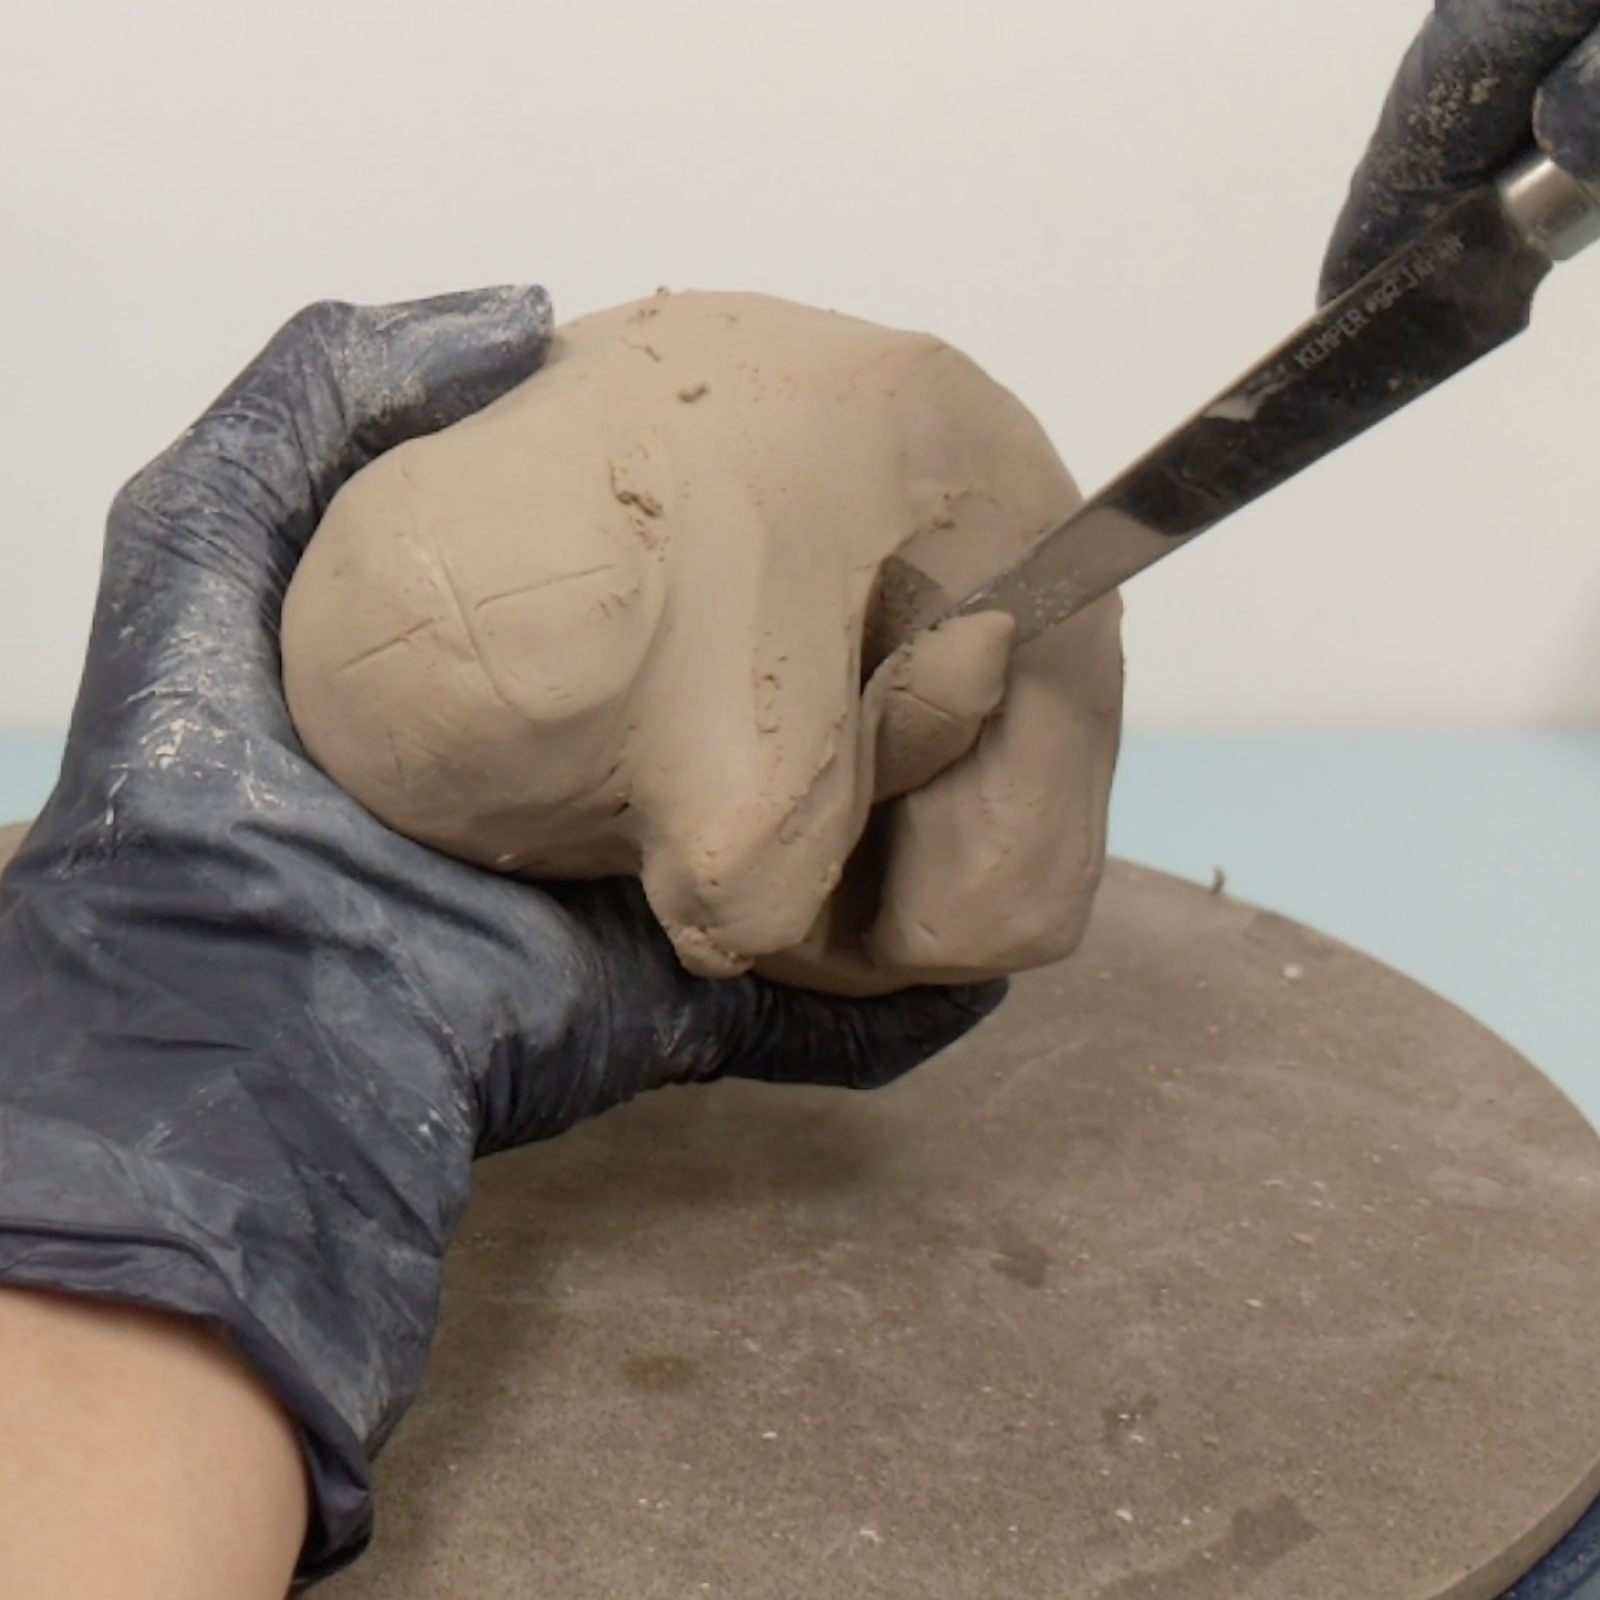
I’m using various loop/ribbon tools to scoop out clay, as well as a curved kemper tool to whittle away the inside. Constantly check the thickness by feeling with your fingers. If you carve too much away or pierce through, add a patch of clay to the inside (slip and score if necessary).
Keep the parts you’re not working on in a bag so that they don’t dry out!
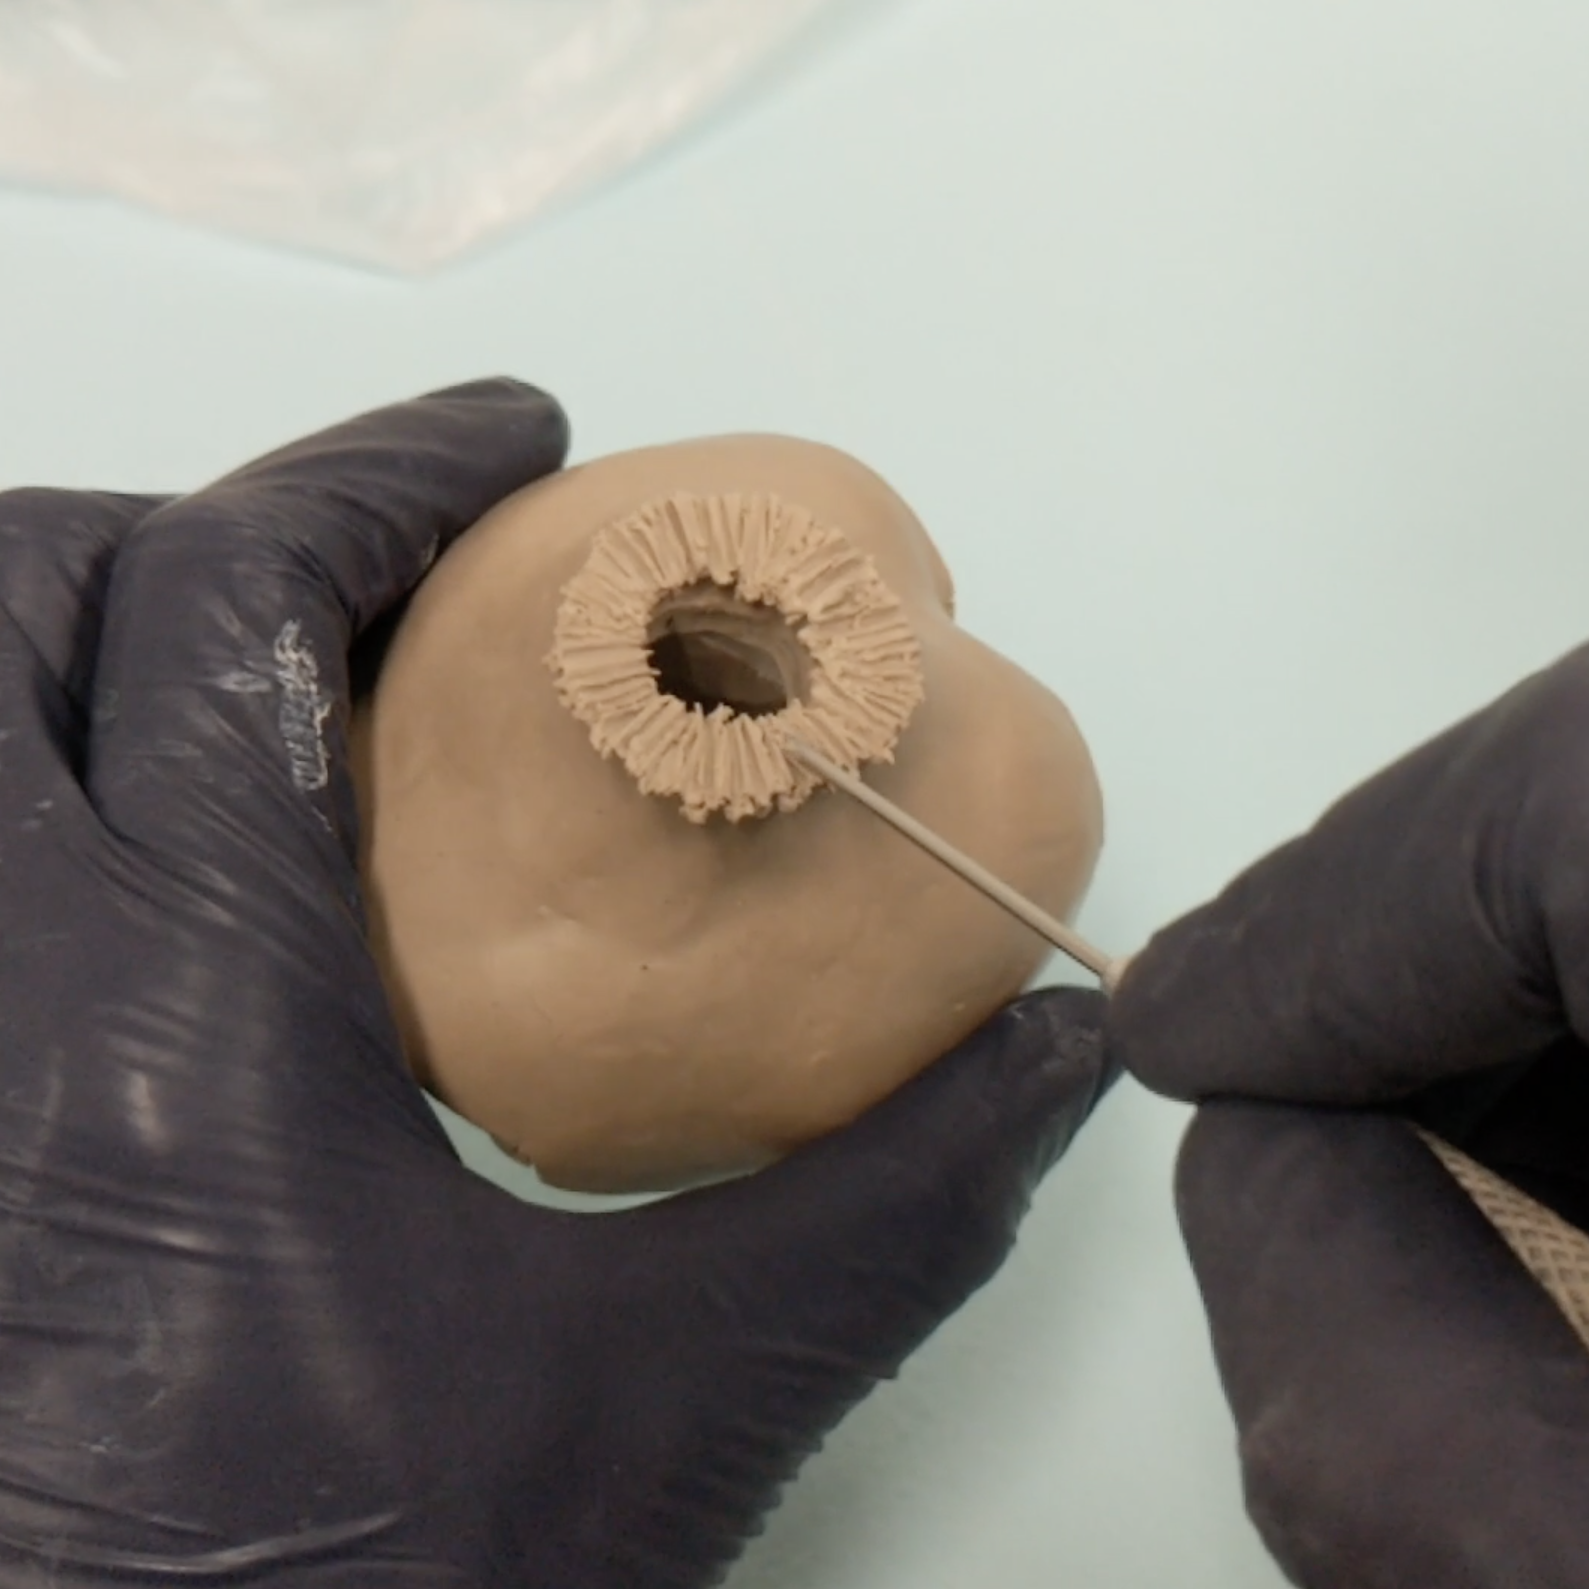
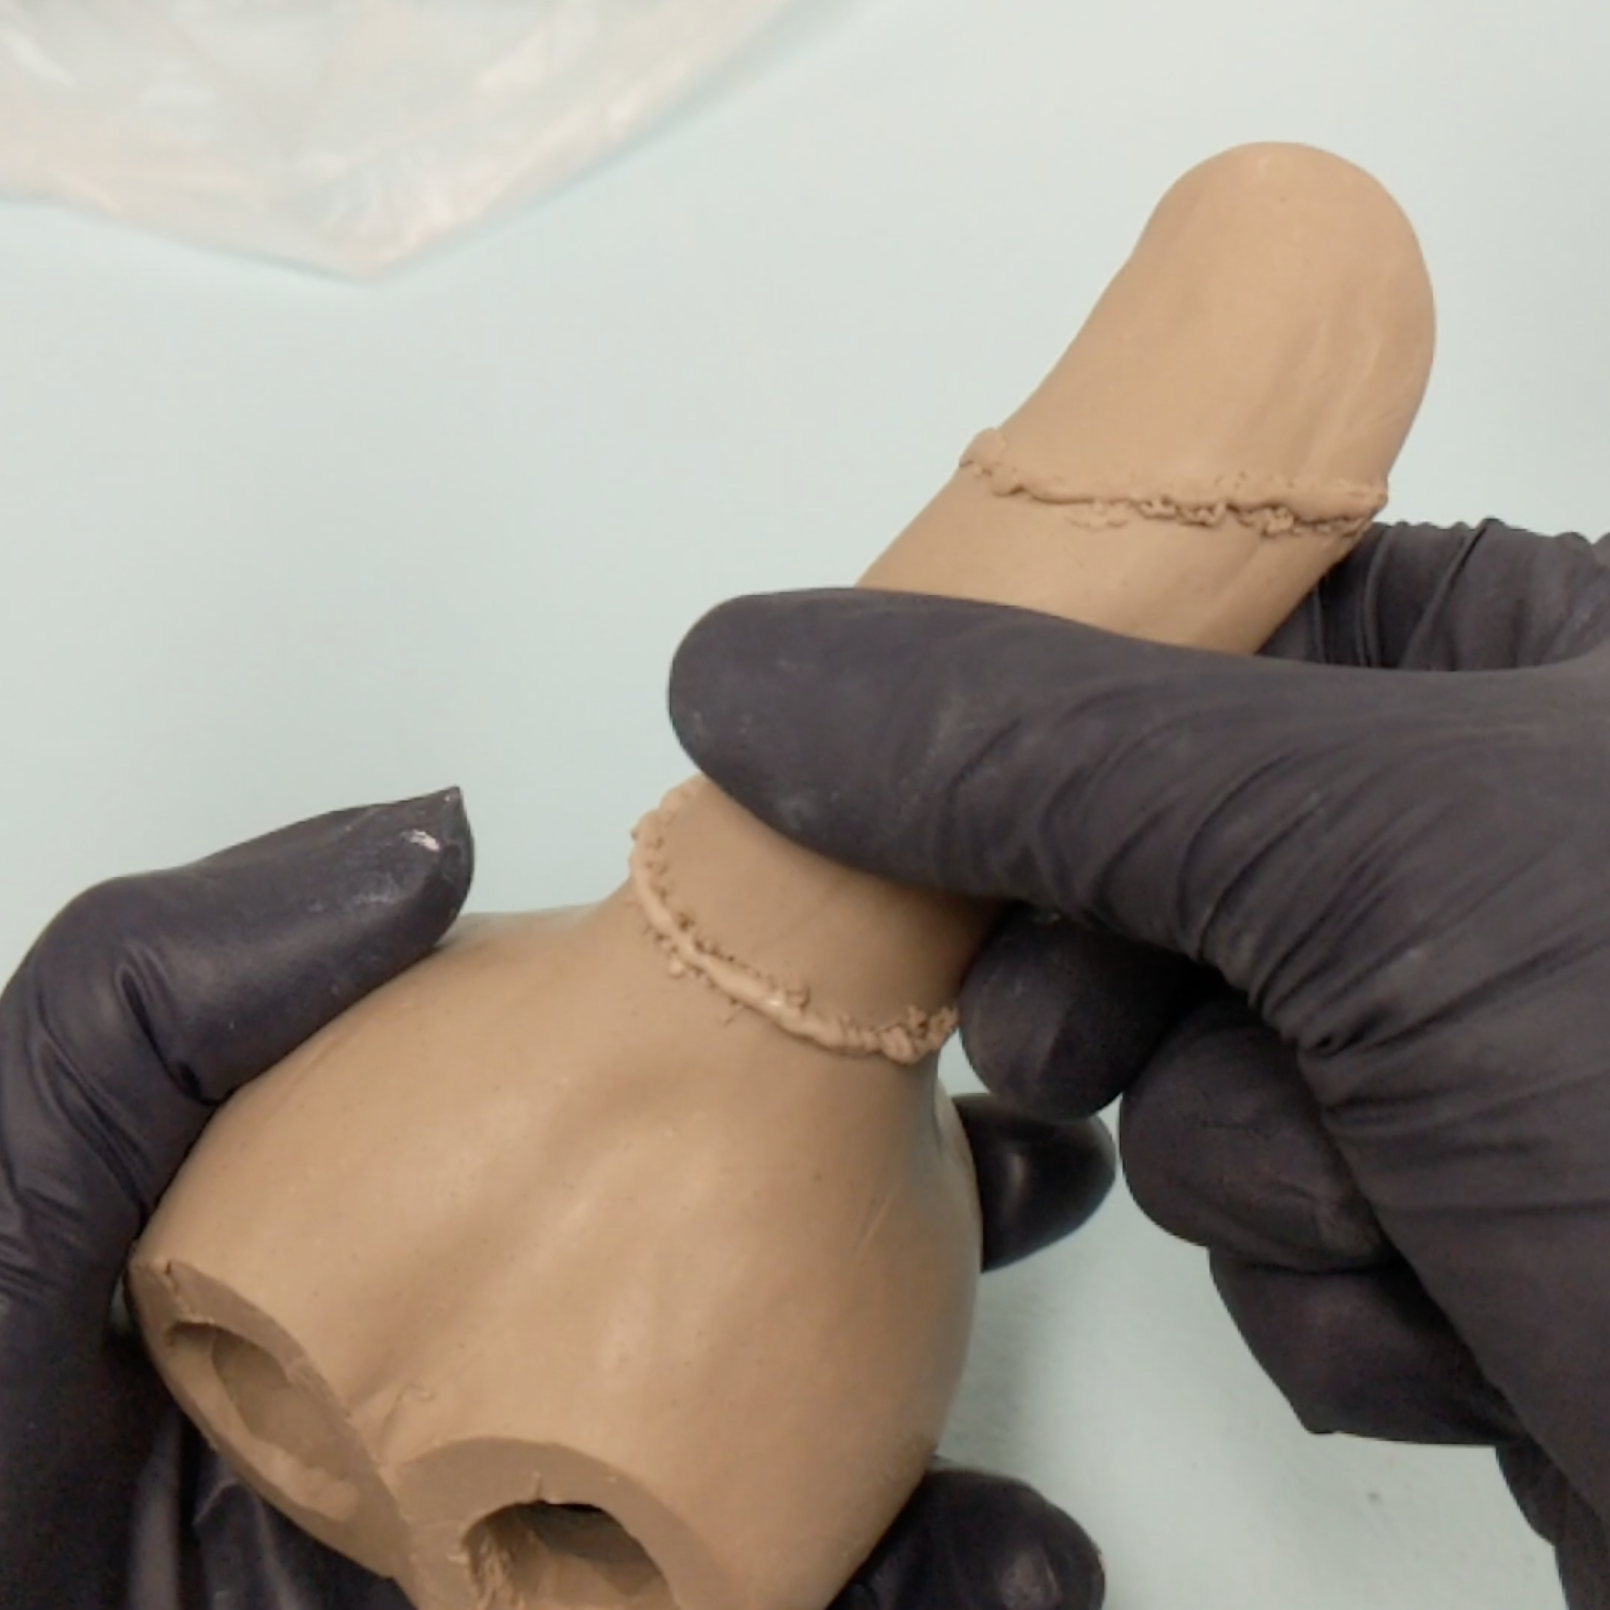
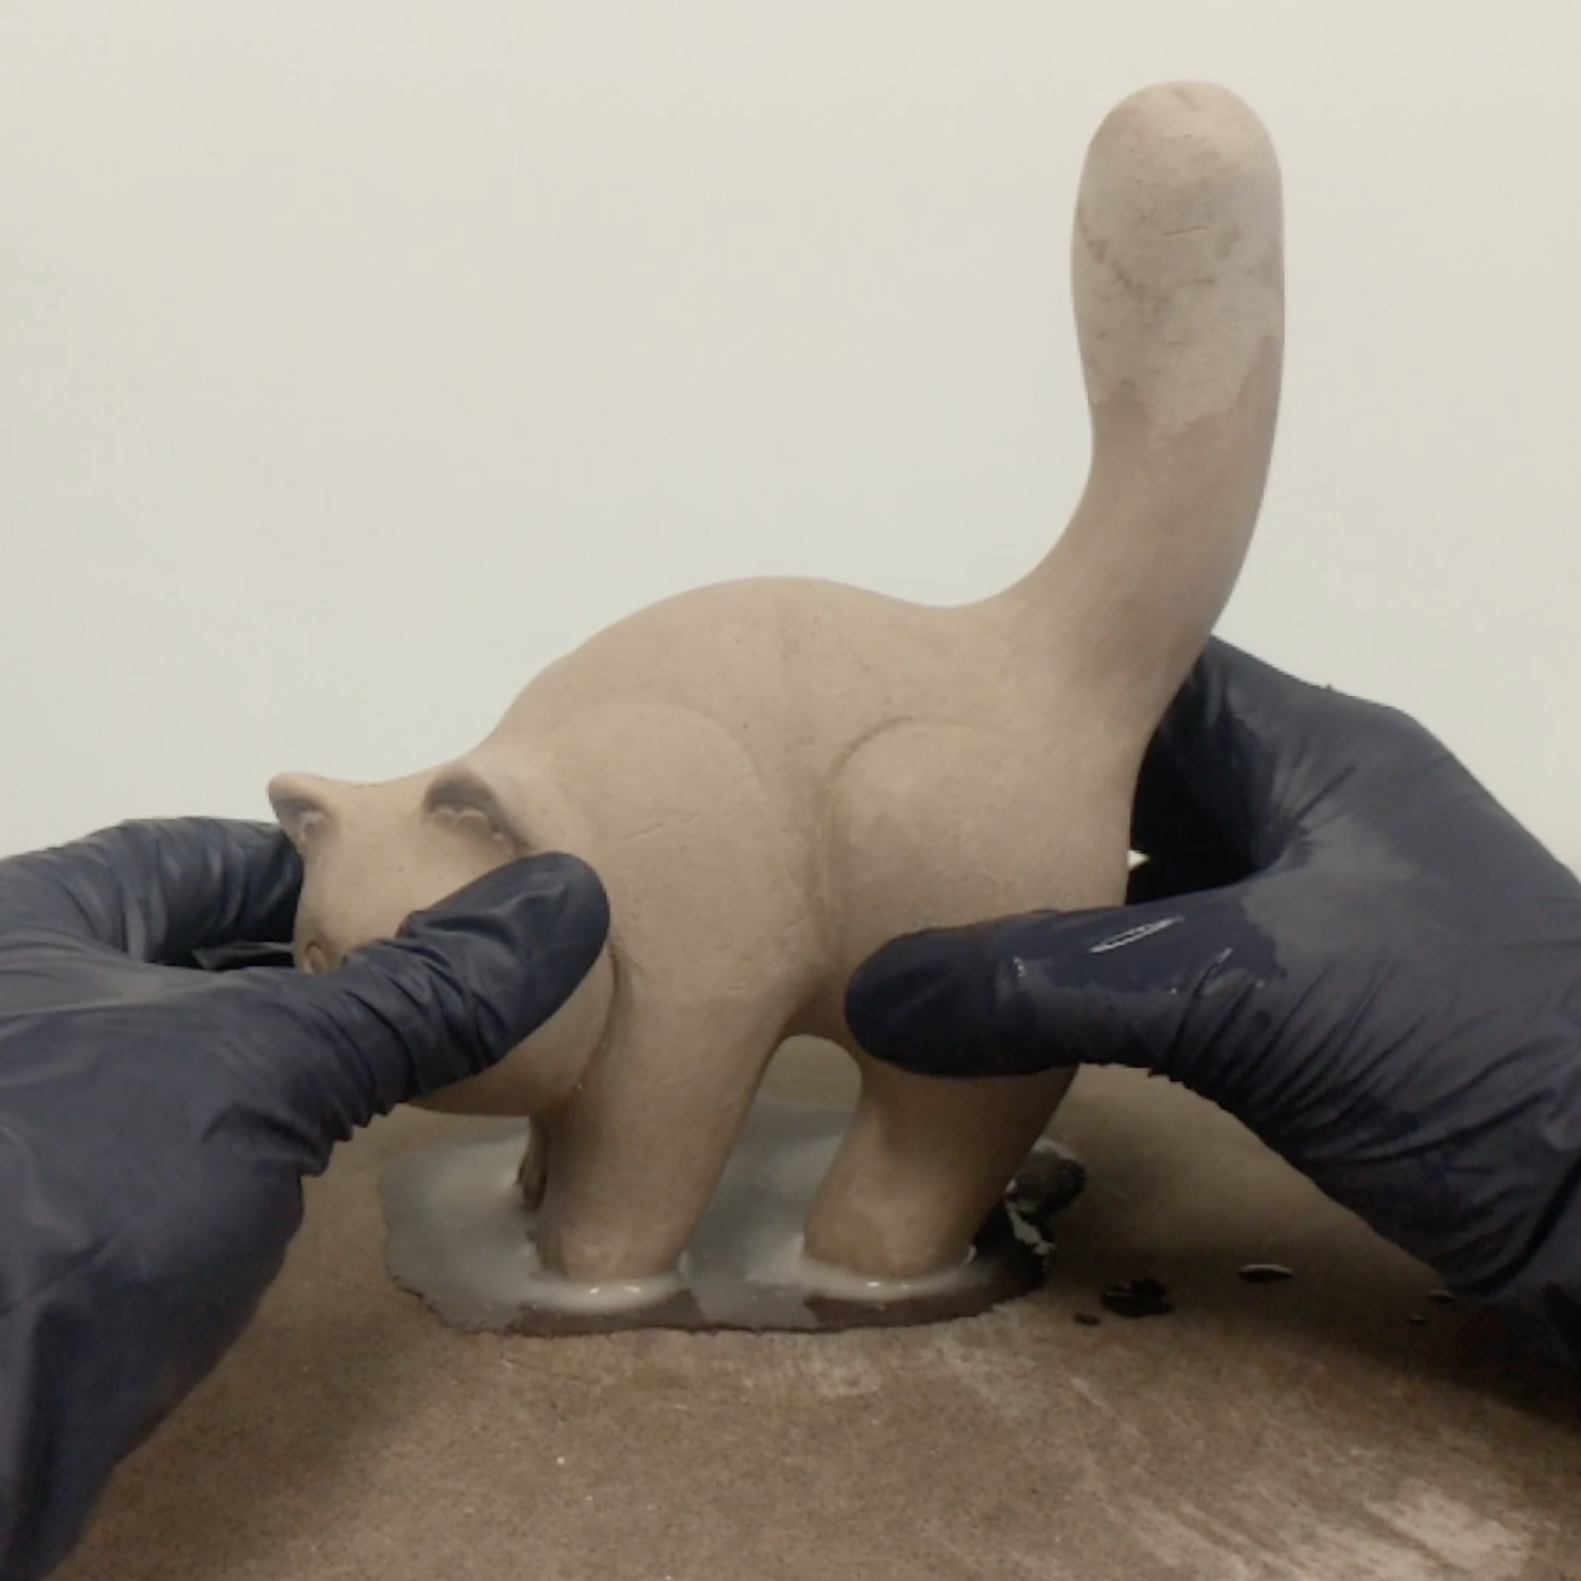
After hollowing out the parts, slip and score to attach. I’m using a needle tool to score the surface, then I’ll add slip and score it in again. Do this for both connection points to ensure the slip is worked into the scoring. Line up the parts and press them firmly together, very subtly twisting to help work the slip in. Don’t twist too much because it will just smear the score marks. A bead line of slip should squish out of the seam. This means that there was enough slip to fill all the gaps. I dab a finger at the seam to help fill any remaining gaps and even it out, but I won’t remove any of the slip. Attach all the parts and leave the sculpture in a bag so that the slip can dry out and match the rest of the clay.
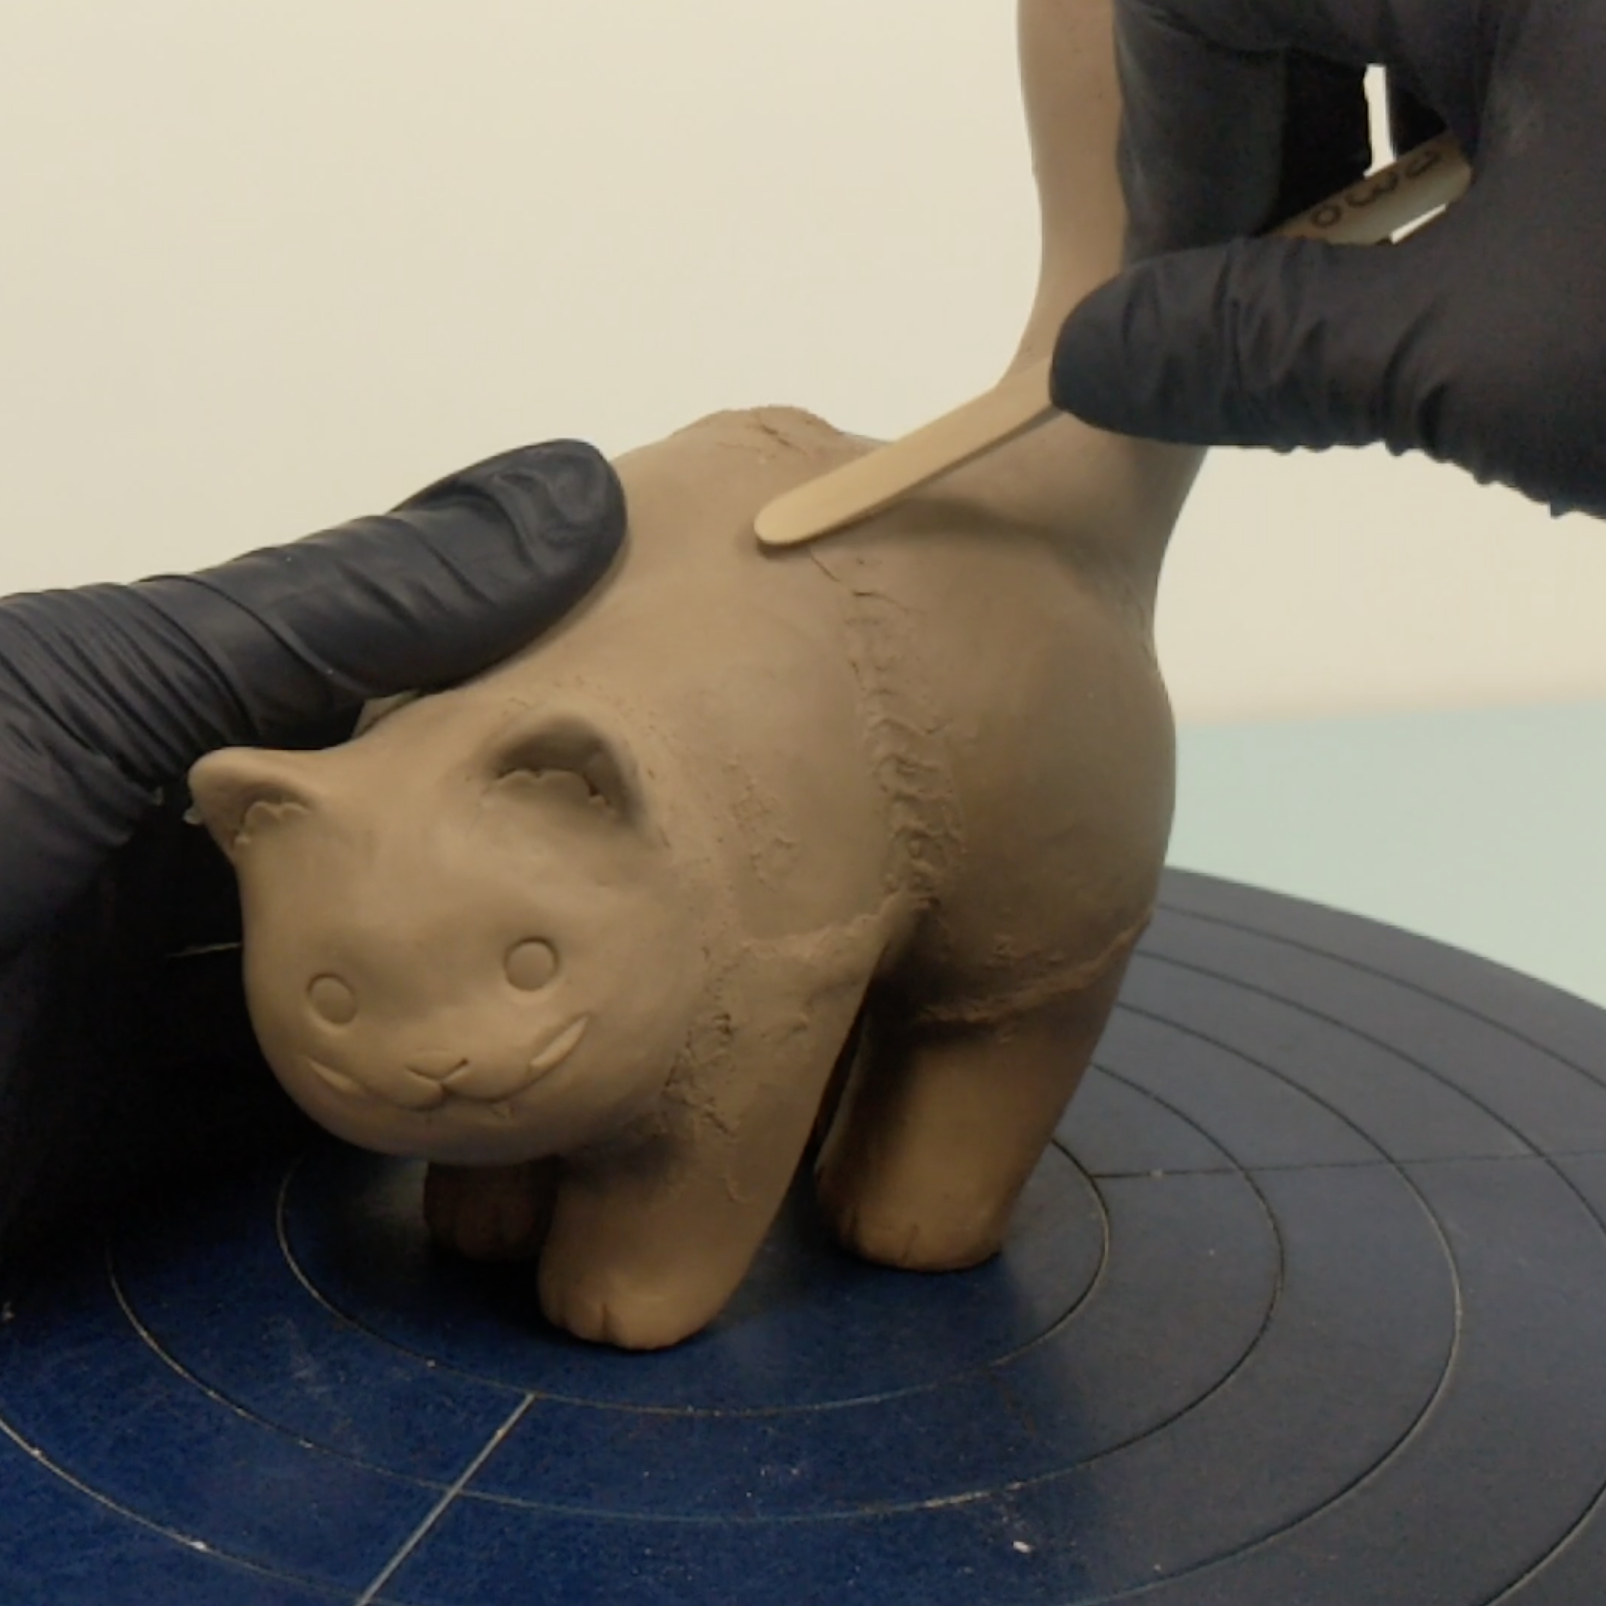
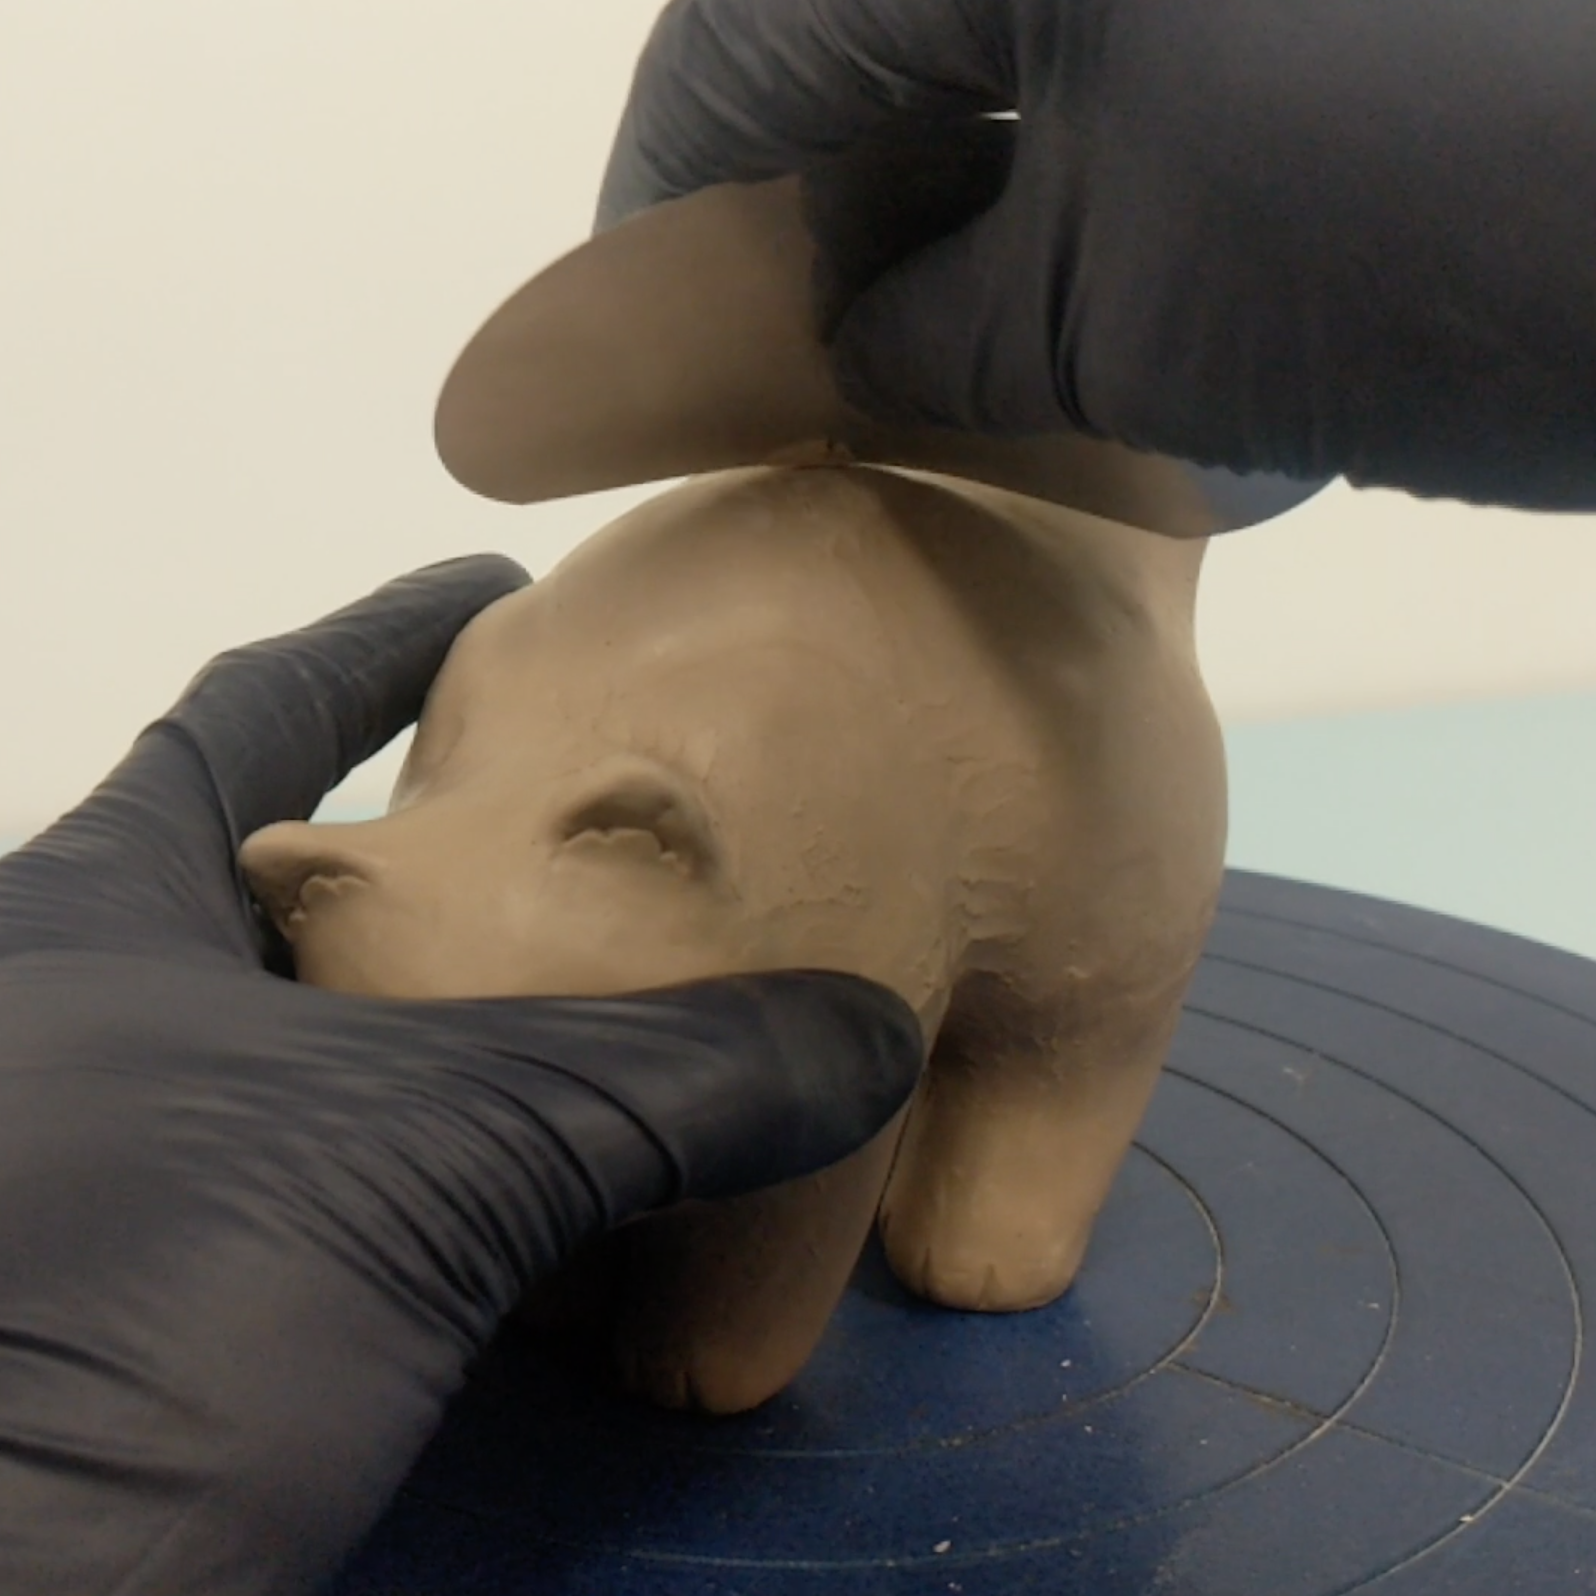
It may take a few hour for the slip to dry to leather hard. Once it’s ready, I use various wooden tools to compress and smooth out the seams. I then scrape away at the surface with a metal rib to even out any subtle peaks and valleys that make the seam visible. For stubborn seams, you can score at the surface with a serrated rib or butter knife then repeat the compression with a wooden tool, and scraping with a metal rib.
After hiding the seams, you can add texture and details to your surface. I prefer smooth surfaces, so I will burnish the clay with wooden tools to compress any grit back into the clay and smooth out the lines left from scraping.
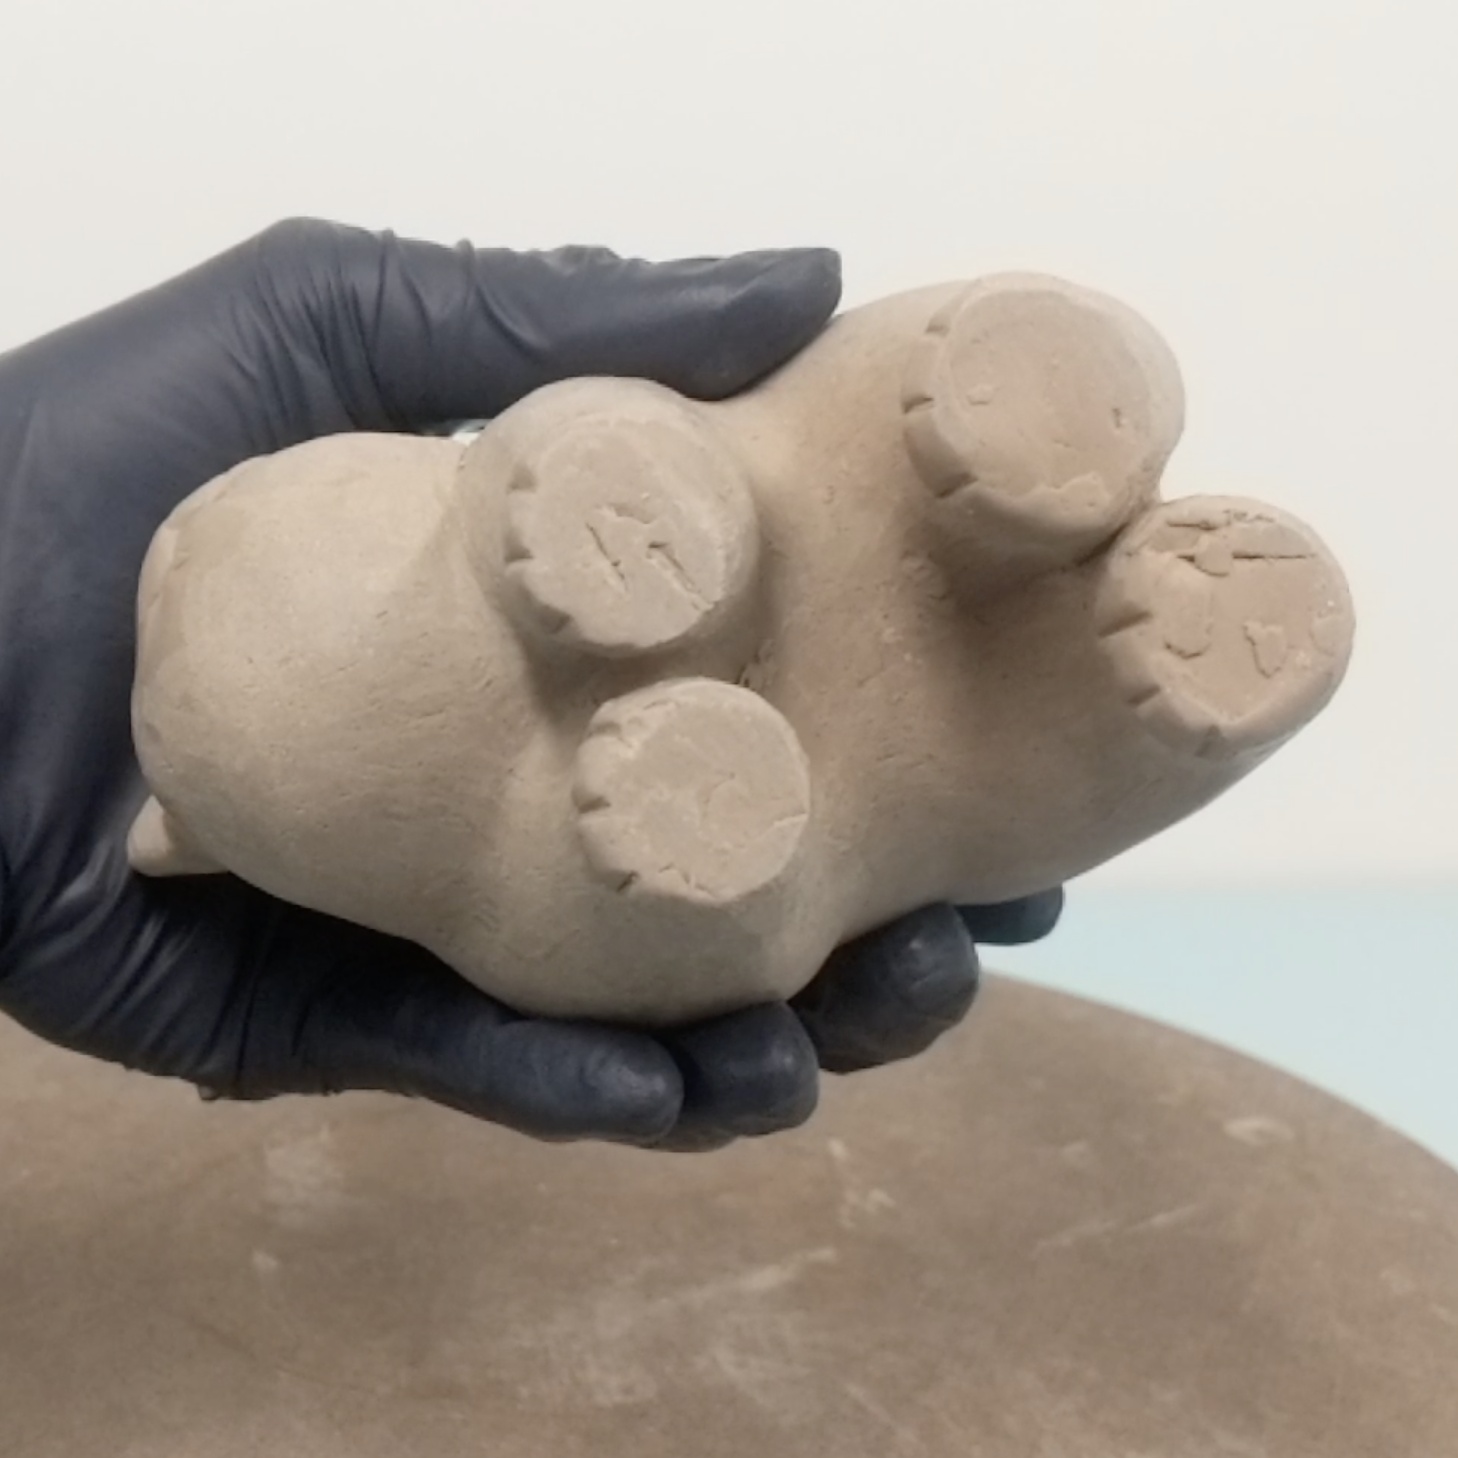
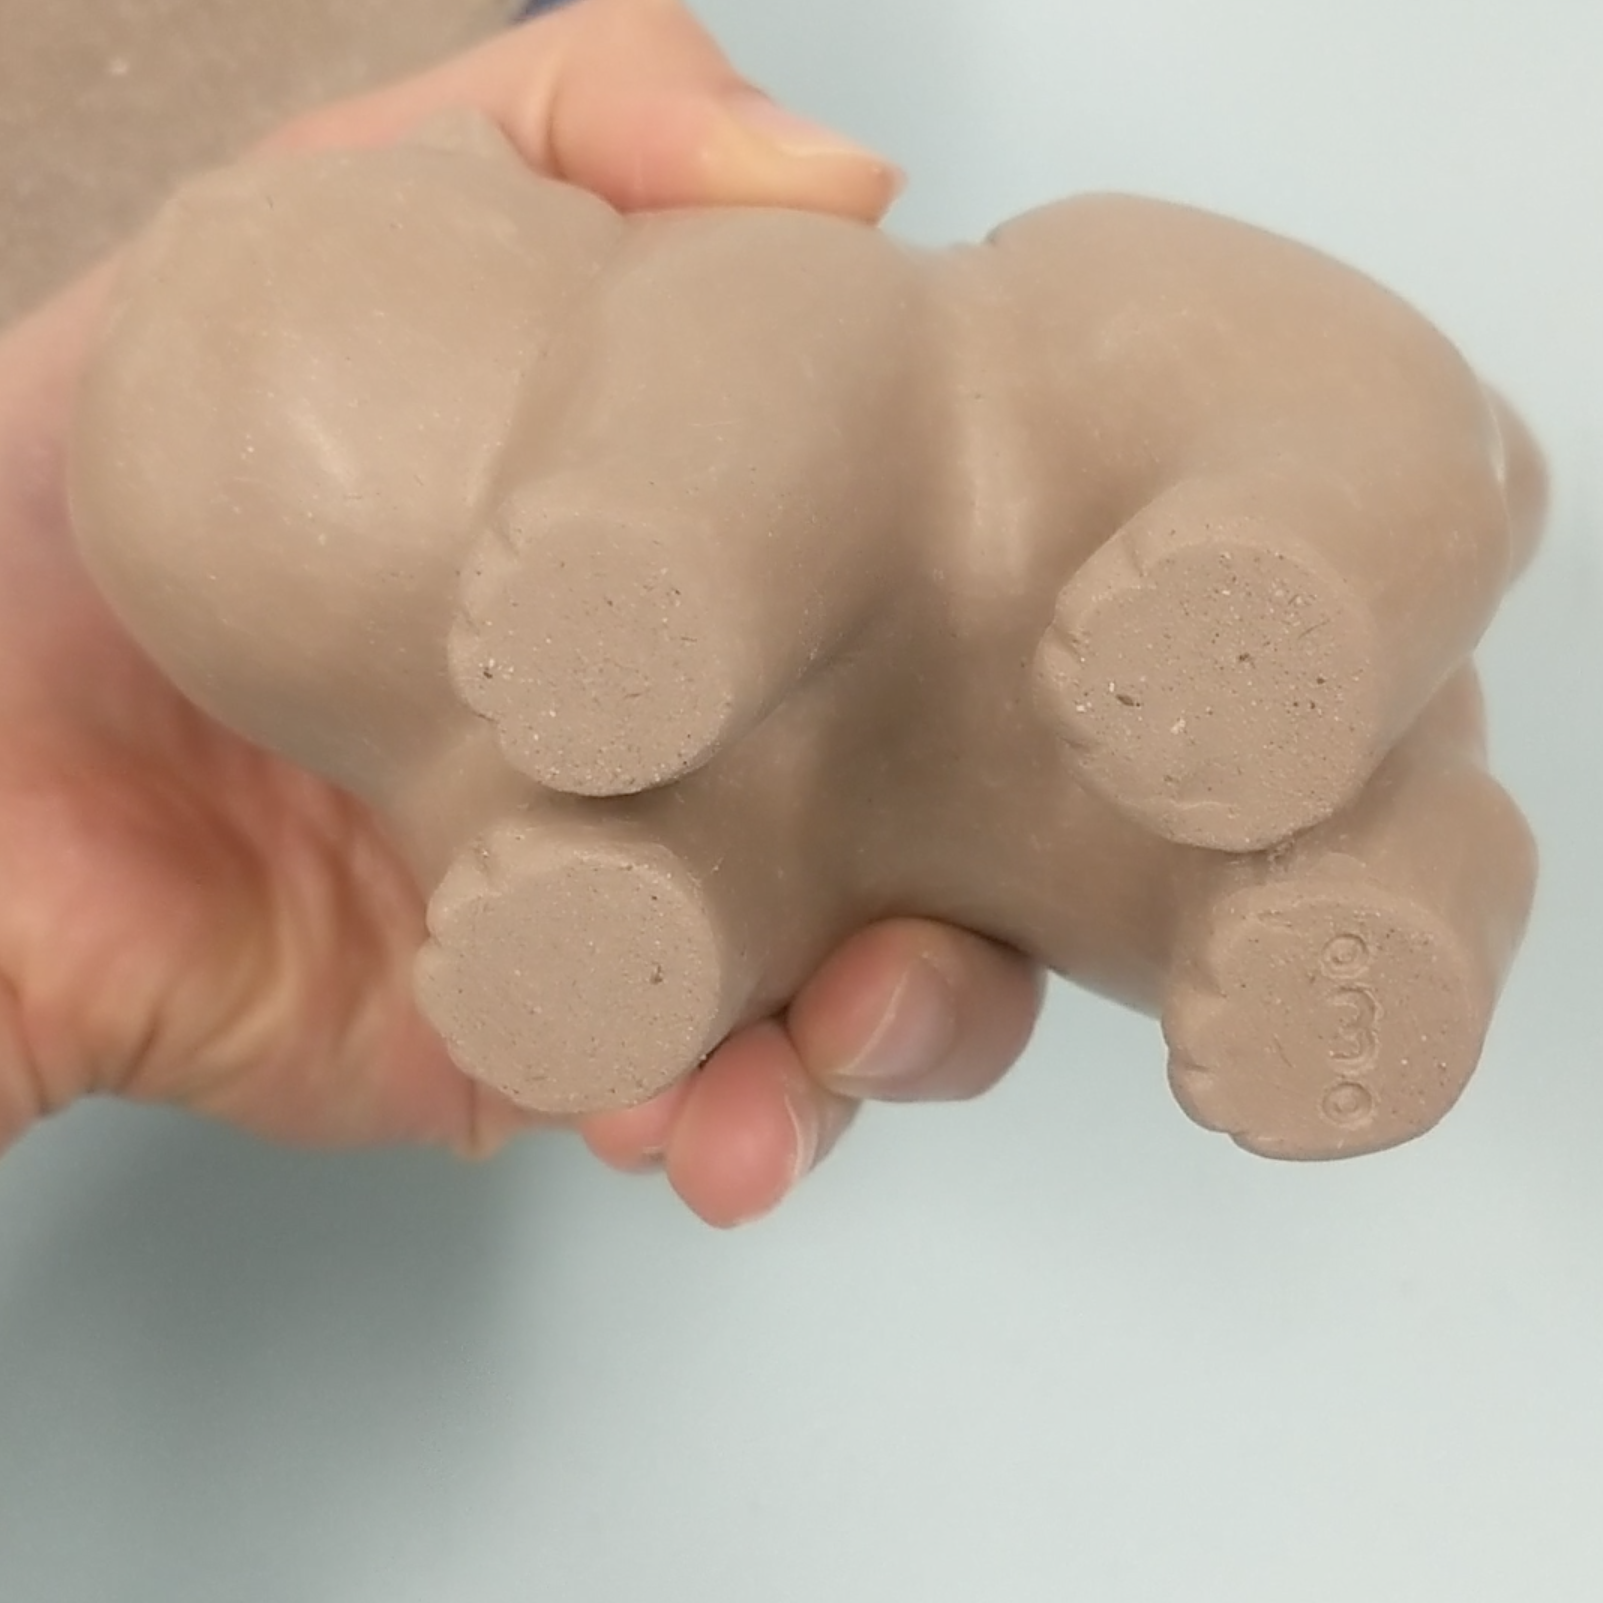
Consider the bottom of your sculpture as well. The feet on my tiger are rough with indents and bits of clay. To clean them up, I will wet sand the feet by “lapping” it with water on a smooth wooden surface. I put a small puddle of water on a bat, securely hold the sculpture, then slide it across the surface in circular motions. This will both smooth the surface flat and level it if there were any high/low points.
I usually carve paws into the bottoms of the feet, but I just opted for my signature this time.


Don’t forget the air hole! For this sculpture, I pinched a little lump of clay into the shape of a magpie and incised some key details. I will attach it with a wire later, so the air hole can go in the tip of the tail and be hidden under the bird. In other cases, I try to hide the hole in a discreet place, such as eye holes, in creases, or the butt.