Pinch Pot Whistle
Construct a whistle using the pinch pot technique. A basic whistle uses one pinch pot dome attached to a round slab. A wedge shaped piece of clay is then added for the mouth piece.

Cross section of a whistle showing the mechanics of the fipple.
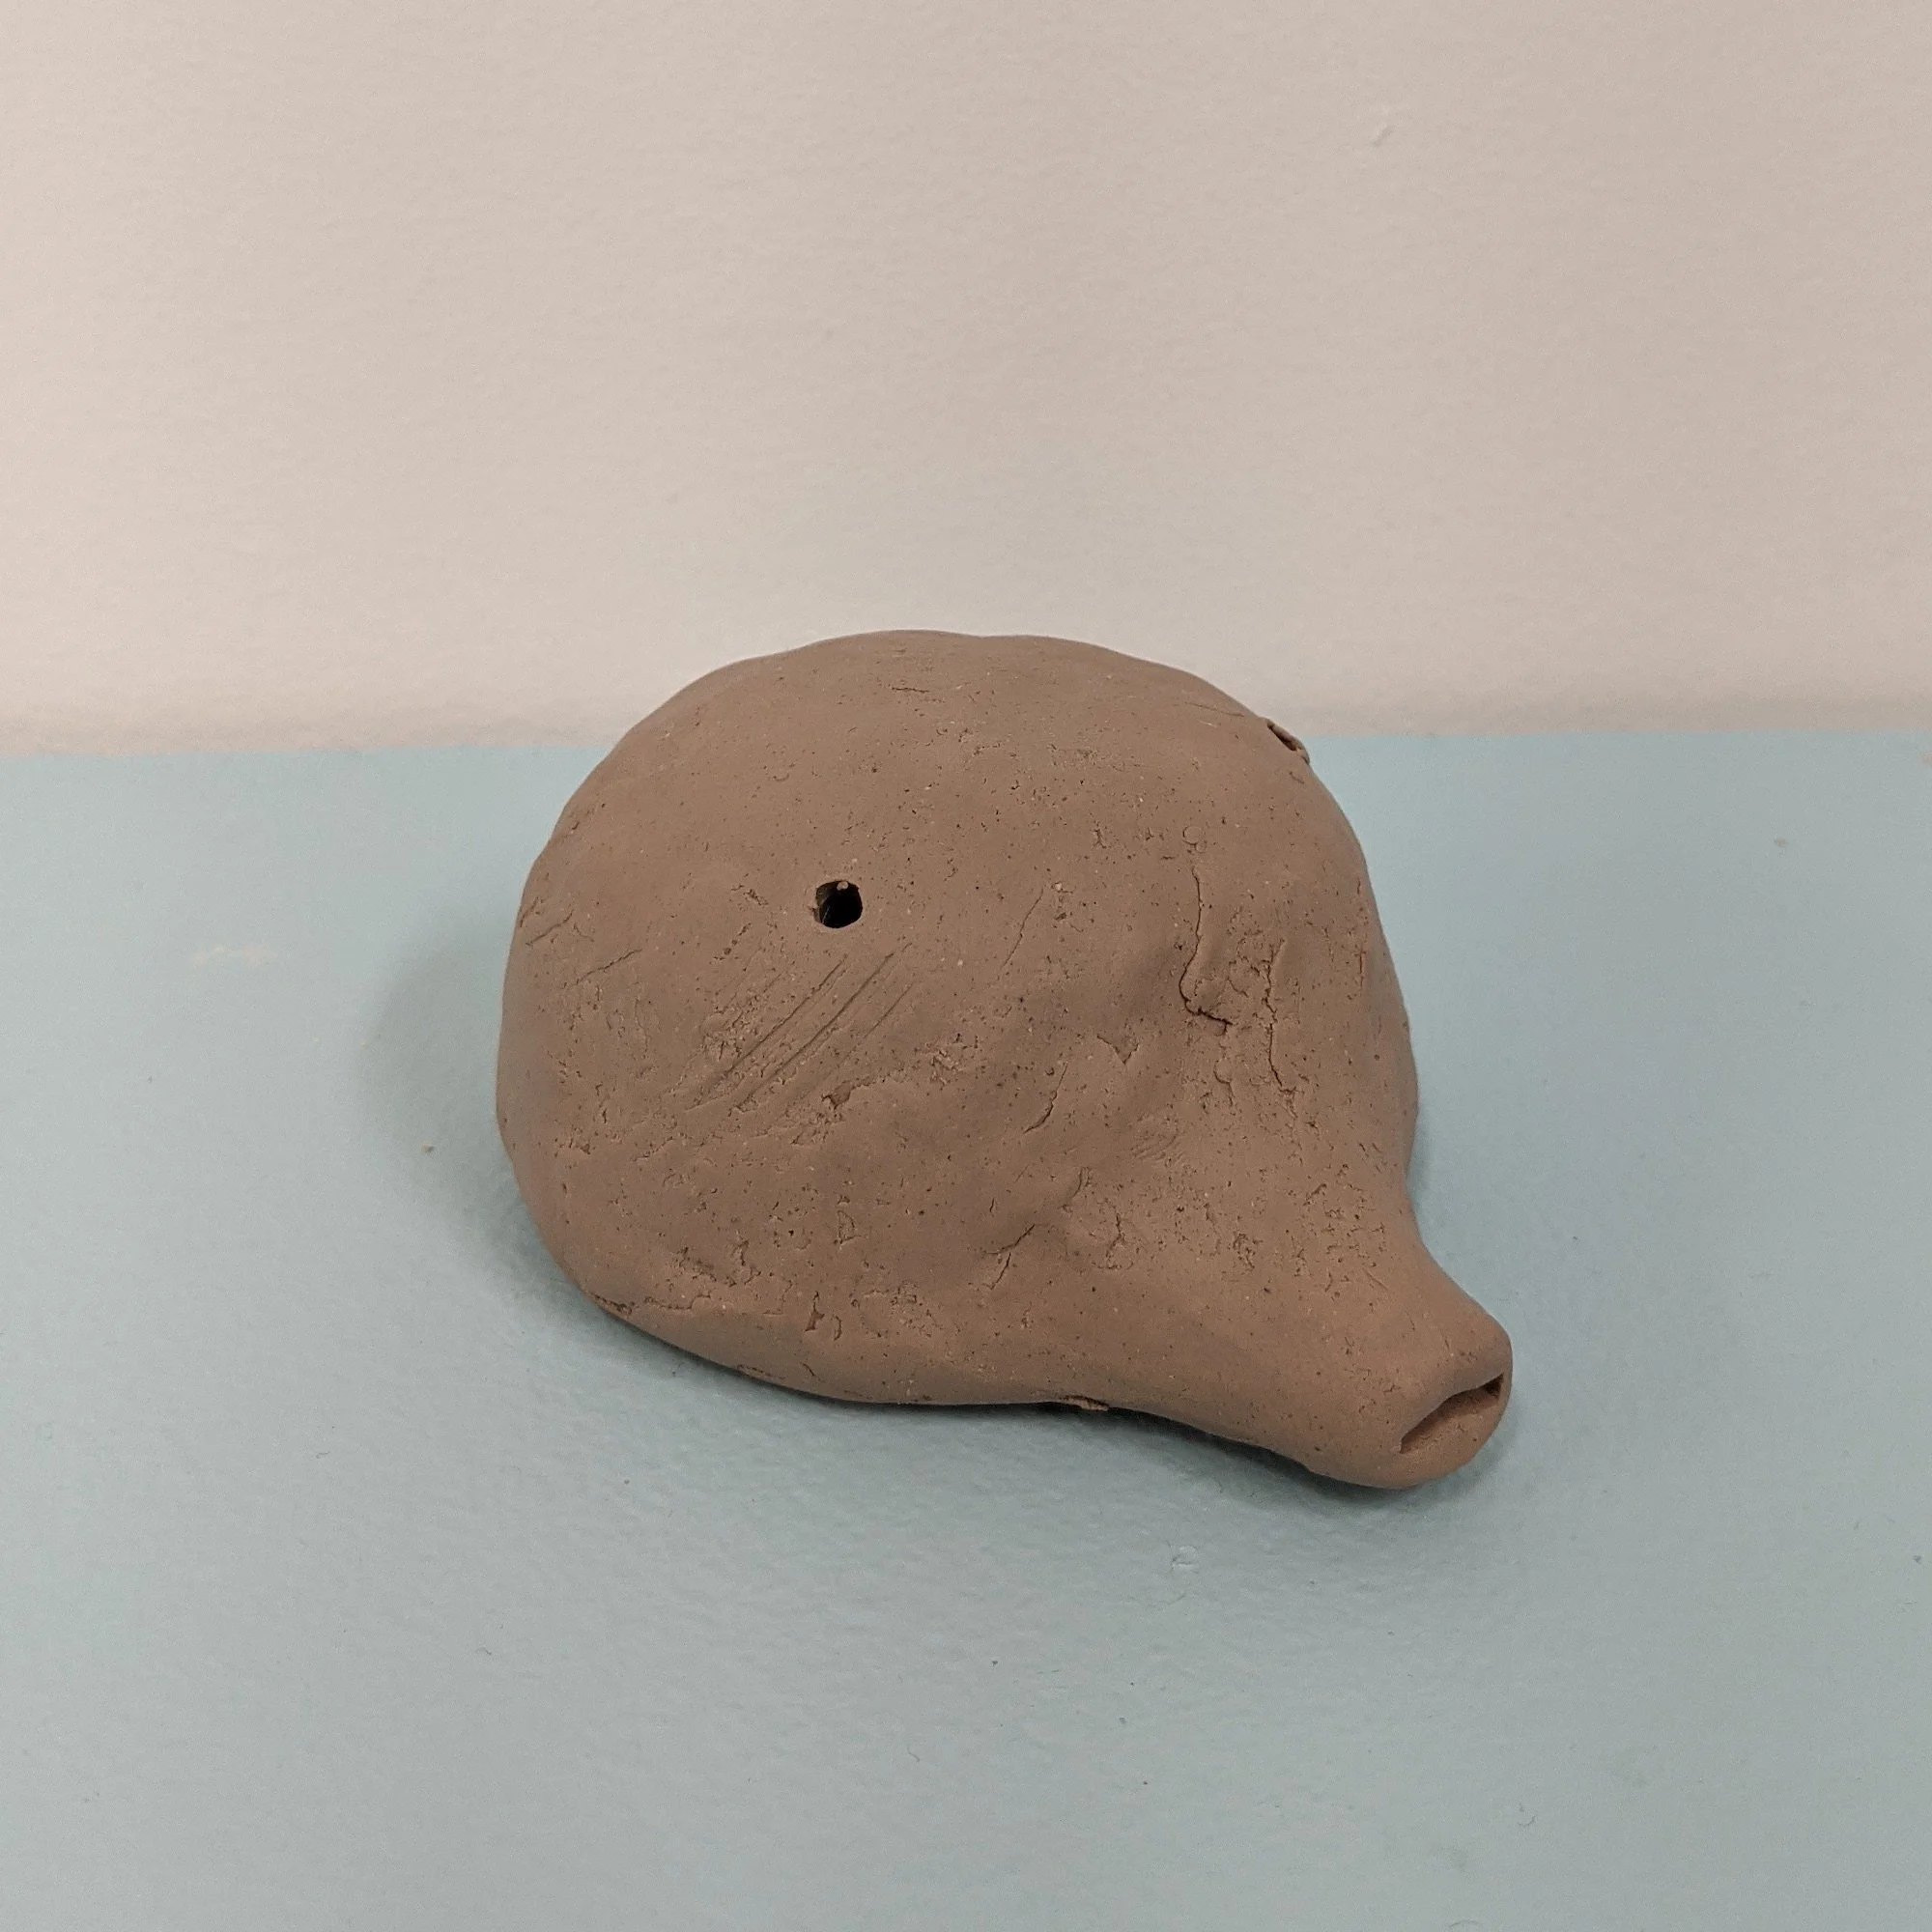
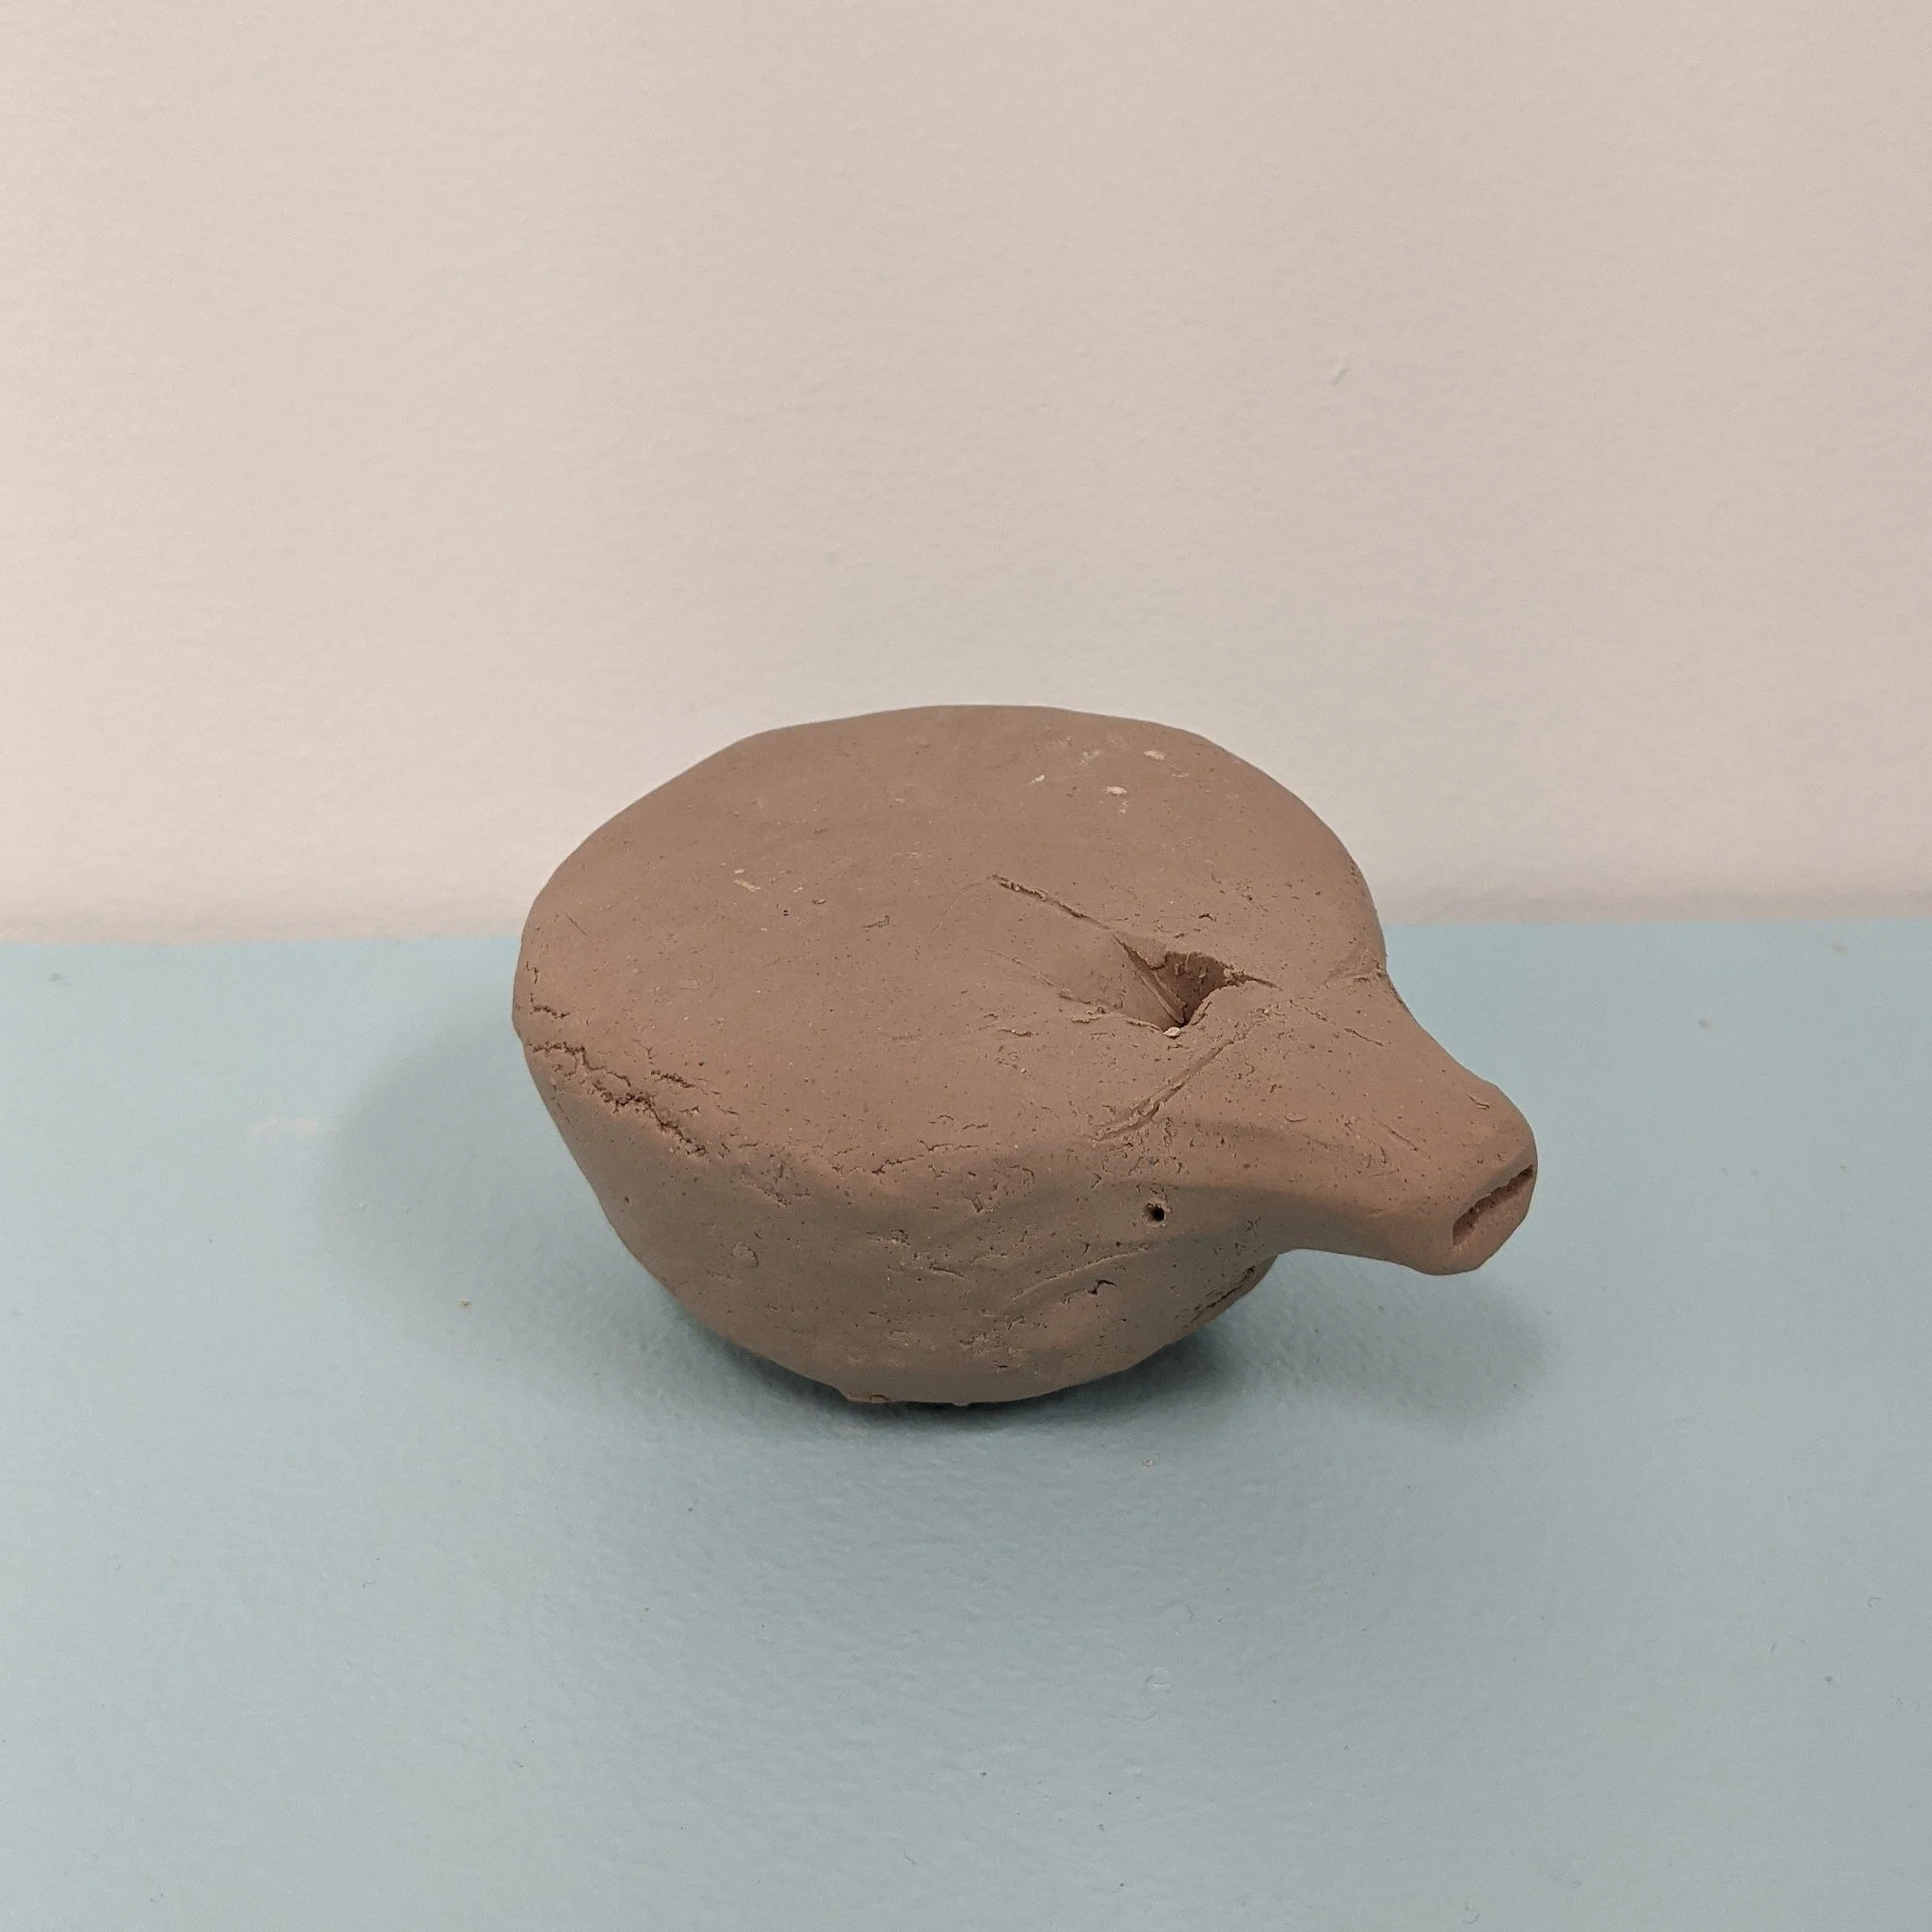
You need to create an airway and a fipple (the cutout that makes the whistling sound).
Insert a popsicle stick through the wedge mouth piece, piercing into the pinch pot cavity. It should be in line with the flat slab part. The popsicle stick ensures that the air passage flows straight into the fipple.
Next, use the chiseled popsicle stick to create a fipple. Keeping inline with the inserted popsicle stick, cut down to it where you think the inside wall of your pinch pot starts. The cut should be square and perpendicular with the inserted stick. Then use the chiseled stick to cut towards the initial cut. This should be about a 45 degree angle.
Clean up the edges to as crisp as the clay will allow then give it a test blow. If it doesn’t work, try moving the fipple closer or further from the mouth piece. Then try a steeper or flatter angle on the fipple. It may take several tries.
Once your whistle sings, you can drill holes into the pinch pot to create different notes. This is best done at the soft-leather hard to leather hard stage. The holes may change the whistle drastically, so you want to be able to plug up and correct any holes that throw the whole sound off.
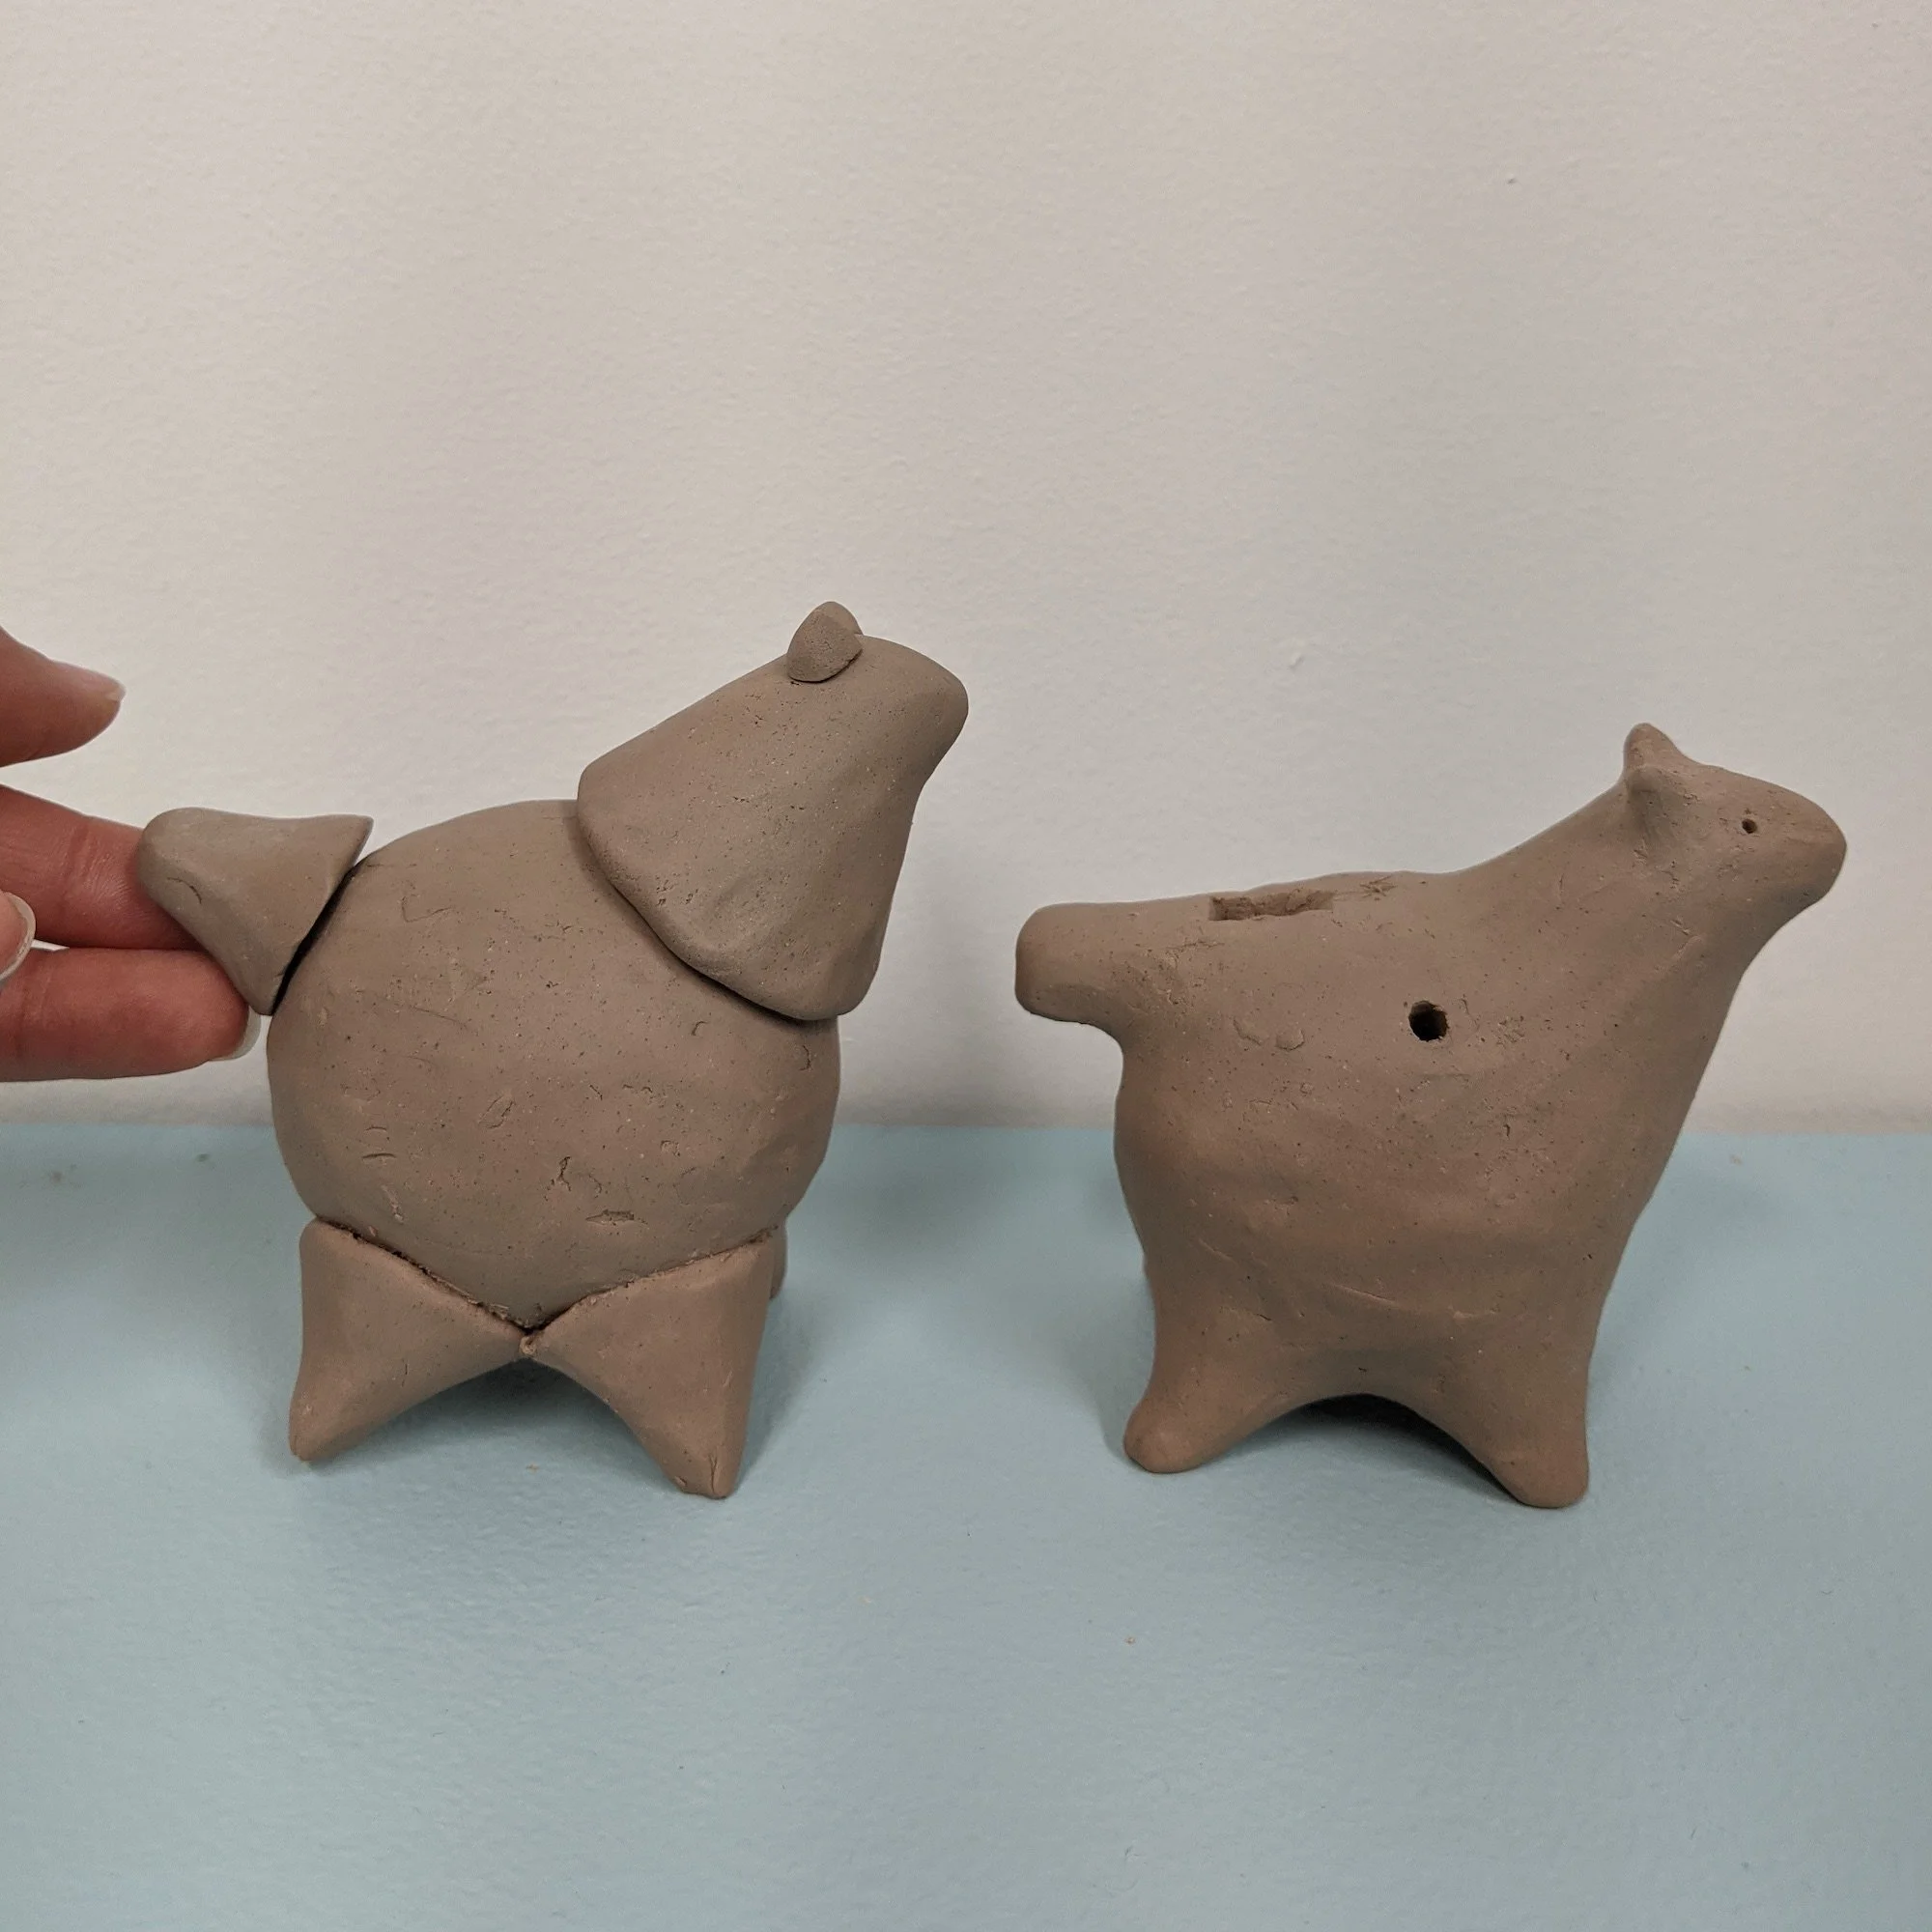
Pinched parts to form an animal whistle.
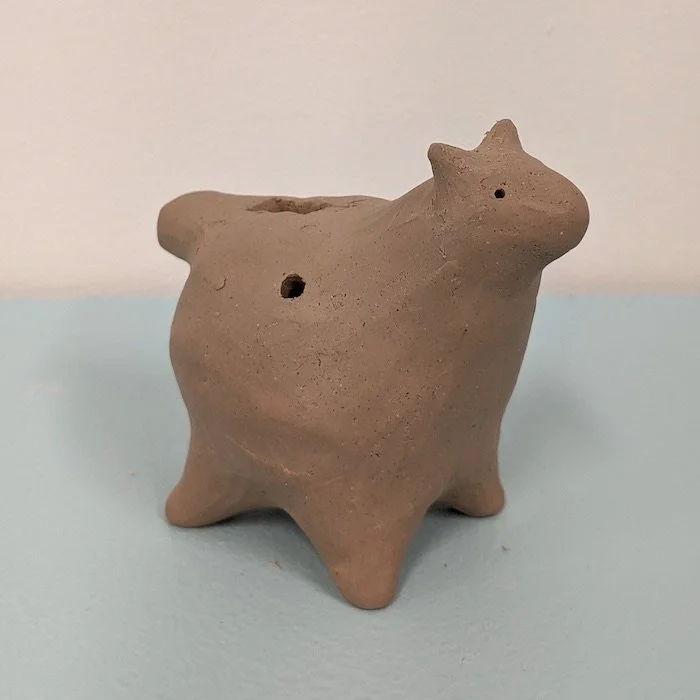

You can create whistles of various shapes and sizes, such as this creature just using shapes pinched parts. I like to make the heads of my animals whistles hollow, so I poke air holes where the eyes will be in order to not disturb the whistle air cavity.
When creating fun shapes, just remember to position the mouthpiece in a place where the fipple can align flat and straight.